Christmas

How to Put Lights on a Christmas Tree

With carols on the radio and Love Actually reruns on TV, the Yuletide season is upon us. That means it’s time to get your house ready for Christmas.

When it comes to Christmas decorations, the Christmas tree is the star of the show. But hanging your Christmas tree lights is no small feat. If you want to achieve festive perfection, you’ll need a plan before you start hanging.

Fortunately, Homebase is here to help. Whether you’re dressing an artificial or a real Christmas tree, we’ve put together a comprehensive guide on how to put lights on a Christmas tree like a professional, so yours will outshine the rest.

What You’ll Need

Christmas tree lights
– Spare bulbs (just in case)
– Footstool or Step Stool

Step 1. Check your bulbs

There’s nothing more frustrating than hanging your Christmas lights perfectly on your tree, only to switch them on and discover half of the bulbs have blown. To avoid this disappointment, always check the lights are working first.

Simply untangle your lights and lay them out so you can see each one. Now turn them on. If you notice any bulbs aren’t lighting up, they probably need replacing.

Most Christmas tree lights have been sitting collecting dust for a year, so it’s unsurprising if a few have blown. It’s always a good idea to have a few spare bulbs at the ready when you’re putting up your Christmas lights.

For a well-lit, glowing tree, we recommend approximately 100 LED string lights for every foot of tree. For example, if you have a 6-foot Christmas tree, you’d need roughly 600 lights. LED light bulbs are more efficient than old bulbs, so they’re a great choice for saving energy and minimising your electricity costs.
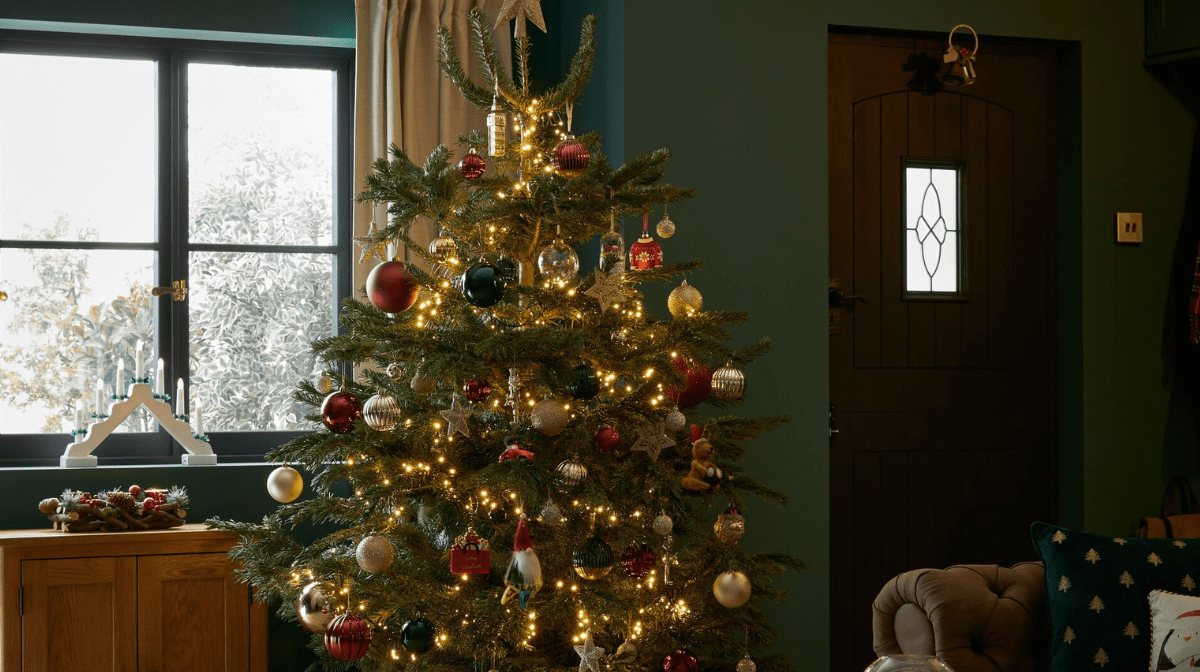
Step 2. Decide how you’re going to hang your lights

Before you start, you should first decide how exactly you want to put up your Christmas lights. There are two main ways to hang your Christmas tree lights: horizontally or vertically.

Hanging lights horizontally is a more traditional, widely used method. However, more and more people are trying out hanging their Christmas tree lights vertically.

There’s no right or wrong way to hang your Christmas tree lights, but settling on a direction before you start gives you something to aim for. You want to avoid haphazardly stringing your lights with no direction, as this can cause crossed strings and gaps in the lighting. It’s also much harder to take them down when the time comes.

So, decide whether you want to try horizontally or vertically, and then you’re ready to start hanging your lights on the tree. If you’re not entirely confident stringing lights, opting for a pre-lit Christmas tree is a great way to achieve the perfect look every time.

Step 3. Start hanging

Now it’s time to get into it and start hanging. If your tree is going to sit in a corner, it’s a good idea to pull it out while you hang the lights so you can easily access all sides.

Whether you’ve opted for the classic horizontal hanging or decided to go for vertical, you should always start from the bottom and work your way up. This means you can easily plug your lights in at the wall at the bottom, rather than have a lead dangling down from the top of your tree, ruining the aesthetic of all your hard work. If you’re using battery-powered string lights, you can tuck the battery pack away at the bottom of the tree.

First, plug your Christmas tree lights in at the wall and keep them turned on while you work. This will allow you to get an idea of the coverage and evenness of your lights as you put them up.

If you’re dressing the tree horizontally, start at the bottom and wrap the lights over and under the branches, aiming to get an even distribution. Slowly work your way up, placing some lights deeper into the branches and some further out to create depth. As you move further up the tree, you may need a foot or step stool to stand on so you can reach the top. Make sure it’s stable and can hold your weight before you step on it.

If you’re putting up the Christmas tree lights vertically, start from the bottom and string the lights up to the top of the tree. Once at the top, fold the wire over and go back down, in a big zig-zag shape. Do this the whole way around the tree, until it’s completely covered. Again, you can push some lights further into the branches and leave some resting on the outside to give more dimension.

Step 4. Adjust and admire

Once you’ve dressed your tree from top to bottom, it’s time to step back and admire your handy work.

If you notice a few gaps without lights, or some areas that are looking a little busy, have a play around until you’re happy with the overall look. Remember that you’re likely to decorate the tree with baubles or other Christmas decorations, so make sure there’s enough space for those on the branches.

Once you’re happy and satisfied that your glowing Christmas tree will bring endless festive joy, you can begin with the rest of the decorating.


There you have it, our guide to illuminating your Christmas tree beautifully and effortlessly. For advice on how to decorate a Christmas tree to take it to the next level, or more festive tips, head to our Christmas hub.

How To Decorate A Christmas Tree

Christmas

How To Decorate A Christmas Tree

Discover our favourite Christmas tree decorations and on-trend Christmas tree ideas.

2020-09-19 14:37:15By Homebase


Homebase

Homebase

Writer and expert