

The tub is often the centrepiece of a bathroom – whether you’re enjoying a relaxing soak or working your way through the regimented bedtime routine, there’s no doubt that the bath is an important element in your lifestyle.
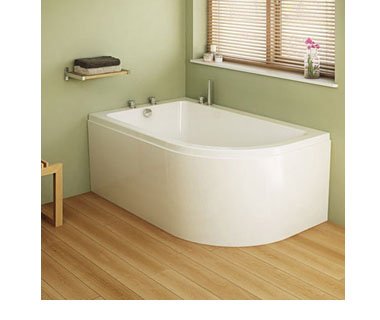
Once you’ve chosen the perfect bath to suit the shape and style of your bathroom, it’s time to start putting it to good use. Read on for a step-by-step guide on how to install a bath.
Preparation
Before installing your bath, there are a few important things to take into consideration. If you are planning on doing the pipework yourself, make sure you are familiar with the plumbing regulations in your area and are confident in your skills beforehand, as this can be a fairly complicated project.
Once you have decided where you are going to install your bath, use an electronic detector to make sure there are no hidden pipes or wires in the walls where you will be securing the fittings. It is also advisable to choose walls that have a stud (internal framework that supports the plaster) so that you can attach your fittings to a strong support.
When assembling your bath, lay it on top of a rug or blanket to ensure it doesn’t get scratched, and remove any protective film from the areas you will be working on, such as around the drain and tap fittings, as well as the sides where the bath will sit against the wall. Always turn off the water at the mains beforehand.
Note: The installation process will vary, depending on the design of your bath. It is always necessary to consult the manufacturer instructions alongside this guide.
Materials
- Drill and appropriate drill bit
- Screwdriver
- Spirit level
- Tape measurer
- Hammer
- Pencil
- Caulking gun and silicone sealant
You’ll also need an extra pair of hands to help maneuver the bath into place.
A note on battens
If your bath does not come with wall fixing brackets, then it is advisable to fit battens to the wall for support. You’ll also need:
- Timber batten (generally about 2” wide, 1” thick)
Cut a piece which will secure horizontally to where the bath meets the wall (about 2/3 the size of the bath’s width). You’ll also need pieces to secure vertically to support the corners of the bath against the wall (cut to the same size as the bath’s height).
How to Install a Bath
Attach the legs and fittings
With your bath upside down, resting on a protective surface to avoid scratches, first prepare the leg frame by securing the appropriate bolts and channels, and then attach the feet. Line the frame up to the bottom of the bath and screw it in place, using the fittings provided. Repeat this process for both sets of feet.
Adjust the feet, using your tape measure to ensure that the bath measures to the desired height, from feet to rim (consult your manufacturer manual for recommendations). With your spirit level, check to make sure the feet are horizontally aligned.
Now is also the time to attach the waste and overflow fittings, along with the taps and tap hoses. Consult the separate product guidelines for specific instructions.
Measure and adjust the bath’s position
Move the bath into the desired final location and use your spirit level to make sure it is even. Adjust the height of the feet if necessary. Now is also the time to attach the waste fittings to the waste trap, and the tap tails to the input pipes in order to check if any adjustments need to be made.
Once you are sure that your bath is level, mark the places where it will be secured into the walls and floor. If your bath comes with wall fittings, use your pencil to mark the place where they will be secured to the walls. Do the same for the floor fittings.
If you are using a timber batten as wall support, mark the location where you will fit the pieces to the wall. Generally, a horizontal batten should be secured 2mm below the final resting point, and vertical support should sit 40mm inwards from the corners of the bath.
Prepare the wall for the fittings
Move the bath out of the way and use your drill to make holes in the places you marked. Insert any necessary wall or floor plugs, ensuring they are flush with the surface (use your hammer if necessary).
If using a timber batten, align it with the wall at the location you marked and use your spirit level to make sure it is even. Drill holes and secure in place, making sure you use fittings that are suitable for the type of walls in your bathroom.
Secure your bath
Move the bath back into the final position and align it with the holes you created, or on top of the timber batten. Once again, check that it is level.
Using your screwdriver, secure the wall brackets and the feet into the pilot holes. Connect the waste pipe to the outlet, and the taps to the plumbing system. Turn the water back on and check for any leaks.
Seal around the rim
Once you have finished tiling around your bath, fill it with water and trace silicone sealant around the edges, where the rim meets the wall. Allow it to dry for the recommended time (usually about six hours).
Make sure to be precise with your plumbing, exact in your measurements, and reliant on your spirit level, and you can install a bath in your bathroom.


