DIY

How To Paint A Front Door

painted front door with mat

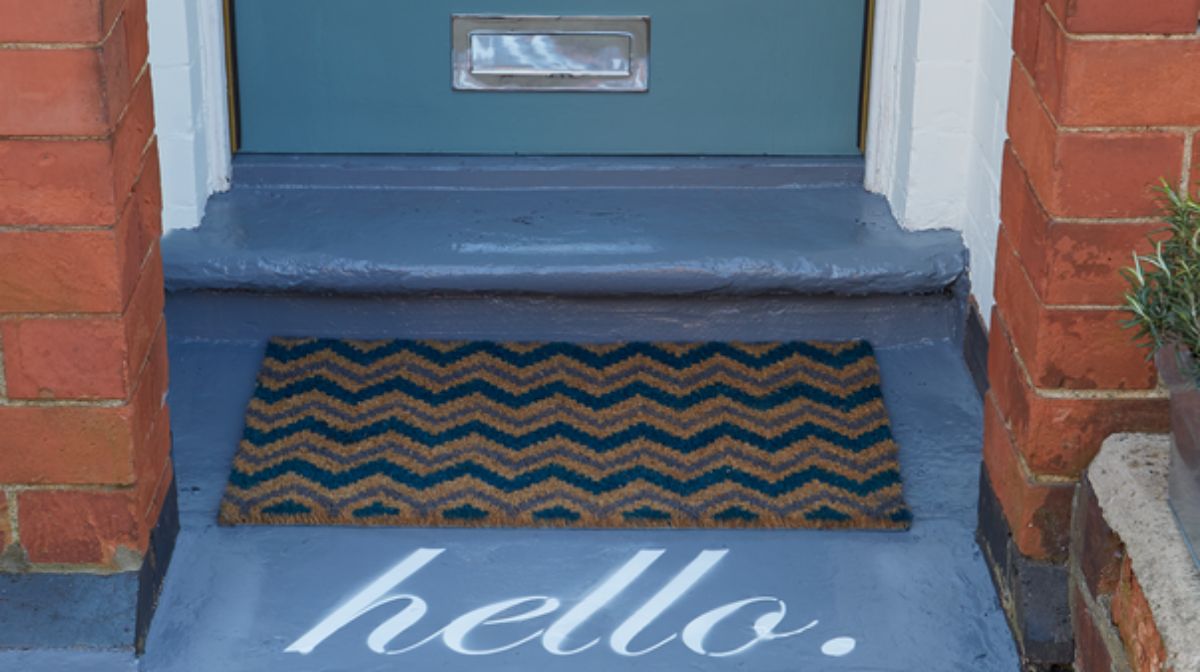
Painting the front door is a small project that can be done over a single weekend and will have a big impact on the kerb appeal of your home. The front door is something you use every single day, so giving it a fresh coat of paint is a really worthwhile project. Follow our step-by-step guide to learn how to paint your front door like a professional. 

Colour conundrums

As exciting as it can be to dive into a new DIY project, take some time to carefully consider which colour is the best option for your front door. Take into account the style of your house and the architectural era it belonged to – a bit of research can help you make an informed decision. Whether you’re trying to break from tradition or stick to the classics, make sure the colour and finish you choose is one you’re going to love for a long time.  

Need some colour inspiration? Explore our range of external door paint. 

So, let’s get going. The materials and tools you’ll need are: 

Materials:

Tools:

Before you get stuck into any of our ‘how to’ guides, please read through our DIY safety tips. You can also shop our range of safety tools and materials. It’s also important to consider the weather before starting any exterior decorating project. Your paint will require sufficient drying time for a high quality finish, so make sure you save this task for a dry day.

1. Prepare your surface

Begin by removing the door’s hardware: any handles, letter boxes, knobs, numbers and name signs should be set aside to ensure they remain pristine.  

Remove the layers of old paint by applying the paint stripper with a paintbrush. Be sure to use gloves and goggles when you do this and take extra care to work the product into the corners so none of the old paint remains. 

Once the paint has reacted with the stripper, it will begin to crackle and break apart. With your scraping tool, scrape back the paint to expose the bare wood.  

2. Nooks and crannies

Getting into the tricky little alcoves and crevices of your front door can be challenging, so use your shavehook to ensure every fragment of paint is removed from the mouldings. If your front door is wooden, wear and tear over the years may have resulted in the odd crack or fracture. If this is the case, fill any holes with an exterior filler and allow it to dry. 

Top Tip: Has painting your front door inspired an outdoor refresh? Read our guide on how to paint your garden fence. 

3. Clean and sand

Apply a layer of white spirit to your front door with a cloth – this is to eliminate any traces of the paint stripper and establish a neutral and clean surface. Once that has been worked in, sand down the flat planes of the door in the direction of the grain of the door to smooth them out. 

Top Tip: Whether you prefer a trusty sheet of paper or are drawn to the mechanical side, explore our range of sanding tools to assist your next home improvement. 

4. Get painting

With your front door prepped, it’s finally time to crack open the paint! We recommend you paint in straight lines in the direction of the grain, and to prioritise any panels or raised surfaces and their surrounding mouldings to deliver a seamless finish. Use masking tape to protect the edges of glazed windows and masonry from any paint splashes. 

A second coat may be required for an added depth of colour, so allow ample time for it to dry fully.  

5. Admire your handiwork!

With the hardware reattached, the masking tape peeled away and the paintbrushes cleaned, your freshly painted front door is ready to become the envy of your road!  

Top Tip: Add the personal touch to your newly painted front door with our guide to making your own personalised door mats. 

Lead testing

Exterior painting is usually a safe affair, but we have a quick word of caution: if your house was built before the 1960s and the paintwork you’re modifying is original, there may be a chance it contains lead. Lead testing kits are readily available and will quickly inform you whether the pigment is present in your paint. In the case of a positive result, remove the paint with a material that doesn’t produce dust or fumes – a caustic stripper will work well here. This all may sound a little nerve-racking, but don’t worry! Chemical strippers come with detailed instructions for you to follow. 

And there you have it, our guide to painting exterior doors to give your home a brand-new look! Explore more DIY guides and tips on our Ideas & Advice page or share your own painted front door with us on @Homebase_UK.


Homebase

Homebase

Writer and expert