
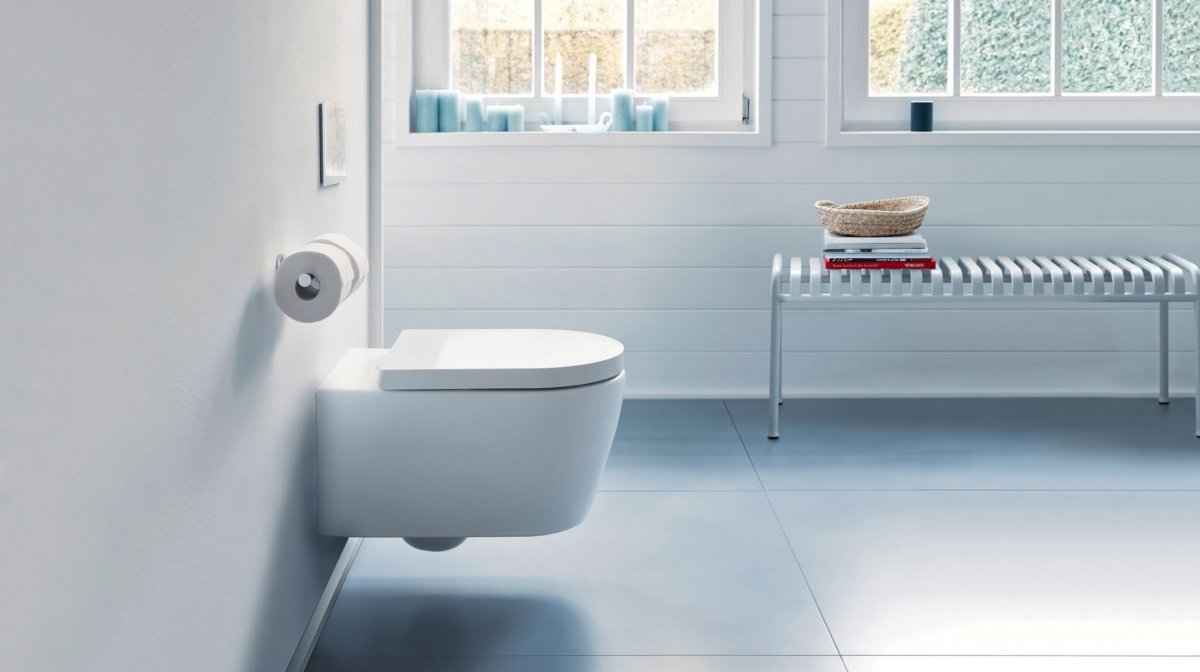

If you’re dreaming of a clean and contemporary look in your bathroom, a back to wall toilet is one of the simplest ways to achieve it. Giving you a sleek and stylish finish, it also cuts down on clutter by hiding your cistern and pipework behind a wall or furniture units – which also keeps them protected too. With so many benefits, there’s just one question left to ask. How best to fit a back to wall toilet? With our handy step-by-step guide, we’re here to show you.
What you’ll need
- Back to wall toilet
- Drill
- Hole cutter attachment/saw
- Adjustable spanner/wrench
- Toilet frame
- Floor brackets
- Screwdriver
- Spirit levels
- Screws
- Silicone sealant
- Tape measure
- Pencil
Need to know info: Integrated cistern
A back to wall toilet might be neater looking, but it comes with a few trade-offs too – namely that you need to put the plumbing somewhere else. Often known as a concealed or integrated cistern, it’s essential to plan enough of a gap in your furniture unit or a false wall behind your back to wall toilet when working out how to fit it.
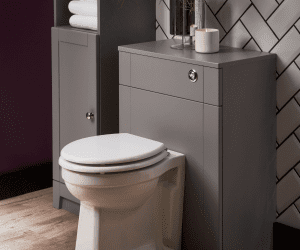
How to fit a back to wall toilet to a furniture unit
Step 1: The right height
If you’re putting your back to wall toilet against a furniture unit, you’ll need to start by making sure your heights are right. Using a tape measure, check that the flush pipe on the back of your new loo lines up with the gap in your unit. If not, you may need to extend it with a hole cutter on your drill or a small saw.
Step 2: Find your bracket point
Once your unit has the right sized hole, it’s time to fix it to the wall with a bracket. Measure the centre point on the back of your unit, then draw a pencil line down from that point using a spirit level. Next, measure the distance between the fixing holes on your concealed cistern and the top of it, and draw a horizontal line on the back of your unit that distance down from the top. This will be where your bracket sits.
Step 3: Measure the centre
Next up, measure the centre point of your bracket and line that point up with your horizontal line in the unit. Make pencil marks where the two bracket holes are on either side, drill the holes at a downward angle and screw the bracket in place. Lastly, use your spirit level to make sure it’s perfectly straight. After all, nobody wants a wonky back to wall toilet.
Step 4: Time for pipes
With your wrench, connect and tighten the water supply’s flexi hose to your inlet pipe, then pop your concealed cistern inside the unit so it sits on the bracket, and connect the other end of your hose to it.
Step 5: Nice and flush
Slide your flush button through the unit’s hole, and connect it to your cistern’s flush mechanism – which you’ll find under the lid. Thread the yellow cable carefully through the gap in the cistern and attach to the back of the button.
Step 6: Check your connections
Put your plastic and rubber washers onto your inlet pipe, then connect it to the bottom of your cistern. You might need to cut your inlet pipe and waste pipe’s lengths down with a saw, so measure them both before attaching your back to wall toilet with connectors at the right height and position to make sure everything fits.
Step 7: Mark the floor
Making sure your back to wall toilet is safely secured is a vital step. With your toilet in place, place a pencil line on either side next to your floor holes, then check the thickness of your toilet’s wall. Disconnect and remove your loo again, then using your original marks as a guide – measure inwards on either side the same thickness as your toilet.
Step 8: Secure it down
Once you’ve got your marks, drill two holes in the floor in those positions, and screw your floor brackets in the holes. Reassemble your loo for the last time, then attach a screw on either side to connect to the top end of your floor brackets. Add screw caps, and you’re all set.
Step 9: Be seated
Once your loo’s in position and attached, all that’s left to do is place your seat. Most back to wall toilets are fitted with a soft-close seat for convenience – which can sometimes work differently to how others are fitted. Thread your fixing bolts through the retainer, place in the holes on the back of your toilet and tighten. Add your cover, slot the seat on and you’re good to go – although it’s often worth giving the whole back to wall toilet a good wipe down with a cloth to finish.
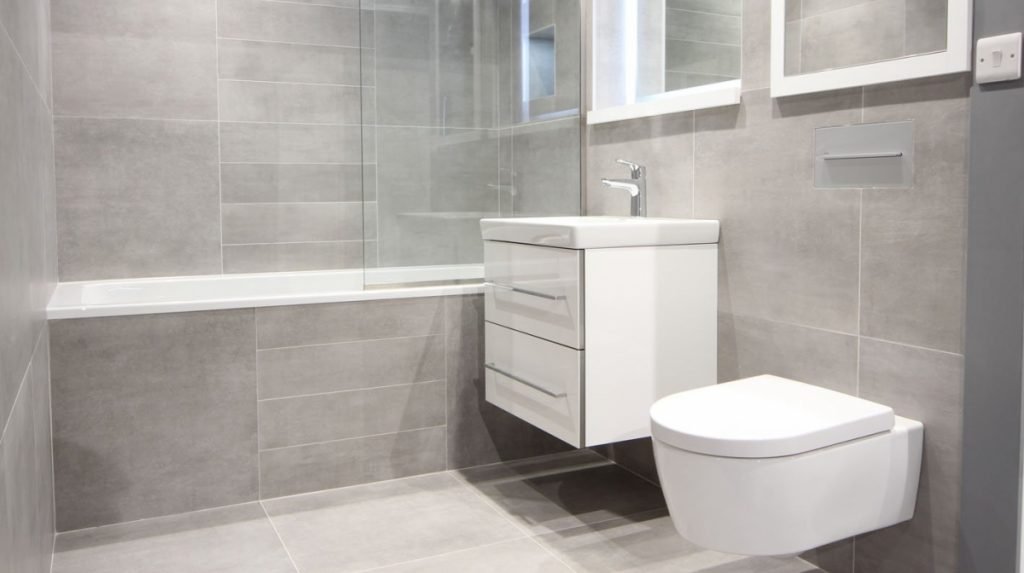
How to fit a back to wall toilet to a wall
Step 1: Find your frame
Much like a furniture unit fitting, it’s essential to make sure your pan and cistern are the right heights before they’re divided by a wall. One of the simplest ways to do this is with a frame set – which you can place your false wall front on.
Step 2: Place your panel
Making sure your concealed cistern is mounted no higher than 1200mm from the floor, build and fix your frame in place. If you’re wondering how to accurately measure up before fitting your back to wall toilet, it’s easy – just place a design panel on top temporarily.
Step 3: Make your markings
With the panel in place for now, slide your back to wall toilet up against the wall and draw around the outline with a pencil. Moving the toilet to one side, measure a centre point 20mm inside from your outside line and mark that for your pipe spaces. Lastly, if it’s not already cut out for you, take the time to mark where your flush button will be going too.
Step 4: Cut your pipe holes
Putting your toilet back in place, use your pencil to mark the floor where your pan fitting will go through the small holes on either side. Now you can take off and cut your panel where marked within the outline for waste and flush pipes, as well as your button. Re-assemble it all on the wall and put your loo back in place for the final time.
Step 5: Assemble it all
Now’s your chance to get all the plumbing sorted. Attach your flush and waste pipes between the concealed cistern and the rear of your toilet and make sure they’re tightened with a wrench or spanner. Finally, secure your back to wall toilet in place by screwing in your floor fittings – and you’re good to go!


