From Nelly to Elmer and Barbar, elephants have always been a fun part of any childhood, and now’s your chance to pass that excitement onto a new generation with this simple DIY project – a wooden rocking elephant! Using some paper, wood and a few power tools, you can create an adorable toy rocker that your kids can play with for years to come. Check out our simple step-by-step guide to get started…
What you’ll need
-
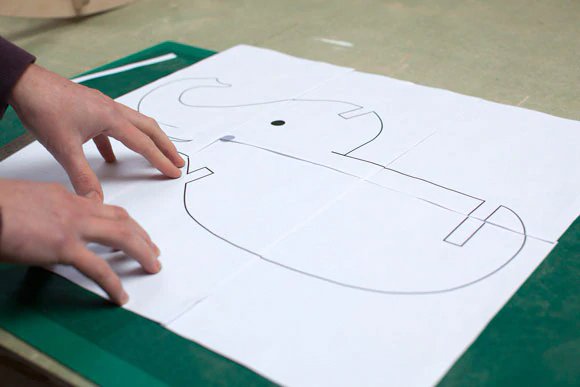
To keep things as straightforward as possible, we’ve created a simple elephant stencil for you to trace round, which you can find in the section above. So start by downloading it and printing it out. Our stencil comes in A1 size, so if you can’t print that big or don’t want to use a local printing shop, you’ll need to print it as 8 separate A4 sheets instead.
-
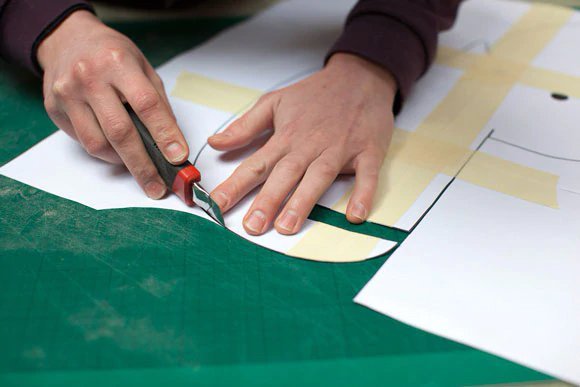
Once your A4 sheets are printed out, stick them together along the edges with Sellotape or masking tape to create one big stencil. When you’re happy with how it looks, carefully cut round the outline of each section one at a time with a Stanley knife on a cutting board or safe surface.
-
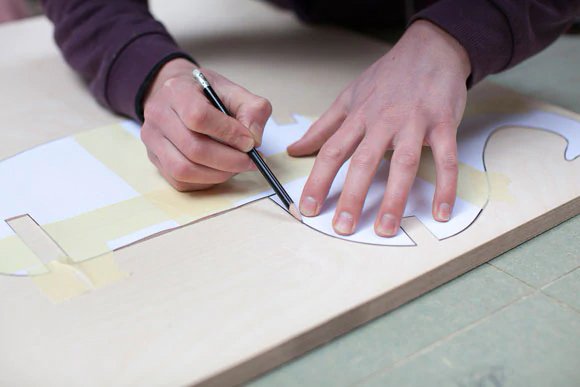
Congratulations – you’ve now got all the elements for an adorable elephant stencil! Next, we need to apply the outlines to your wood, so place them all on your A1 sheet of plyboard and draw round them one by one with a pencil.
-
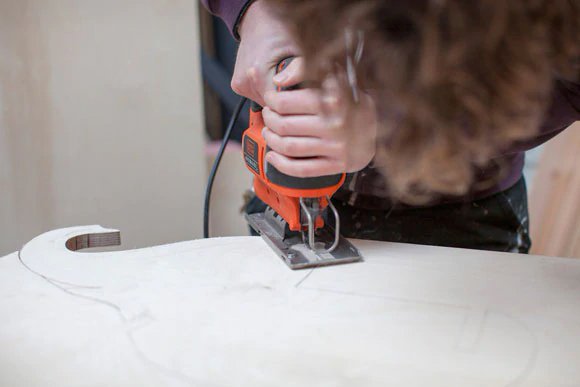
With your wooden template made, you’ll need to grab your handy Black & Decker Jigsaw and set it to the curving/shaping setting – which will help you cut slowly and safely around your template sections.
-
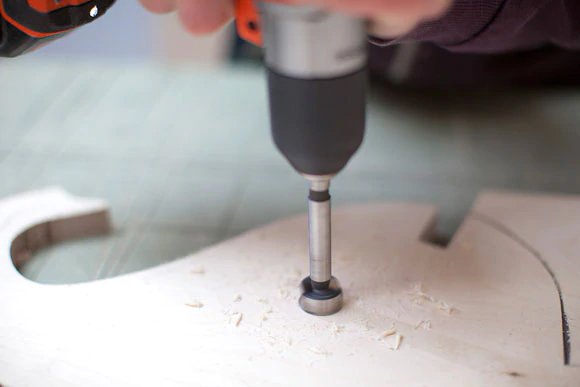
With all your pieces cut out, the first thing to do is drill 2 x 22mm holes where they’re marked on the template for the elephant’s eye and tusks – before sanding down every piece on all sides with your Black & Decker Sander until they feel smooth to your touch, and trim any rough edges by hand with sandpaper if needed.
-
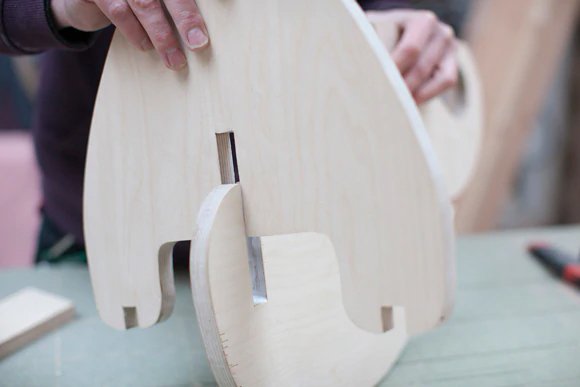
Now, it’s finally time to put your elephant together – using wood glue to slot each section together and giving them a chance to dry each time. Slide the back legs (Section E) into the back of Section A, followed by B (the seat) slotting into the back of the elephant’s head, and then the ears on top (Section C).
-
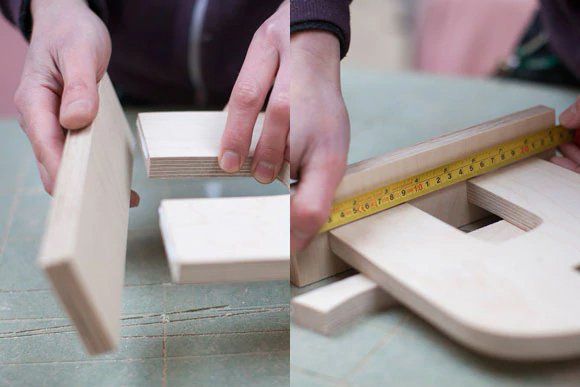
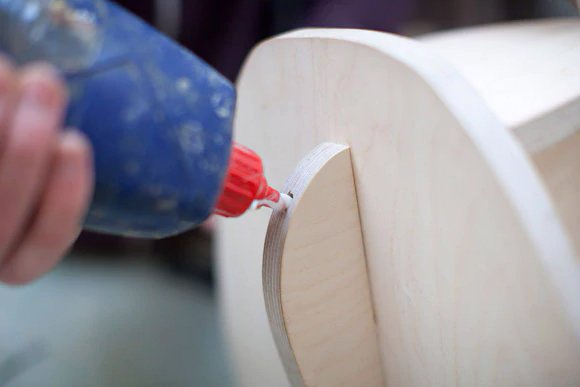
Next, glue Section D (the legs) centrally to Section F to form the base, then slide the legs under the elephant’s chin in Section A. Once the glue is dry, attach the runners (Sections G) to the spaces in the back legs, then screw them into the sides of the front legs using your drill.
-
With the same drill, make a hole in the back of the elephant, then glue a small length of string into the hole to give it a tail. Finally, glue your dowels into each side of the lower holes on Section A to give your elephant its tusks.
-
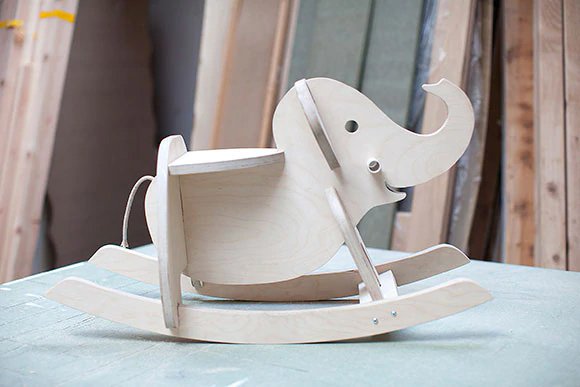
All finished! All that’s left is to stand back and admire your adorable new wooden rocking elephant. If you wanted to make it a different colour, you’ve got the option of staining, waxing or painting. If not, then it’s time to see how much the little ones love it.