Decorating Ideas

How To Use Masking Tape to Paint Patterns and Borders

how to use masking tape

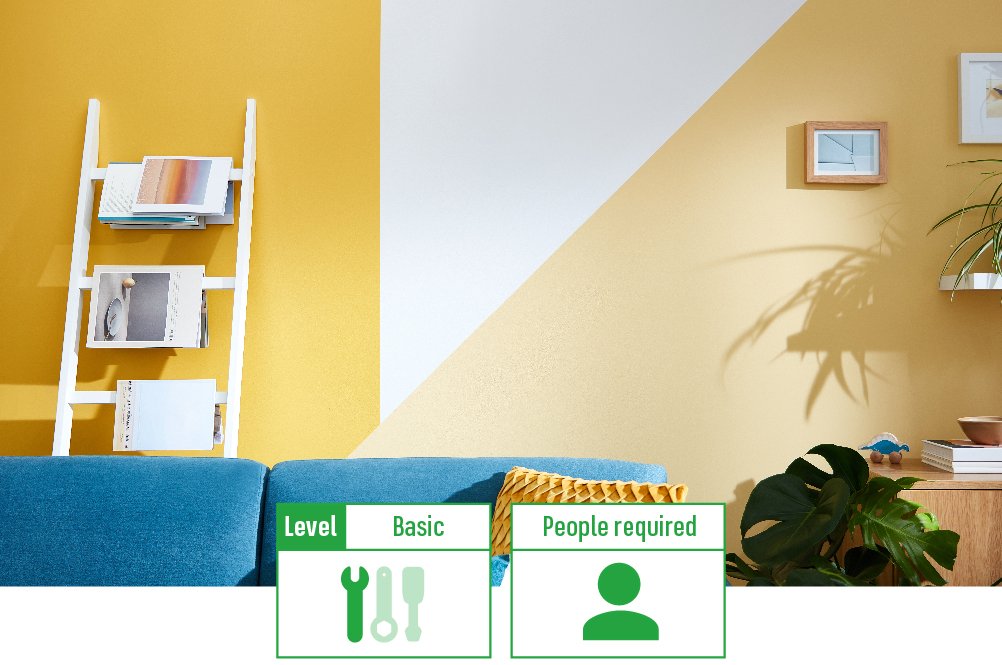
It can sometimes be hard to decide on just one colour for a room in your home. Or in fact be brave enough to cover a whole room or wall in one bold colour. So if you find yourself looking for an easy but impactful compromise, it’s time to look to your trusty rolls of painter’s masking tape as a solution.

What’s usually seen as a tool to help you protect furnishings and skirting boards from paint, masking tape can also be used to embellish your walls with floor to ceiling stripes, patterns, borders or other elements to draw the eye and create a stylish feature piece.

Below, we’ll show you how to use masking tape to zone off your walls create the feature wall of your dreams. Plus, don’t forget, these tips and tricks are just as applicable to walls as they are to pieces of your furniture which you may wish to upcycle. You can find out how to upcycle a wooden chair here.

Let’s start with what you’ll need.


Materials:
Tools:
  1. Before you start

    First thing’s first, if you’re a DIY beginner, read our How to Paint Walls and Ceilings Guide. This will tell you everything from what tools you need, to how to buy the right amount of paint. And don’t forget to open your windows before starting to properly ventilate the area.

    It’s also recommended you read our DIY Safety Tips guide to keep yourself safe and protected.

    If your walls have any holes or cracks, you can find out how to repair them here.

  2. Creating a geometric pattern

    Start with a blank canvas

    To ensure your paint dries the same shade, paint your entire wall white and leave it to dry accordingly.

    Top tip: Don’t forget to cover and protect any furnishings and flooring – your dust sheet will come in handy here. And mask off any skirting boards and light fittings.

    Create your pattern

    Once your wall is dry, use strips of masking tape to create your desired geometric shape. You can make this up as you go along, or find a pattern online to follow. We recommend creating three sections for a manageable but contemporary design.

    Top tip: Pull the tape tight to keep it straight.  

    • Paint your first section

    Paint the inside border of your first section using your paint brush followed by the roller to fill the rest in.

    • Paint your second section

    Repeat the previous step for the second section.

    • Apply your second coat

    Go over your first two sections with a second coat after they’ve had 2-4 hours drying time.

    • Remove the masking tape

    As soon as you have finished your second coats, carefully remove the masking tape at a 45-degree angle to avoid any peeling.

    • Fill in the gaps

    When your second coat has dried, mask along the edges and paint in the gap, followed by a second coat. Then remove the masking tape while the paint is still wet and allow to dry.

    • Complete the third section

    You can now decide to paint your third section by repeating steps 3-5 or you can keep it white.

  3. Creating vertical stripes

    Start with a blank canvas

    To ensure your paint dries the same shade, paint your entire wall white and leave it to dry accordingly.

    Top tip: Don’t forget to cover and protect any furnishings and flooring – a dust sheet can come in handy here. And mask off any skirting boards and light fittings.

    Create your pattern

    Once your wall is dry, arrange the tape in a straight line on your wall.  You’ll need a pencil and spirit level to ensure your lines are straight.

    Top tip: Pull the painter’s tape tight to keep it straight.

    • Colour in your stripes

    Paint each stripe your desired colour using your roller and paint brush, painting slightly over the edge of the tape to make sure it’s covered.

    Top tip: To create a modern contemporary look, use different shades of the same colour and create chunky stripes.

    • Remove the masking tape

    As soon as you have finished painting, carefully remove the masking tape at a 45-degree angle to avoid any peeling.

    • Repeat steps 3 & 4

    Depending on your desired effect, you may need to paint a few coats. Which means you will have to tape up your pattern again and paint your segments. This is to ensure a professional finish.


  4. Creating zig zags

    Start with a blank canvas

    To ensure your paint dries the same shade, paint your entire wall white and leave it to dry accordingly.

    Top tip: Don’t forget to cover and protect any furnishings and flooring. A dust sheet may come in handy here.

    Create your pattern

    Once your wall is dry you can create your zig-zag pattern. This is similar to vertical stripes but instead of long lines of tape, using short lines of tape will help you get the desired effect.

    Top tip: Pull the masking tape tight to keep it straight.

    • Paint your border

    Paint inside the border first with a brush and then fill the rest in with your roller. If you plan on painting above and below the zig-zag border, you’ll need to repeat painting the border area first and then filling in the rest with your roller.

    • Apply the second coat

    After the paint has been left to dry for 2-4 hours, apply a second coat.

    • Remove the masking tape

    While the paint is still wet from the second coat, gently peel the masking tape off and leave to dry.

    • Fill in the gaps

    Once dry, move the tape to the edge of your zig-zag and fill in the gap.

    • Apply the second coat

    Apply a second coat and peel of the masking tape while it’s still wet.

    That’s your How to Use Masking Tape to Create Patterns and Borders complete.

    Don’t forget to upload an image of your new pattern and borders using paint and masking tape to social media and tag us @Homebase_uk.


Homebase

Homebase

Writer and expert