

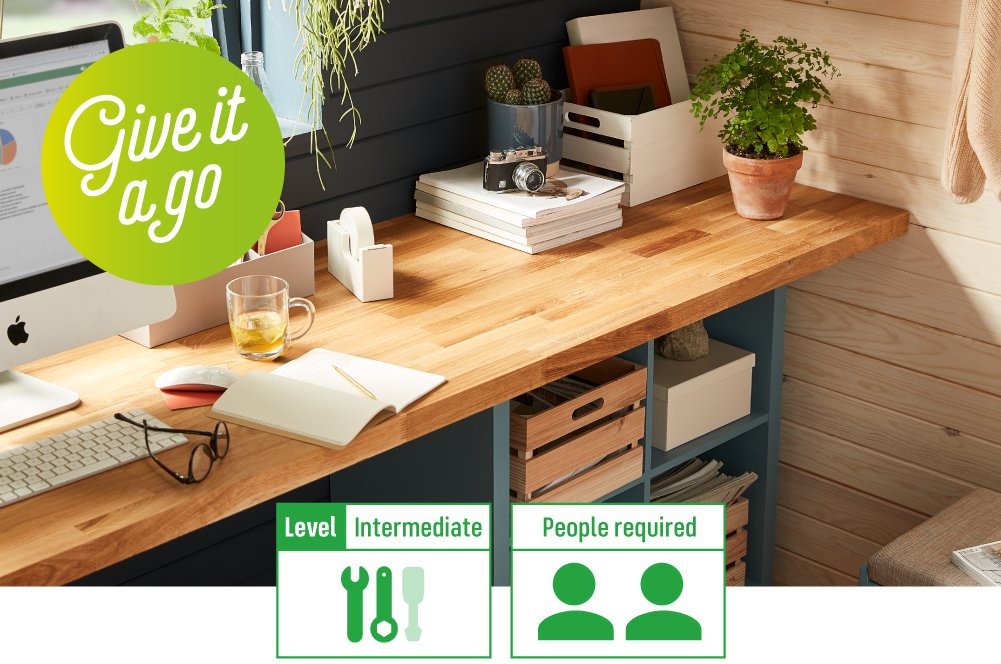
Whether you want a space to relax and unwind, or you need a quiet corner to work away from the distractions of home, conducting your own shed transformation is an ideal solution.
Even on a budget, you can create a beautiful, calming space away from the main house. This handy guide will take you through everything you need to know about renovating your garden shed and transforming it into a luxurious home office or summer house.
Let’s start with what you’ll need
Materials:
- Cleaning materials
- Loft insulation (amount will depend on shed size)
- Sheets of hardboard or Plywood (the number of sheets will depend on shed size)
- Garden paint
- Paint primer
- Chosen soft furnishings
Tools:
- Tape measure
- Drill with screwdriver drill bit
- Screws
- Paint roller set
- Paint brushes
- Protective covering
- Sealant
- Safety goggles
- Gloves
- Dust mask
Also required: A registered electrician with the appropriate certifications – the 18th Edition is the latest Industry Qualification, British Standard BS 7671:2018
-

Read our DIY safety tips and manufacturer instructions
Before you begin any DIY work, we recommend you read our DIY Safety Tips guide along with your power tool manuals to keep yourself and others safe and protected while completing this project.
Plus, always remember to keep the door and windows of your shed open while painting for ventilation. And never work with insulation without wearing safety goggles, gloves, long sleeved clothing and trousers, and a dust mask.
-
Make a plan
Before you dive into anything, it’s a good idea to roughly plan out what you want your summer house/home office to look like.
Grab a pencil and paper to jot down what you want to achieve. Think about colour themes, furniture styles and how much space you are working with.
Top tip: Sketch out a birds-eye view of your plan so that you can add on measurements – which will come in handy when you are choosing furniture.
-
Clean it out
This step is fairly self-explanatory.
You’re going to want to clear everything out of your shed and make sure everything is clean, so that you have the perfect base to start with.
Top tip: Take your time with this step, you don’t want to end up painting over dust and dirt.
-
Add electricity
You will most likely need electricity for your new summer house or office space.
Wiring electricity is not something to tackle on your own. Hire a professional electrician for this part, to ensure that the correct wires and cables are installed for basic power, lighting, internet access, phone lines and even cable television.
Top tip: Shop around for some quotes but just remember, never say yes to someone who isn’t certified or can’t offer a guarantee on their work.
-

Add insulation
To make sure your shed stays warm in winter and cool in summer, insulation is key. Adding insulation will also make your shed more energy efficient.
Make sure your shed has no gaps anywhere. If it does, close them with a sealant that is weatherproof and resistant to moisture.
Then, choose your insulation material. One option is ThermaWrap, but other options include glass fibre wool and insulation boards. Decide how much of your insulation material you will need by using a tape measure to measure the spaces you are going to cover.
You should install your insulation material by pressing it firmly between the structural frames of your shed. For the best possible insulation, affix your materials to the floor, roof and walls.
Once you have decided on what type of insulation you want to use, please check the manufacturer’s installation guide as to whether the insulation requires any ventilation to your structure. Quite often, foiled backed and rigid installation will require more ventilation than a glass fibre wool insulation.
You can read our How to Insulate your Loft guide here.
Top tip: Don’t forget to wear your safety goggles, gloves, long sleeved clothing and trousers, and dust mask.
-
Covering your insulation
To hide the insulation from view you will need to fit paneling/wall boards to the inside of your shed.
You could use plywood which offers a level of toughness that will enable your boarding to stand the test of time.
To do this, drill some 4mm pilot holes through your wall boards inline with your shed timber structure, and then attach your screwdriver bit to your drill and fix the screws into your board at the joists of your shed.
Top tip: Other options include plasterboard, hardboard, tongue and groove and pallet boarding.
-
Time to paint
Once everything has settled, you can begin to think about painting.
Put a protective covering down to protect the floor and use masking tape to cover any areas that you don’t want to be painted.
Then, apply a thin layer of paint primer. Make sure every inch of your planned paint area is covered and then leave to dry for the allocated amount of time (always check the packaging).
Next, apply your chosen paint colour. To get a more saturated colour, you may need to apply multiple coats. Make sure each coat is dry before applying the next.
Top tip: You’re going to want to use garden paint that has been specifically developed to colour and protect garden wood.
-
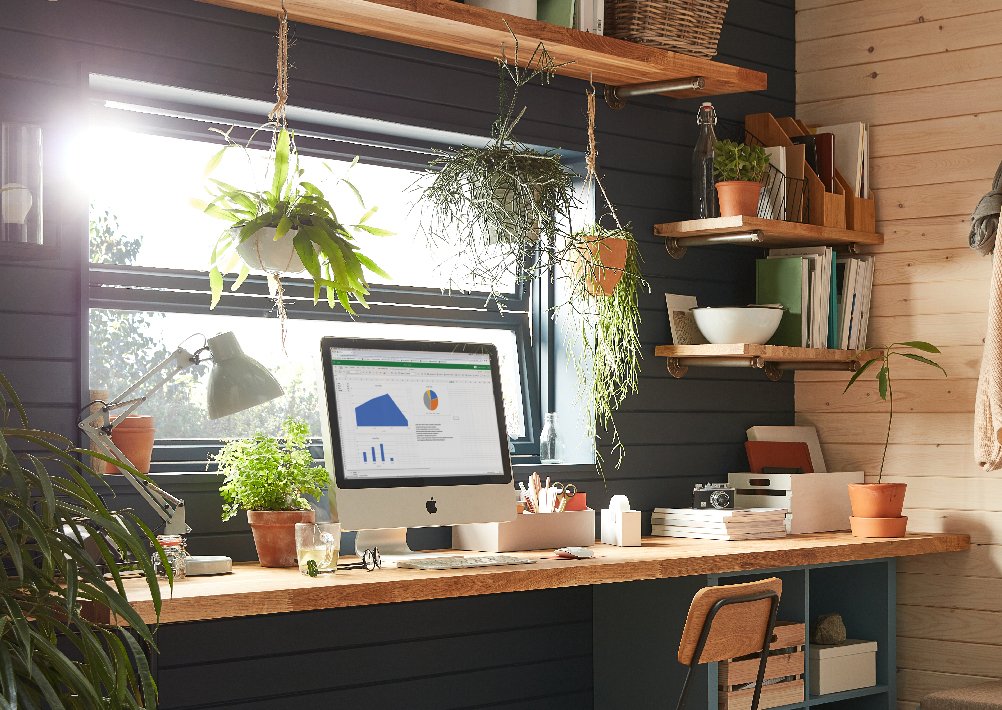
Decorating
This step is completely up to you, depending on what you plan to use the space for.
You could think about adding adding a desk, chair and some cushions and throws for a cosy feel. Alongside some desk organisers and storage systems to keep it clutter-free.
Top tip: Adding cushions and throws on top of a storage bench is a great way to store things away neatly whilst also providing a comfy place to sit.
Don’t forget to upload an image of your new summer house/ office to social media, tag and follow us @Homebase_uk


