

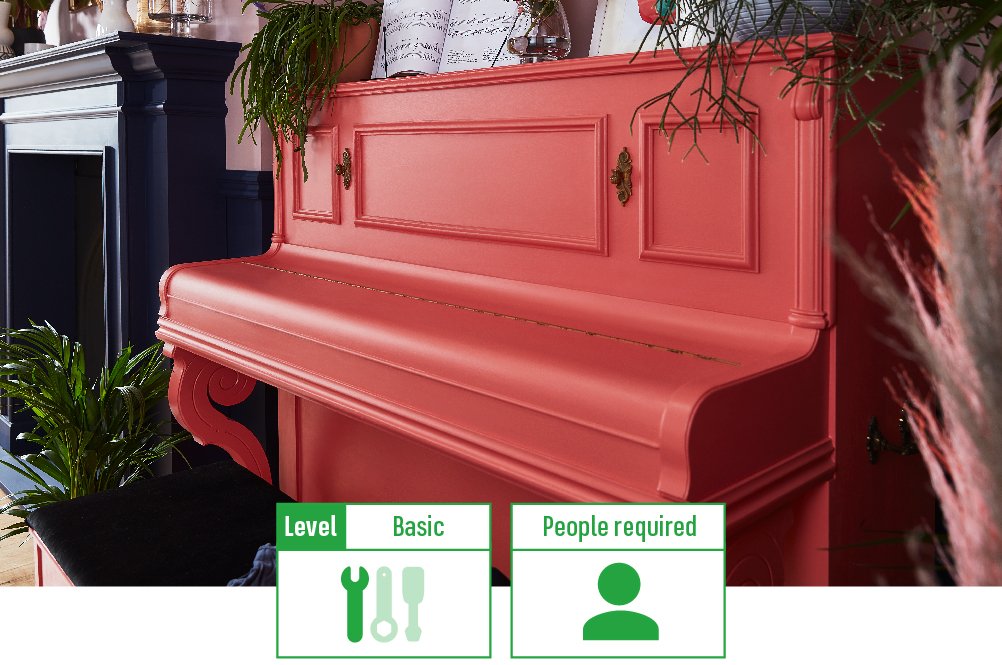
Upcycling projects are a great way to give already much-loved objects a new lease of life. With just some furniture paint and handy tools, you can upcycle almost anything. Something that most people might never think about upcycling is their piano.
Upcycling your piano and painting it a fabulous new colour will help you transform it into the masterpiece it’s meant to be. While also giving you the extra nudge you need to start playing again.
Let’s start with what you’ll need.
Materials:
- Cleaning materials
- Paint primer
- Furniture paint
- Cleaning cloths
- Clear finishing wax
- Dust sheets
- Decorative touches
Tools:
-

Read our DIY safety tips and manufacturer instructions
Before you begin any DIY work, we recommend you read our DIY Safety Tips guide along with your power tool manuals to keep yourself and others safe while completing this How To guide.
It is recommended you only complete this upcycling project if you can do so outside or in an open garage for maximum ventilation.
-
Prep your piano
Start by moving your piano on top of a protective sheet to protect the floor underneath from splashes of paint. You may want to call on someone for this part to help with the heavy lifting.
Next, you need to thoroughly clean your piano. Any dust or dirt will prevent the paint from going on smoothly.
Afterwards, use your craft paper and painter’s tape to cover anywhere dust could get into and anywhere you don’t want to be painted.
Top tip: Don’t forget to cover the piano keys and foot pedals as well as the inside of the top of the piano and the music desk hardware.
-

Sand your piano
Use your mouse sander to sand down your piano. This will help the paint to stick better to the piano surface and will allow the paint to glide on smoothly. Use a duster to clean away the dust created by the sander.
Top tip: Wear old clothes for this and don’t forget your protective goggles and dust mask.
-
Prime and re-sand your piano
Next, you want to prime your piano a couple of times over.
Use your paint primer where you want the new colour to be. Let your piano dry, then sand and prime again – not forgetting to wear your protective goggles and dust mask.
Top tip: While it’s not absolutely necessary for you to sand your piano again, it will help to keep the surface extra smooth.
-
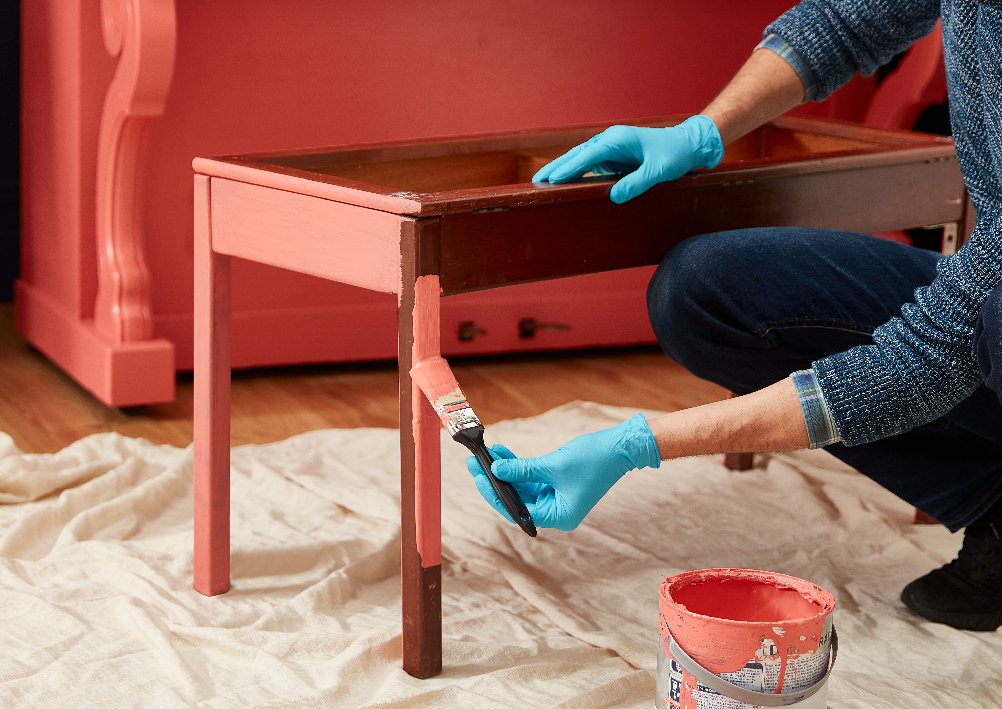
Time to paint
Pick your colour and get painting.
Use different sizes of paint brushes and rollers to effectively cover all areas.
You could use a matte or glossy paint, depending on your preference.
Top tip: Using higher quality paint brushes will allow for an easier and smoother finish.
-
Finishing touches
Once your piano is completely dry, you can add a coating of wax with a brush or clean cloth.
Make sure you follow the instructions on how best to apply the wax. Wax comes in different colours, so you can choose which finish you would like.
Finally, leave to completely dry before touching.
Top tip: Wipe off any excess wax to prevent clumps from forming.
-
Decoration
To make your new piano feel extra special, why not add some decorations around it, or on top?
Indoor plants, especially when paired with earthy tones of brown and green, can help to create a calm and homely feel. Or, add some scented candles on top to create a relaxing environment that makes it easier to concentrate and play.
Top tip: This step is completely up to you, play around with furnishings and decorations to see what looks best!
That’s your Upcycled Piano Guide complete.
Don’t forget to upload an image of your new upcycled piano to social media and tag us @Homebase_uk.


