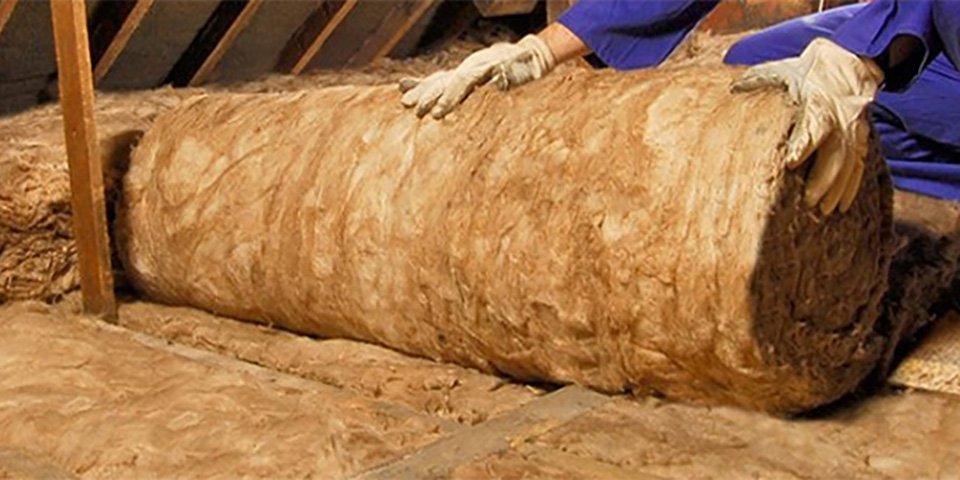
Knowing how to insulate a loft is a simple way to make your home more efficient and save money on your energy bills. An easy task that doesn’t require any specialist DIY skills, one person should be able to lay insulation in a few hours.
If you’re on a budget, the best way to insulate a loft is with loft floor insulation. This will help to trap heat in the house and prevent it from escaping through the rafters.
Please take a moment to read through our DIY safety tips and always follow the manufacturers’ instructions. Before you start, we also recommend taking a look at this handy video. It's a great step-by-step guide!
What you'll need:
Choosing loft insulation
When it comes to reducing your heating bills, home insulation is a fantastic long term solution. The thicker your insulation, the more energy (and money) you will save. The recommended minimum thickness is 270mm, cutting your heating costs by a healthy 15%. If you're not sure how much insulation material you need for your loft, follow the simple steps below.
DepthMeasure the depth of your current insulation. Subtract your current depth from the recommended minimum of 270mm to find out how much new insulation to buy. You may need more than one layer of insulation to get the right depth.
AreaMeasure the size of your loft: the total area required = length x width.
Joist gapIf your existing insulation is level with the joists, you can skip this section and go straight to the next step.
Most joist gaps are between 400mm and 600mm wide. Measure the distance between your joists to work out what type of roll you need.
For more information on the varying types of insulation and to find the perfect one for your loft, check out our insulation buying guide.
Safety guideMake sure your loft is safe to work in before you start! Use crawl boards to avoid damaging the ceiling below and make sure to lay any electrical wiring over the top of the insulation. Leave a 75mm gap between the insulation to prevent a fire hazard. It’s also a good idea to wear a dust mask, goggles and gloves during this job.
How to install loft insulation
- Clear your loft to make installation easier.
- Use crawl boards and start at the furthest corner. Unroll the first length so it fits between the joists or sits on top of the existing insulation.
- If you already have insulation between your joists, place the new material on top to the height of the joists. Then position your second layer across your joists to the minimum 270mm depth.
- Press the insulation down lightly as you move across the loft. But don’t compress it – this will make your insulation less effective.
- When one roll finishes, begin another by butting the two ends together. Make sure there are no gaps. When you reach the opposite end of the loft, cut the material using a sharp craft or utility knife. Leave enough ventilation space from the eaves.
- It’s also worth insulating your loft hatch as heat can escape through it. Cut a piece of insulation material to the size of your hatch and secure the material to the back of it.
Important things to consider
Storage spaceInsulating your loft doesn't mean that you can't still use your roof space for storage. We recommend building a platform near your loft hatch with loft insulation boards. You can then use this area for shelving or to keep your storage boxes.
To ensure your platform fits perfectly, you will need to trim your boards by marking a straight line with a ruler and using a panel saw to cut to size. Cut the boards outside of the loft space to prevent you from inhaling saw dust and to give you more space to move. You only need a 100mm insulation depth when you lay a loft insulation board.
Simply slot the loft boards together and secure them to the joints using screws at each corner. To ensure that your structure is strong, the ends of each board should meet near the joists. Ensure you have secured your boards away from any cables or pipes.
Insulating your cold water tankBefore you insulate your loft we suggest that you insulate the cold water tank first. Insulation prevents heat from escaping out of your living space into the loft, which means that your loft may occasionally reach freezing temperatures during very cold weather. Covering your tank will also help to prevent condensation forming.
You can use ordinary insulation. Wrap it round your tank and tie with string to keep it in place.
Ventilation and preventing dampAfter insulating your loft, it can be prone to condensation. Increasing ventilation and ensuring that your bathroom extractor fan is not venting into the loft are simple ways to manage this. Using a dehumidifier from time to time will also help to prevent damp.
And that’s how to insulate your loft! For more expert advice, tips and tricks on how to save on your energy bills, check out our energy efficiency hub.


