Garden & Outdoor

How to Insulate a Shed

By learning how to insulate a shed, you can enjoy it all-year round like this man

If you’re planning to spend plenty of time in your shed, you want it to be as warm and comfortable as possible. One of the easiest ways to make your shed somewhere you can enjoy being in all year round is by insulating it. There are plenty of options for insulation, so this handy guide is here to help you decide which is best for you. 

Our step-by-step guide will show you exactly how to find the best way to insulate a shed so you can continue to enjoy it whatever the weather.  

To really make your shed into something special, check out our guides on how to transform your shed into a luxurious summer house or office space and ‘the best storage solutions for your shed blogs to keep your shed stylish inside and out.

It’s also recommended you read our DIY Safety Tips guide before you begin to keep yourself safe and protected. And always reach out to a certified expert if you are unsure about anything. 

Let’s start with what you’ll need. 

Materials:

Tools  


The benefits of insulating your shed

Adding insulation to your shed might seem unnecessary, but it comes with three major benefits if you choose to do it.  

Keeps your temperature regulated

Non-insulated sheds can vary wildly in temperature throughout the year – from extremely cold in winter to excessive heat and humidity in summer. By adding insulation you can better regulate your shed’s temperature  and therefore protect sensitive storage like paint and electronics, all while saving money on heating or fans too.

Free to enjoy all year round

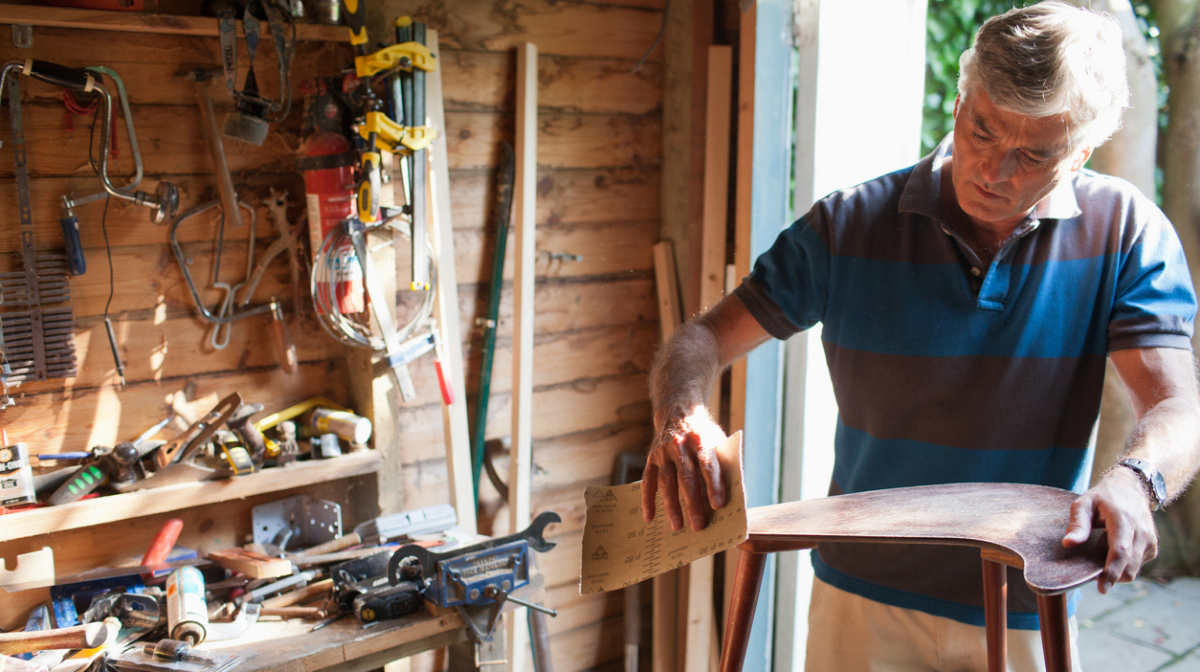
By regulating your shed’s temperature, it becomes much easier to enjoy all year round- and even opens it up to a whole range of new possibilities. Such as transforming it into a home office, workshop or even a cosy hideaway.   

Create a longer-lasting living space

From rust to damp, mould and insects – there are plenty of ways excessive heat or moisture can damage your shed over time. However, you can cut down on all that by keeping your shed’s temperature stable.

Top tip: Take a look at these energy saving tips for more ways to make your home more efficient.

Your simple ‘safe and secure’ checklist

Which types of shed can you insulate?

The most common type of shed to add insulation to is the classic wooden shed, but it is also possible to add insulation to a metal or plastic shed too. 

Make room to move  

Getting your shed as clear as possible makes it easier and safer to manoeuvre when you’re insulating it – so take out any toys, tools and equipment in the meantime. 

Check for holes or leaks  

The biggest reason to insulate your shed is to help regulate the temperature – which isn’t possible if there are holes or missing seals around the door. 

Nail down loose roof felt  

Your shed roof often loses the most heat throughout the year – so it’s worth double checking the roof felt is still intact. If not, nail down the corners firmly to make your life easier. 

Protect yourself and your shed  

Before you get started, put down a dust sheet to protect your shed flooring and pop on some safety goggles to protect your eyes.  


Find the best insulation for your shed

Bubble wrap

Best suited to wooden sheds only, the cheapest, quickest and easiest method of insulating your shed is with everyday bubble wrap. Here’s how to install it: 

  1. Cut your bubble wrap into strips to fit your shed’s frame on the interior walls.
  2. Using tacks or a heavy-duty stapler, attach your bubble wrap to the walls.
  3. Make sure you staple it to the framing, not the cladding – as this will create an air gap to stop damp getting through.
  4. If you’re worried about keeping the look of your shed intact, just cover it over with a thin layer of MDF or plywood ­– also cut to size.
 

Multi-layer insulation

Suitable for almost all types of sheds, multi-layer insulation (sometimes called therma-wrap) blends the properties of bubble wrap and aluminium cladding for a thicker and better insulating material. Here’s how to install it: 

  1. Unroll your multi-layer insulation and cut to fit between your frame panels.
  2. If you’re insulating a metal or plastic shed, apply adhesive on your cladding and press each strip firmly onto it.
  3. If you’re applying to a wooden shed, tack or staple each corner directly to your cladding.
  4. Much like bubble wrap, you can cover up your insulation with MDF or light board for a cleaner finish –but only in a wooden shed.
  5. For plastic or metal sheds, seal the joints with heavy-duty tape to keep out moisture.

Foam boards

A sturdier type of insulation, foil-lined foam boards offer a simple, standardised way of insulating your shed. Here’s how to install it : 

  1. Available in a range of sizes, just slide your boards over the panels in your wooden shed’s frame.
  2. If you need to, cut to size and tape down the edges to keep them from moving. 
  3. Like before, finish by covering over with a board.
  4. For metal or plastic sheds, follow the same steps as the multi-layer insulation by adding adhesive to your walls and sticking the boards down one by one.

Fibreglass wool or rockwool

Only suitable for wooden sheds, fibreglass wool or rockwool are the crème de la crème of shed insulators – controlling temperature, moisture and even keeping sound down too. Here’s how to install it: 

SAFETY TIP: Always wear safety glasses, a facemask and gloves when cutting mineral or fibreglass wool to prevent irritation to eyes or skin. 

  1. Fit a damp-proof membrane as the bottom layer before insulating to help reduce moisture build-up.
  2. If using a slab-sized product like Earthwool, simply press down into your shed’s gaps to friction fit.
  3. If you’re using a roll-based product, cut to fit the gaps you have and press down firmly.
  4. As usual, top your wool insulation with MDF or plywood boards for the best results and finish. 

That’s your shed insulation complete. Don’t forget to upload an image of your new insulated shed and tag us @Homebase_uk


Homebase

Homebase

Writer and expert