Baths, Toilets, Sinks & Taps

How To Fit Wet Wall Panels

More hard-wearing than paint and easier to clean than tiles, wet wall panels are a no-brainer when it comes to sprucing up your bathroom. But fundamentally, what are they, how do you fit them and what will they set you back pricewise? We’re here to answer all your questions in one easy guide.

What are wet wall panels?

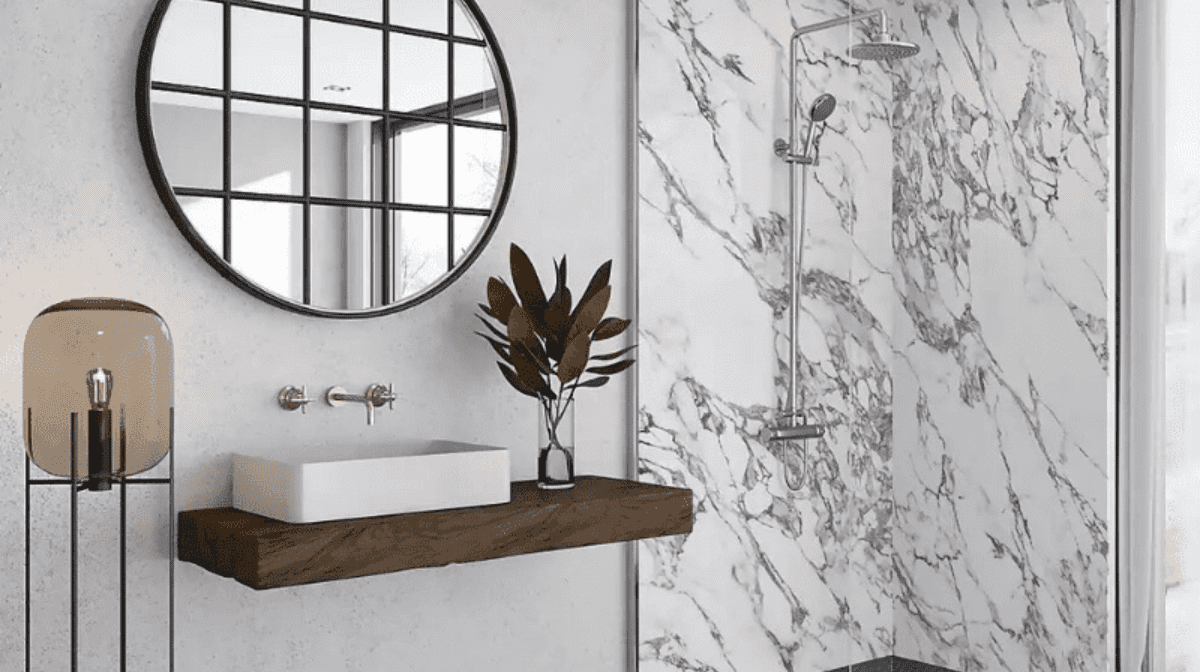
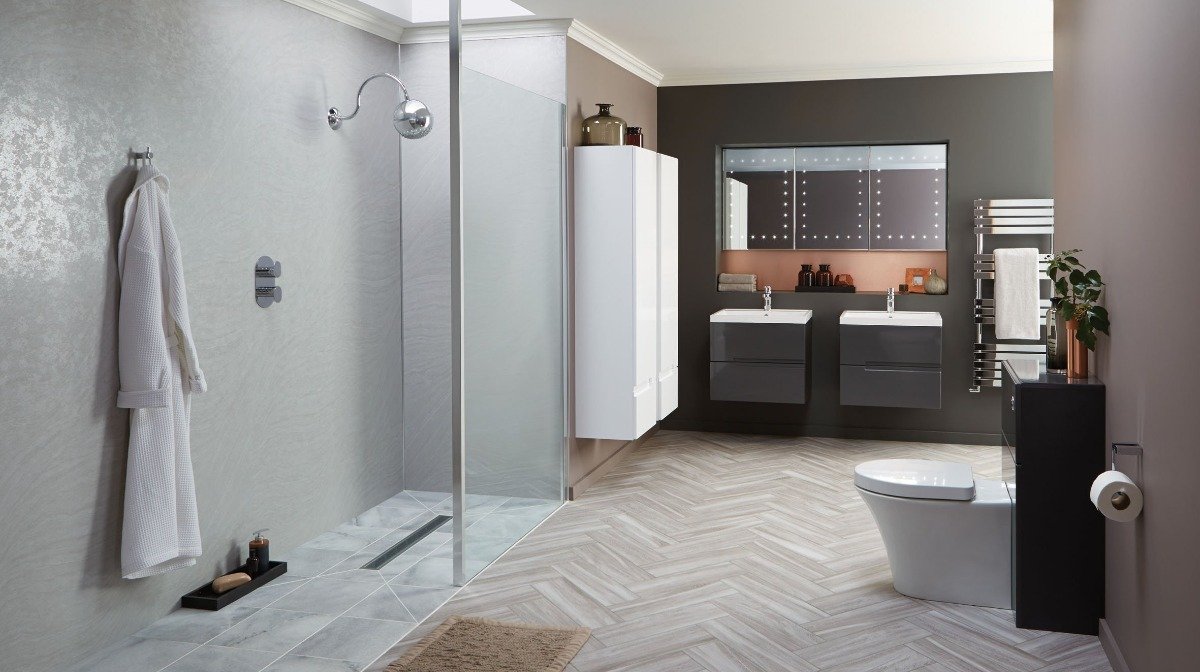
Wet wall panels are large panels that mimic big slabs of tile. They’re made from acrylic stone resin or moisture resistant MDF, making them resistant to colour loss, water and bacteria. You can get wet wall panels in plenty of designs and patterns depending on your style.

Are wet wall panels better than tile?

There are a lot of pros to installing wet wall panels in your bathroom. As already mentioned, they’re just as waterproof and resistant to colour distortion as tile.

Being resistant to bacteria and not relying on grout also means wet wall panels are also a lot easier to clean. Forget mould and mildew in between tiles, these panels wipe clean in one swoop of your cloth and spray.

It’s also worth mentioning the cost difference. Wet wall panels are more cost effective than tiles most of the time. And, being made of MDF, they’re fairly cheap and easy to replace if they do get damaged, which is unlikely due to their incredible durability.

To top it all off, wet wall panels are very easy to install, meaning you’re unlikely to need to hire someone to place them in for you. You can even fit them over your existing tiles, so there’s no need to spend time and effort removing anything. Let’s look at how to fit them in more detail.

How to fit wet wall panels

If you’re up for fitting your wet wall panels yourself, we’re here to help. Here’s our easy guide to installing your own wet wall panels, including exactly what you’ll need to transform your bathroom:

What you’ll need:

  • Caulking gun
  • Safety goggles
  • Electric or fine tooth saw
  • Adhesive sealant
  • Sandpaper
  • Sealing kit 
  • Measuring tape
  • Pencil
  • Anti-bacterial spray and cloth
  • Your wet wall panels and trim.

Step one: Measure your space

Use your tape measure to measure the height and width of the walls in your bathroom. Order the right amount of wet wall panels to fit your space – you’ll usually find dimensions in the product details.

Step two: Treat your panels

It’s good to give your wet wall panels a clean with your antibacterial spray before you put them up. That way they’re good to go from the moment they’re installed.

Step three: Mark up your panels

Using your measurements from step one, work out how many panels you need and mark up the edges you’ll need to cut off. It’s best to lay the wet wall panels flat on supports face down for this.

Step four: Cut your panels

Using an electric or fine tooth saw, cut your wet wall panels to size using your guides from step three. Be sure to wear safety gear for this – think gloves and goggles. 

Step five: Sand the edges

Use your sandpaper to make the freshly cut edges of your wall panels smooth. You can also rough up the back of your wet wall panels to help the adhesive stick.

Step six: Attach the trim

Before you fit your wet wall panels you’ll need to add the trims they slot into using an adhesive sealant. Or if you’d like more stability, you can always drill them into the wall. Tongue and groove joints make the panels very easy to slot in.

Step seven: Place your panels in position

Once you’ve set up all your trims, it’s time to get your wet wall panels into place. Add three strips of foam tape along the length of the panel. Then apply adhesive in a thin line down either side of the panel. 

Next, zig-zag your glue top to bottom and spread it evenly. Add the same adhesive to the trims and to the sides of the wet wall panels themselves. 

Then remove the back of the foam tape, lift your wet wall panel into position and slide it into the trim at an angle to avoid the tape catching. Press your panel into place to secure it. It’s always great to start in the corners of the room if possible.

Step eight: Seal your panels

To finish off the installation of your wet wall panels, simply add sealant around the bottom edges. This will avoid water seeping into the gaps. You may also want to check they are securely fastened to the walls and trims.

And there you have it. Our step-by-step guide to how to fit wet wall panels. If you do have any questions or comments, feel free to get in touch with us online or visit us in-store.

How to Install a Wet Room

Baths, Toilets, Sinks & Taps

How to Install a Wet Room

Read on to discover how to install your own wet room so that you can completely do away with shower enclosures, giving you all the space you need for an indulgent, steamy shower.

2021-08-09 15:30:59By Bathstore


Bathstore

Bathstore

Writer and expert