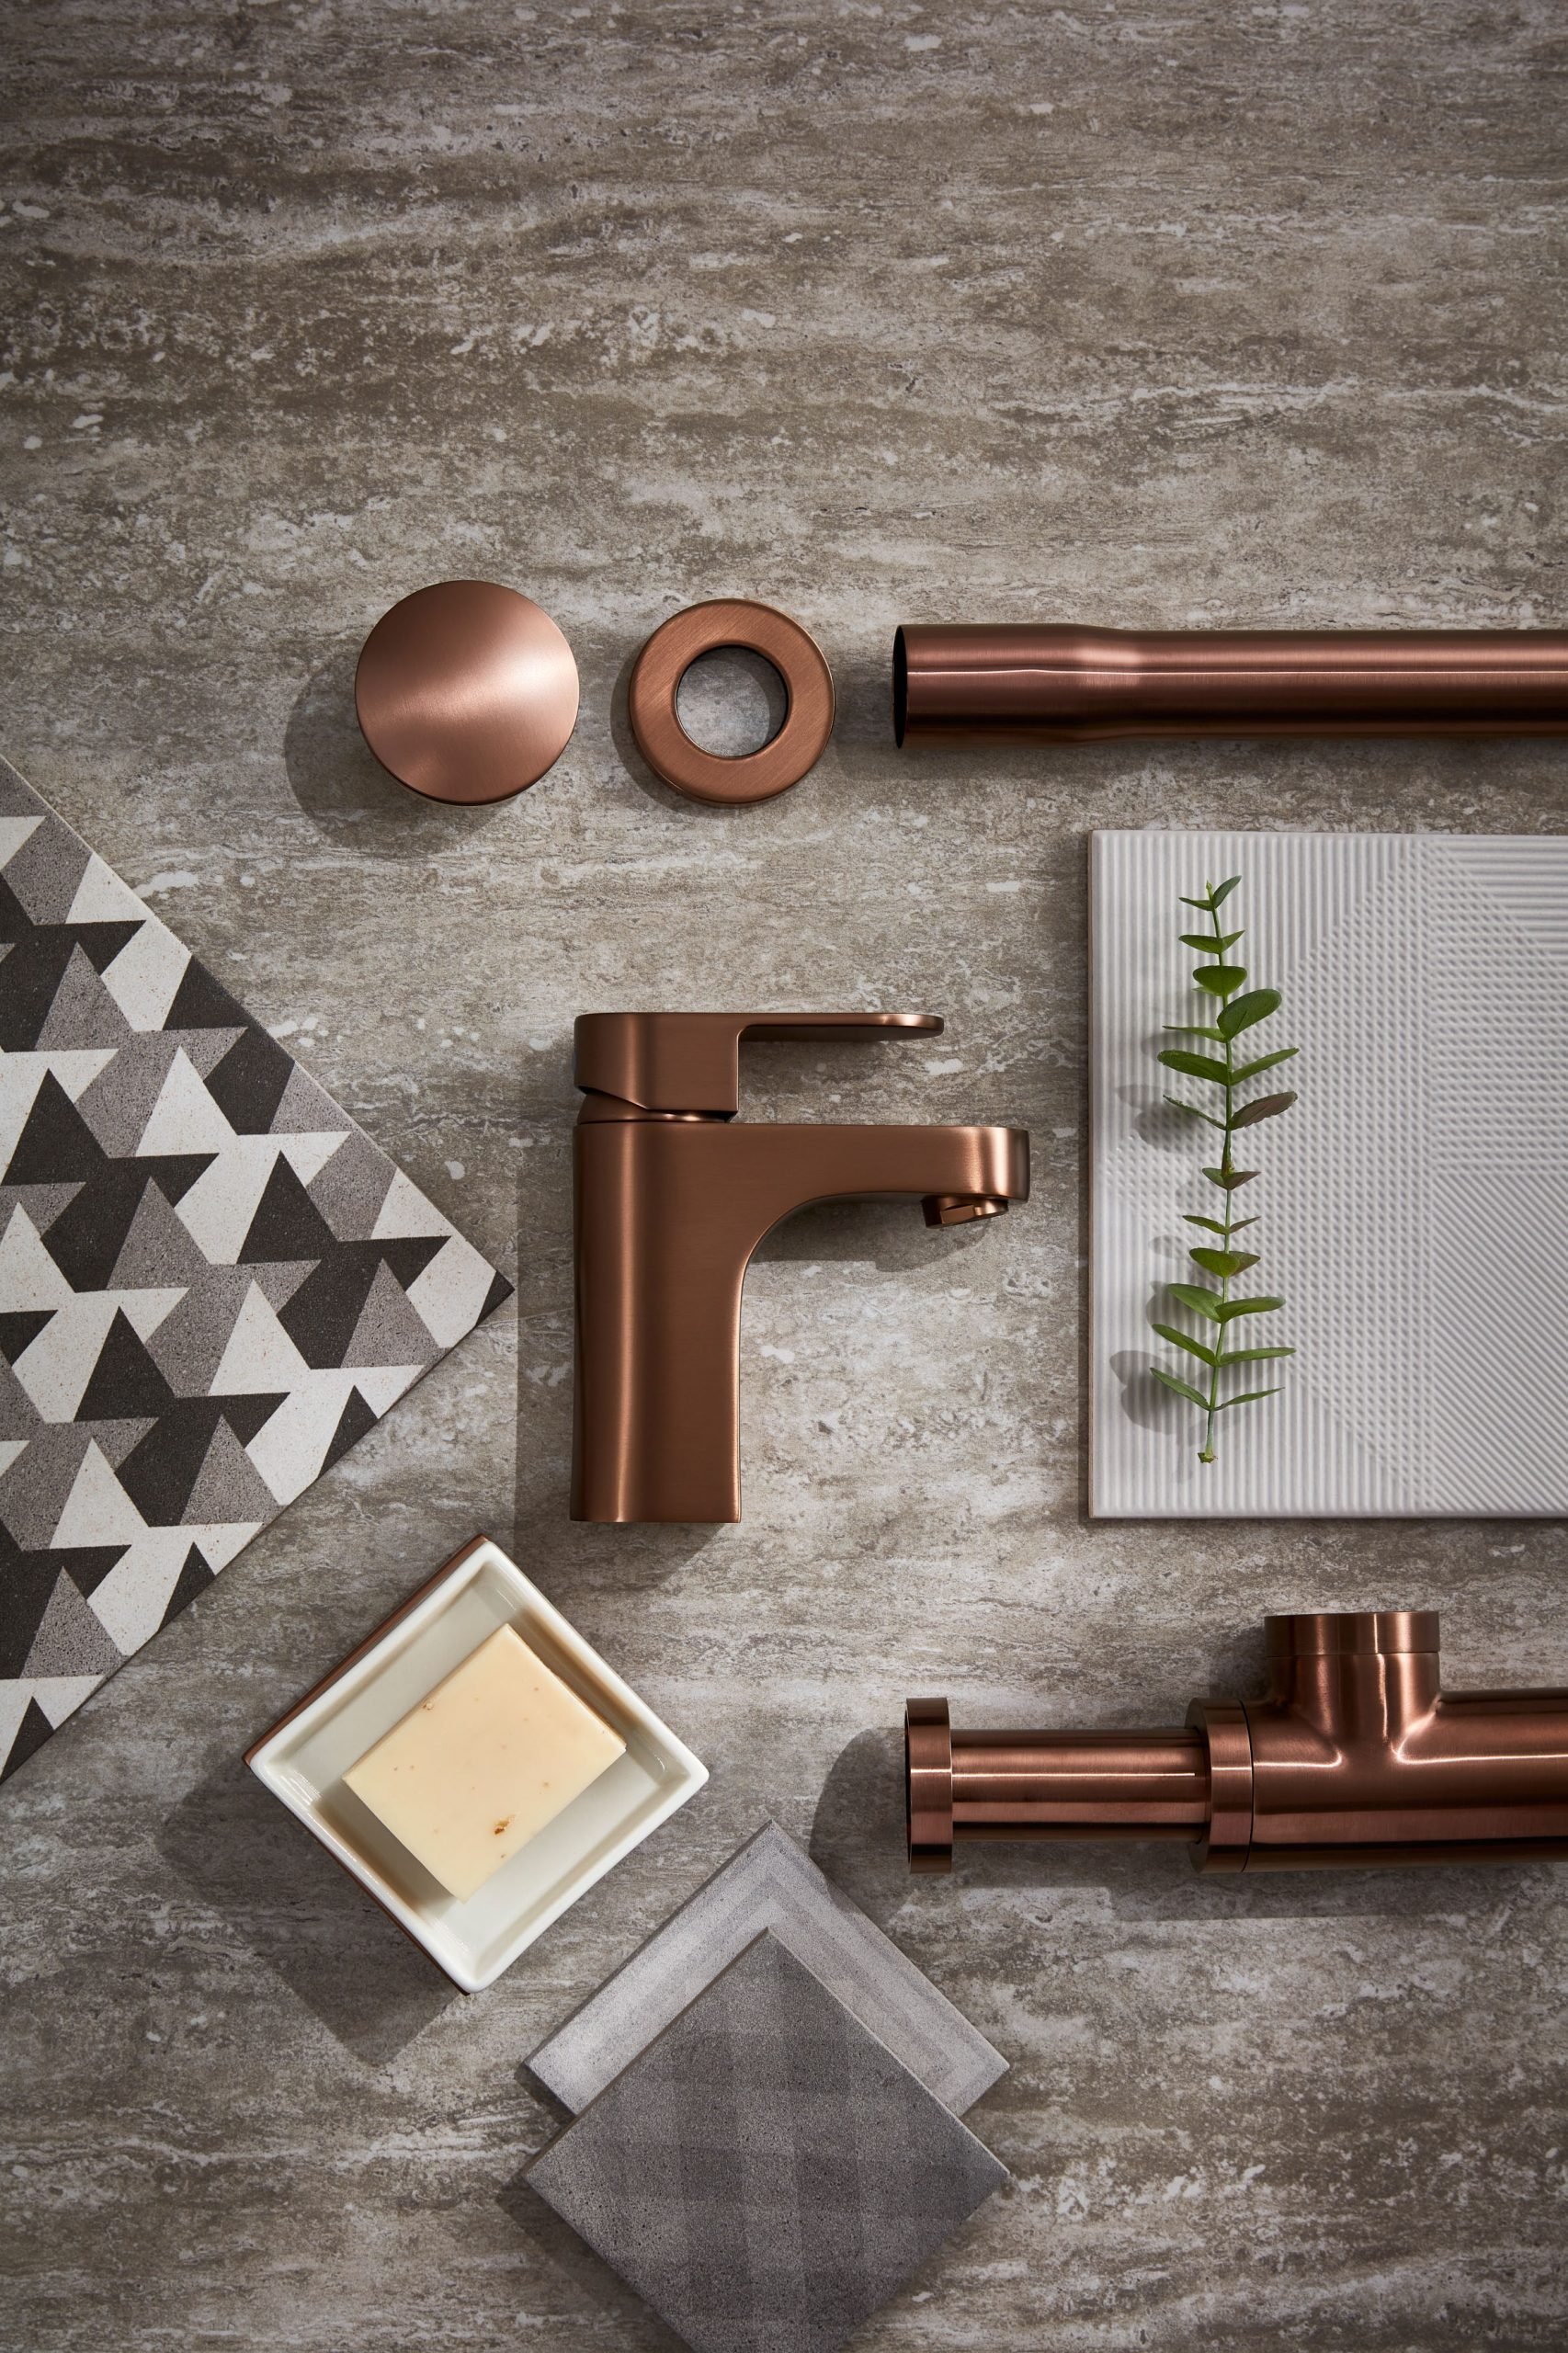

Combining hot and cold water in one easy-to-control blend, mixer taps are one of the most popular bathroom picks around. Delivering on function and style at the same time, mixer taps are a simple way to add an extra dimension to your bath or basins. Best of all – our mixer taps are easy to fit too, especially when you know how! Discover everything you need to get started with our handy step-by-step guide.
What you’ll need:
- Mixer taps
- Tap spanner
Typically supplied with the tap:
- Washers
- Nuts
- Flexible tap tails
- Fixing studs
- Deck plate
Before you begin:
In this guide, we are assuming you’re installing new mixer taps in a new basin – or at least a basin that has already had the mixer taps removed. Removing mixer taps can be a little trickier than installing them, especially if they’ve been in place for a while – so we recommend getting a professional to help with removal before using our guide to find out how to fit your new ones quickly and simply.
What mixer taps should I choose?

Before you start installing, it’s a good idea to choose the type of mixer tap that best suits your bathroom. From the basin to your bath, mixer taps all share the same basic principle: a single tap that combines hot and cold water in one spout with an adjustable handle.
However, there’s a whole range of styles on offer at Bathstore too. Keep things clean and simple with the classic square edges and chrome finish of our basin mixer taps, or try adventurous colour finishes like Bronze and Noir instead. Alternatively, you can freshen up your bath with our modern mixer taps – complete with stylish waterfall or aerating spouts. No matter what design your bathroom wants, we’ve got the styles to match right here.
How to fit a mixer tap
Step 1: Check the mains
Ready to begin installing your mixer tap? The best place to start is by checking your mains water is off and that your basin mixer taps are unboxed and undamaged.
Step 2: Attach your mixer tap tails
Once you’re happy with your setup, screw the supplied flexible tap tails into the bottom of your basin mixer tap and tighten them by hand.
Step 3: Thread your tails through
Once your tails are tightened, screw the fixing studs onto your taps base to keep the tails secure at the other end too – then thread the tails and studs through your basin. Since the temperature controls are both combined into one mixer tap, you only need the one hole to feed everything through.
Step 4: Add your washers
Making sure your mixer tap is facing forwards at a 90-degree angle from the bath or basin’s rim, connect a washer and deck plate to keep your fixing studs in place. Once you’re happy with the basin tap’s position, top your studs off with nuts and tighten with your tap spanner until secure.
Step 5: Turn on and tighten
Finally, check your mixer tap is set to “open” and turn the water back on. If you see any water around the bottom of the basin – use your hands to isolate the source and tighten any connectors as necessary.


