DIY

How To Make A Panelled Wardrobe

panelled wardrobe

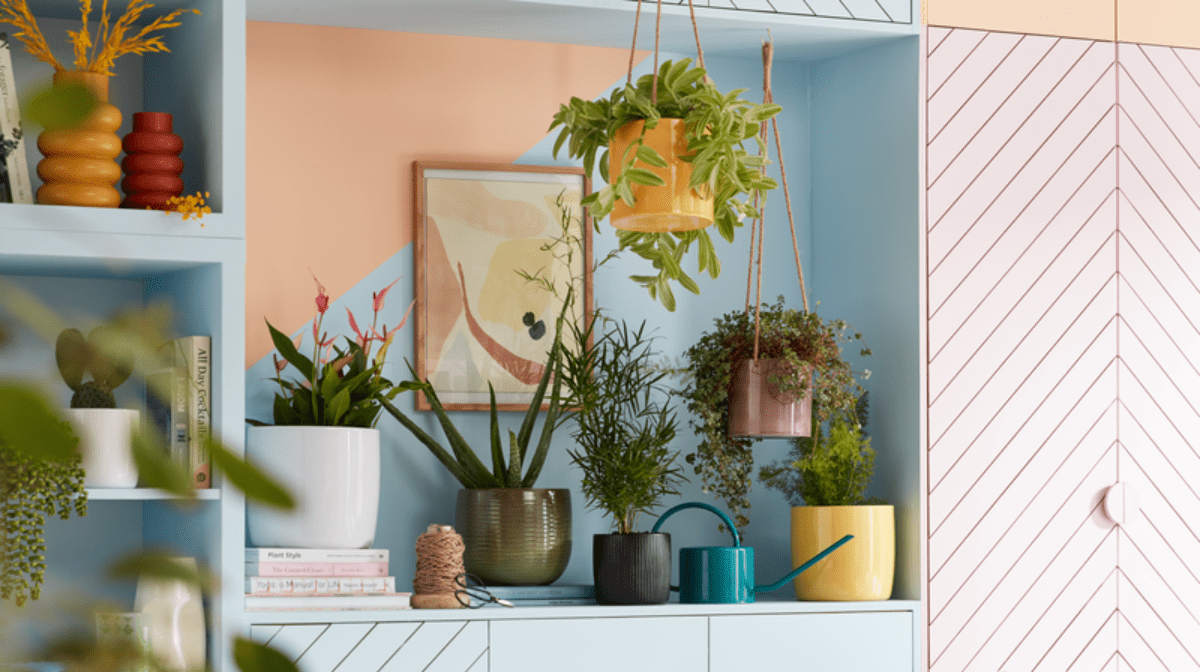
Whether your wardrobe is looking a little tired or you simply fancy a new DIY project, building your own panelled wardrobe doors is a fun and straightforward activity that will add instant flourish to your interiors. 

If you’re puzzling over how to build a wardrobe, don’t panic! We’ve put together a handy DIY wardrobe guide to talk you through the steps and what you’ll need to turn the panelled wardrobe doors of your dreams into a reality.  

Let’s get started with what you’ll need:  

Materials: 

Tools: 

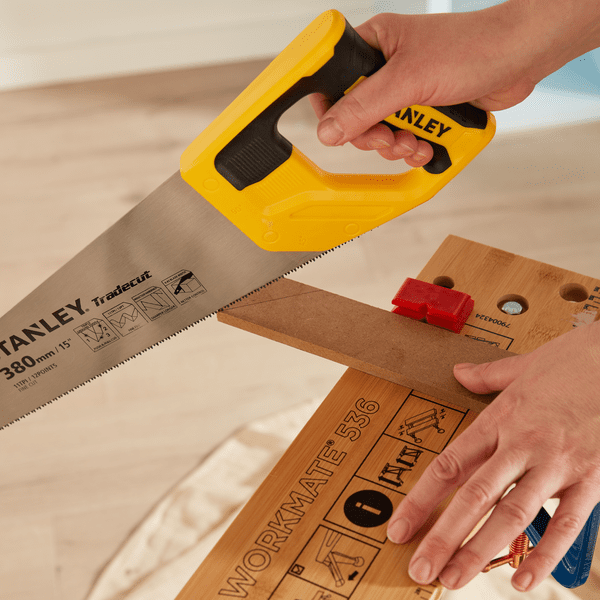
Step 1: Measure and mark your panelled wardrobe pieces

step 1

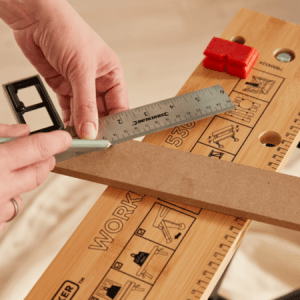
Using a tape measure held at a 45 degree angle to the long side of your door, measure the width of your wardrobe door to find out how long your panelled slats need to be. You’ll need to make a few measurements, as the slats that run diagonally nearest the top and bottom of the door will be increasingly shorter in length. 

Once you’ve found your measurements, mark a 45-degree angle on both ends of each panelling slat to ensure a neat, diagonal finish. Do this using a try square for complete accuracy. 

Step 2: Cut slats to size

step 2

Once you’re happy that your measurements are correct, cut your wooden slats along the diagonal line with a saw. If you’re working with a double wardrobe, you’ll also need to repeat these steps for the second door. 

With your MDF door pieces cut to size, lay them on the door to make sure that you have enough pieces and that they’re the correct length. 

Top tip: Familiarise yourself with these DIY safety tips before getting stuck into our DIY wardrobe ideas. 

Step 3: Prepare your base 

If you’re working directly on top of your existing wardrobe doors, you’ll need to sand them down and remove any fittings to ensure that your new panelled wardrobe doors can be attached neatly and securely. 

If you’re planning on making an entirely new wardrobe door replacement, simply cut a large piece of MDF board to the size of your wardrobe doors. Your panelling design can be attached directly onto this, and you can reuse the hinge fittings from your old door. 

Step 4: Fix your door panelling

step 4

This is the part where things really start to come together! Apply a high strength adhesive to the back of one of your slim shaker panels and stick it down onto the door structure. Hold it in place for a few seconds, before repeating with the next panel – you may find it easiest to start with the smallest pieces at the top of the door and work your way down. 

Step 5: Secure with nails

step 5

At this point, you’ll have an idea of how your finished panelled wardrobe doors will look. To ensure that your panels are finished to the highest standard, fix them securely in place with nails. Hammer a nail into the centre of each panelled strip. If your door is on the larger side, you may want to opt for a nail at either end of the strip to make sure that your panelling is strong and secure. 

Step 6: Fill and sand

step 6

With the doors of your new-look panelled wardrobe firmly attached, all that’s left to do before painting is to make sure that all surfaces are smooth, and any holes filled in. Take a small amount of wood filler and smooth it over any nail holes and uneven surfaces left behind from attaching your door panelling. Leave the filler to dry, before sanding it over for a seamless finish. 

Step 7: Get painting

step 6

This is the point at which you can really begin to make your new DIY wardrobe your own! Whether you’re opting for chic complementary tones or a bold contrasting shade, you’ll need a quality roller and a paint tray to ensure that you get an even coating of paint. 

Apply your first layer of paint, taking care to ensure that the edges of your wardrobe door panelling are also covered. Once the first coat of paint has dried, you can apply a second for a smooth, opaque finish. 

Step 8: Finishing touches 

Once your paintwork has dried, you can re-attach any hinges and hardware. To add an eclectic touch to your DIY wardrobe, why not personalise your panelled wardrobe doors with a pair of playful cabinet handles? With your hardware securely attached, you can fit your freshly painted wardrobe doors into place. All that’s left to do now is enjoy the fruits of your labour! 

And there we have it – that’s how to build your very own DIY wardrobe! Make sure to share a photo of your new panelled wardrobe doors and your own DIY wardrobe ideas with us @Homebase_UK. For more fun projects, visit our Ideas & Advice page.  


Homebase

Homebase

Writer and expert