
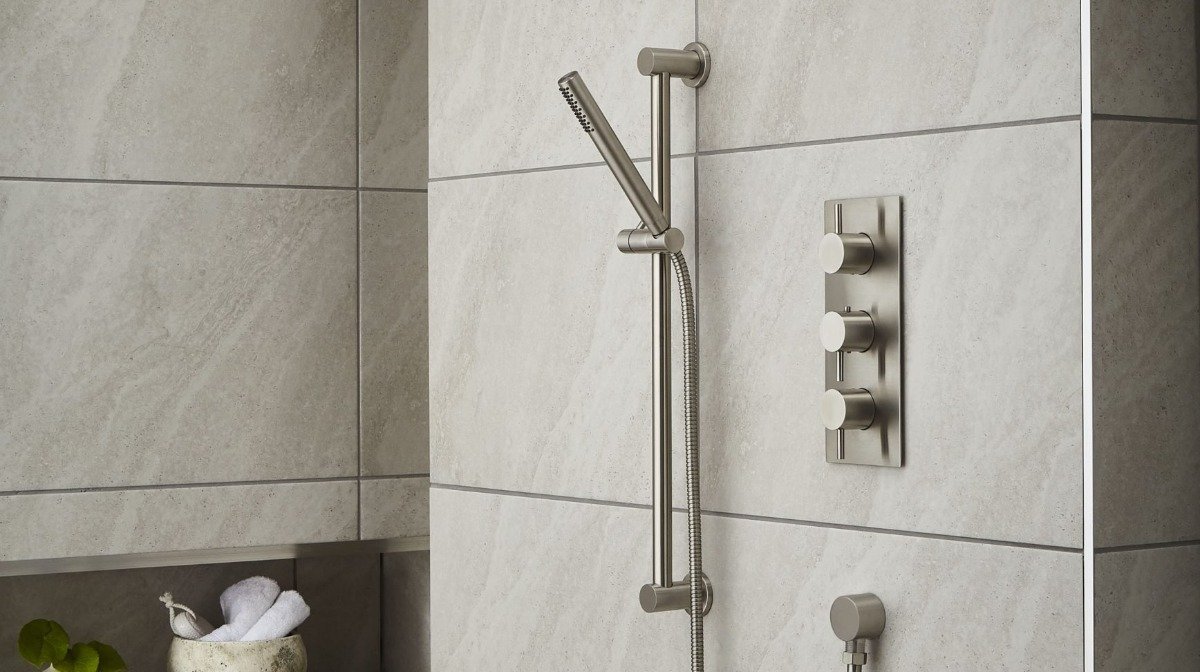

A shower riser rail is the metal fitting attached to your bathroom wall that holds your shower head in place. They also allow you to adjust the head to suit your height, so you can shower comfortably – hence the name ‘riser’ rail. They’re an easy way to turn your bath into a shower too.
Are there different types?
Of course there are lots of different designs of shower head and riser rail kits, but they all tend to centre around the same fittings, so have a very similar installation process. If you’re not sure the following steps feel right for your shower riser rail, always check the instructions that come with it or nip into your local Bathstore and one of our experts will be happy to help you.
Step-by-Step Guide to Installing a Shower Riser Rail
What you’ll need:
- Your assembled shower riser rail – as per the manufacturer’s instructions provided with it.
- Multi-purpose detector
- Power drill
- Tile bit
- Rawl plugs
- Flat head screwdriver
- Masking tape
- Pencil
- Goggles
- Spirit level
Step one
Decide where you’re going to place your new shower riser rail – be sure to get a good height for any taller or shorter family members.
Step two
Use your multi-purpose detector to make sure there are no wires or pipes behind where you’ve chosen. Be very thorough with this, you don’t want to drill through the wall and cause any damage.
Step three
Remove the escutcheon plates and set your rail against the wall, mark the screw holes onto the tiles with your pencil then remove the rail. Place masking tape over these pencil marks, then redraw your marking on top. Use your spirit level to make sure both markings are straight and line up.
Top tip: Before you start to drill, be sure what kind of wall you’re drilling into. If it’s a plasterboard wall and tiles, multipurpose rawl plugs are fine. If it’s a solid wall, seek further advice from a professional as you don’t want to cause any costly damage.
Step four
Check your drill is on the correct setting so you don’t shatter your tile – we’d recommend a 6mm tile drill bit for standard shower riser rails. Pop on your goggles and drill into the masking tape marks you made earlier – there are usually four in total. The drill should do most of the work here so no need to apply lots of pressure, take your time to carefully break through the tile. Once you have a deep enough hole, remove the tape.
Step five
Fit the rawl plugs into the holes you just made, hammer lightly if these won’t simply slot in. From here you can simply screw the brackets into place using your screwdriver. Then simply slot the shower riser rail and escutcheon plates on the wall.
And there you have it, how to fit a shower riser rail in your bathroom. Any questions, comments or photos of your finished project? We’d love to hear from you, tag us on social media today.


