DIY

How to Panel a Staircase

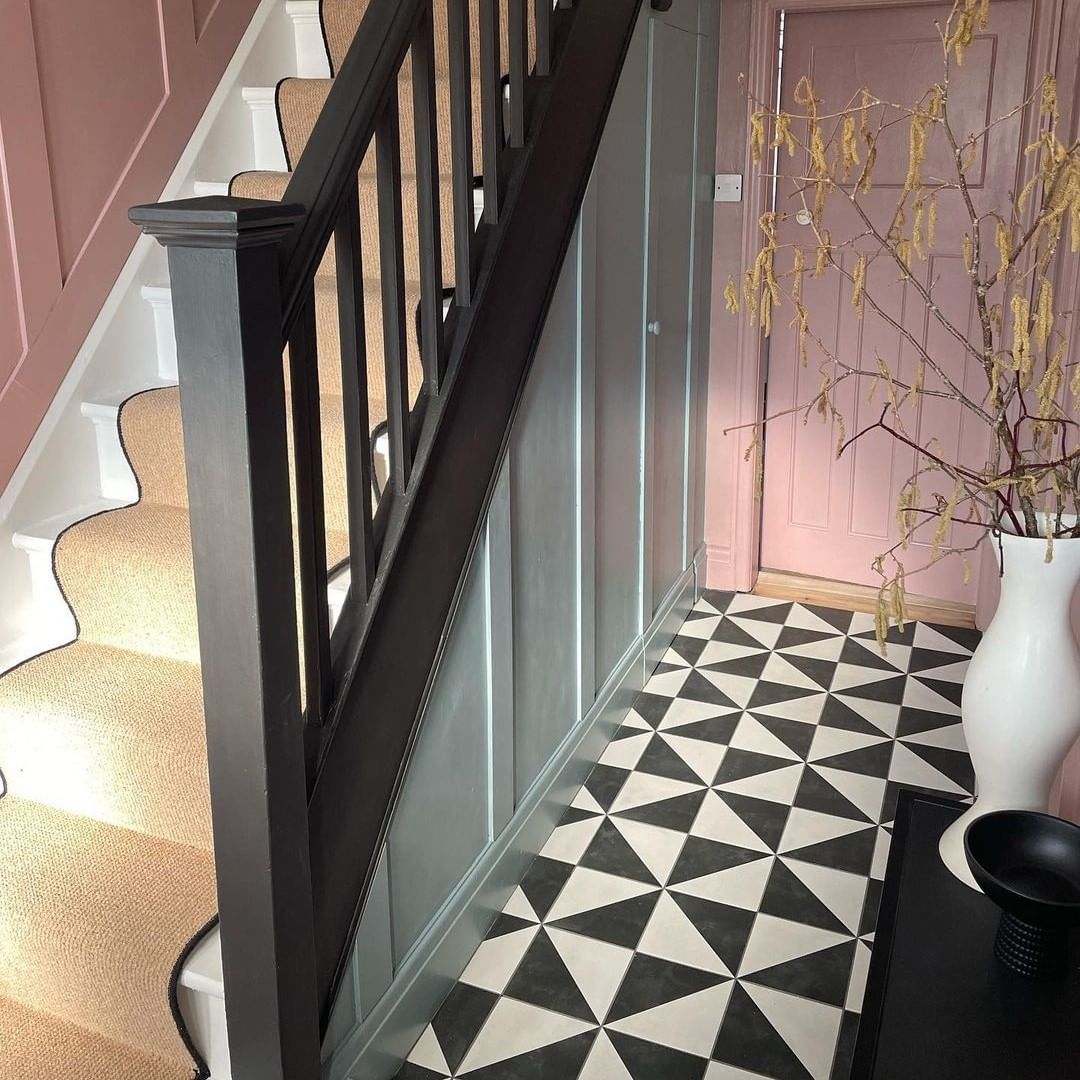
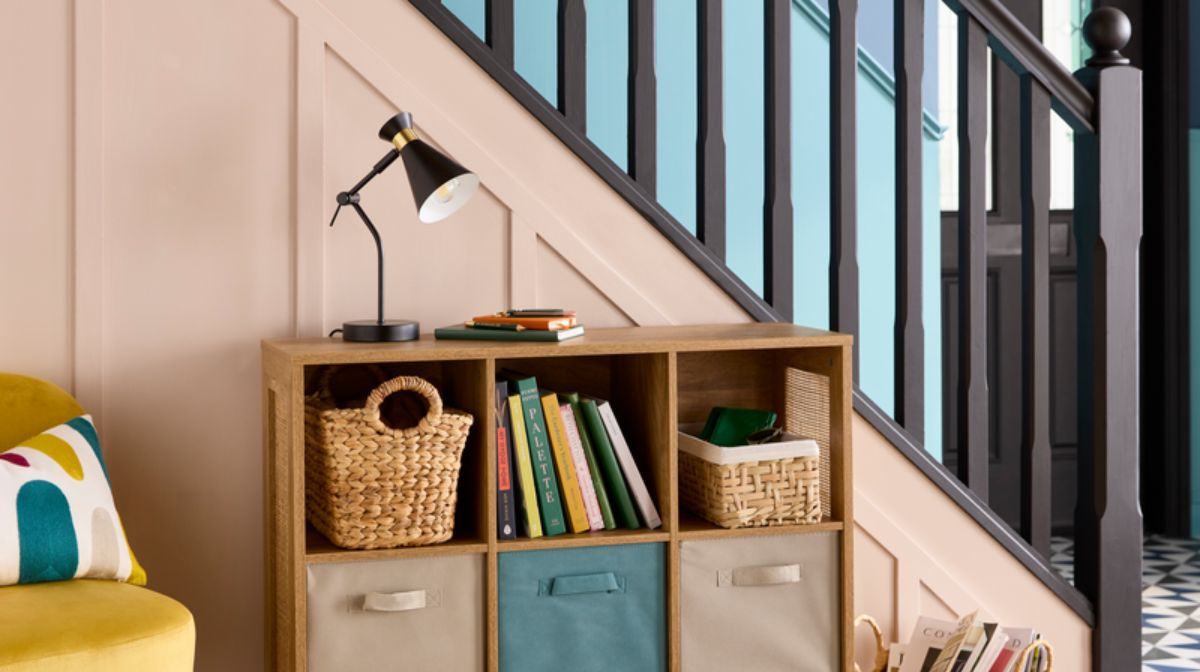
For anyone who wants to know how to renovate stairs without breaking the bank, wall panelling is an easy but incredibly stylish solution. A simple task that can be completed over a single weekend, staircase panelling will elevate the entrance of any home. Whether you’re after a contemporary look or love more traditional decor, DIY staircase panelling is a fantastic way to transform the feel of your space without a full renovation. 

To help you achieve a high-quality finish without a carpenter in sight, we’ve put together this simple step-by-step guide on how to panel a staircase. 

What Do You Need for Wall Panelling? 

Before you start panelling your staircase, you’ll need to get your hands on a few items, including: 

How to Panel Stairs in 7 Simple Steps

From choosing your cladding to picking out the perfect colour to match your interiors, these eight easy steps will transform your staircase in no time. 

1. Choose Your Cladding

Before you get started, you need to choose your preferred style of staircase panels. If you already have panelled walls in your hallway, then this decision will be a little easier. For a cohesive feel, it’s a good idea to stick to one type. 

If you’re working with a clean slate, then you have several options. For a more traditional wood panelling effect, shaker or tongue and groove styles have a timeless appeal – think cosy country cottages furnished with quirky antiques.  

Alternatively, shiplap or slim shaker panels offer a more contemporary twist and are particularly effective if you’re looking to recreate a New England-style interior. 

For a quick installation and to negate the need for a joiner, there are some ready-made panelling options available. The EASIPanel Raised and Fielded design is a firm-favourite as it provides a premium, professional finish. 

Top Tip: If you need help deciding on the right design for you, take a look at our wall panelling and cladding buying guide. 

2. Prepare Your Walls 

Before applying panelling, you need to prepare your walls and make sure they are clean, grease-free and that any loose wallpaper or paint has been removed. This will ensure that your adhesive sticks properly. 

Use sandpaper to smooth any rough surfaces and wipe away dust and dirt with a damp microfibre cloth and a sugar soap solution. If applicable, our guide on how to remove wallpaper will take you through the necessary steps. 

Top tip: Follow our guide on how to repair walls to mend any cracks or crevices. 

3. Measure and Cut the Dado Rail

Unless you plan to fit panelling along the full height of the wall, you’ll need a dado rail to frame the top of your staircase panels. It’s important to consider proportions here. Taking your panelling too high can make the ceiling appear lower, while too little will look like an afterthought.  

Typically, wall panelling should cover approximately the first metre of a wall. However, this does depend on personal and aesthetic preference. 

To ensure you cut your dado to the correct length, measure one metre up from the skirting board at the bottom of the staircase and mark with a pencil. Make this same measurement at regular intervals up the staircase and onto the landing. The length of this line will tell you how much dado rail you’ll need. 

It’s important to create a seamless join between the horizontal and diagonal sections of dado rail. Using an angle finder or protractor, measure between the horizontal lines at the bottom and top of your staircase and the diagonal line that runs up your stairs. Halve this number to find your cutting angle for the join and cut to length with a mitre saw.

4. Attach the Dado Rail

Fitting a dado rail is much like outlining a drawing before colouring it in; it will make the job far easier in the long run and helps to ensure a neat finish. 

Attach the rail with a strong grab adhesive such as UniBond No More Nails. If you live in a period home with uneven walls, you may also need to fix the rail with nails, as well as smoothing any holes with sandpaper and wood filler. 

5. Cut Your Wall Panels to Size

With your dado rail in place, it’s time to move onto the main event – cutting your wall panels to size. To do this, create a vertical marking at the top and bottom of your stairs. The distance between these two lines will tell you what width of panelling is required. 

Using the angle finder or protractor, measure the angle of your skirting boards (if applicable) and dado rail up your staircase. Then, cut the top and bottom edges of your wood panels to the same degree using a mitre or tenon saw. 

6. Attach Wall Panels with Adhesive

Once you’ve checked that your measurements are correct, you can fix your panels to the wall with a strong adhesive. Apply to the rear of your panels, one at a time, and press them into place against the wall. Hold for a few seconds to ensure they are firmly in place. 

If you’re using EASipanel boards, apply adhesive in a zigzag shape across the back of the panel. Line up the bottom of the panel on top of the skirting board and press firmly against the wall. Repeat, ensuring that the edge of the previous one fits snugly into the groove of the next. 

7. Seal and Smooth

To ensure a flawless finish, we recommend that you apply a light layer of filler to any nooks and crannies in your panels. Smooth the filler over the surface and edges where gaps may occur between panelling and the wall with a filling knife and allow ample time to dry. You may also want to sand it down a final time before breaking out the paintbrushes.  

8. Paint Your Panels

Now for the most rewarding part. With your panels in place, it’s time to start painting. For a traditional finish, paint them in the same colour as your walls. For something that is more of a statement, we love the look of a contrast shade. Sage green, dusky pink, pale greys and navy all look particularly punchy against white walls. Depending on the colour you plump for, you may want to apply a layer of primer before you start painting.  

Top Tip: Take a look at these under stairs storage ideas to complete your DIY staircase renovation.

 A panelled DIY staircase renovation can be as intricate or easy as you like. For beginners, we’d recommend using a pre-made panel, like our EASipanel products. However, creating a bespoke design with shaker panels is far simpler than you might think. Take a look at our MDF wood wall panelling guide for our tips on how to recreate this style. 

Now that you know how to panel stairs, we can’t wait to see how you get on. Explore our full range of wall panels and wall panelling accessories to find your perfect fit today. 


Homebase

Homebase

Writer and expert