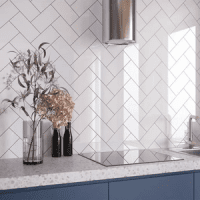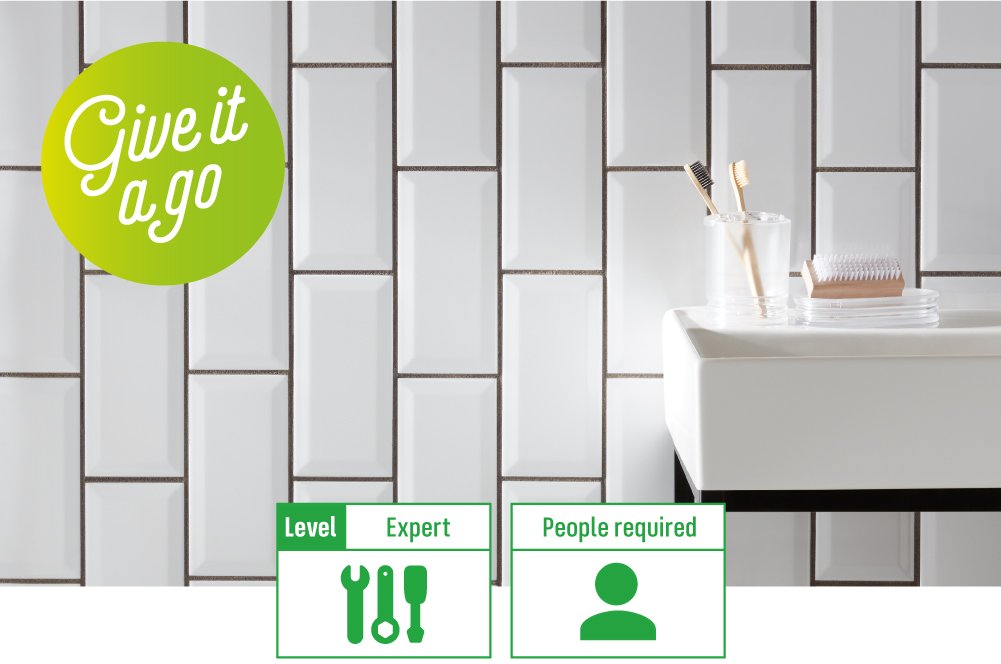
Vertical stacked tiles are a great way of adding something that little bit different to your walls. Plus laying your tiles in a vertical stacked pattern also helps create the illusion of taller ceilings. Which is a win-win for everyone.
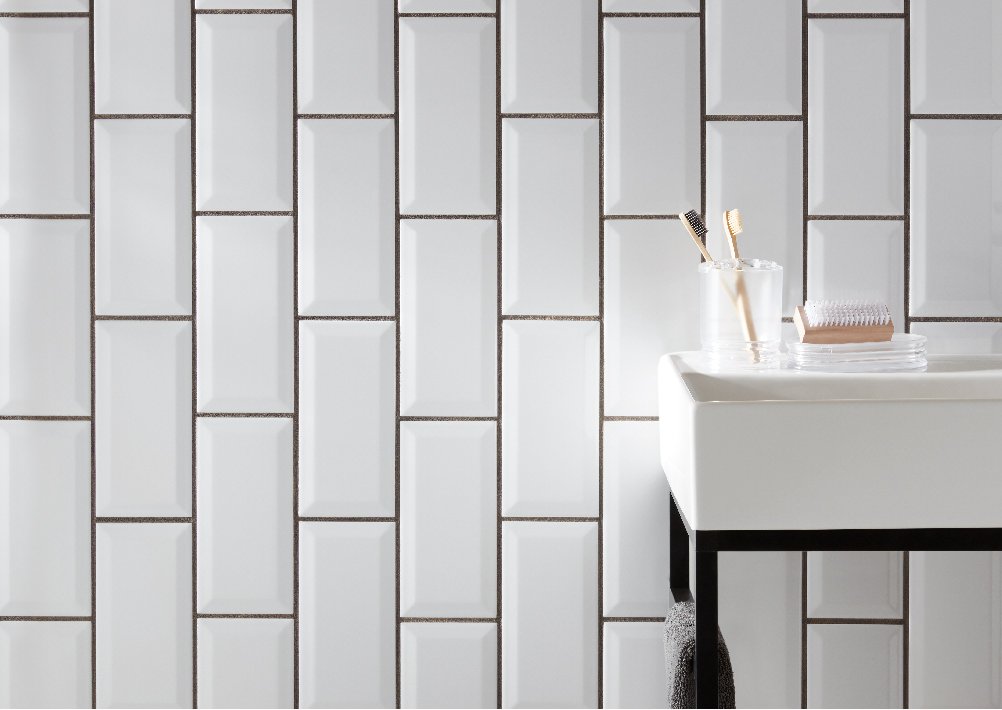
In this instance, we’ve chosen a simple subway tile. Whether it’s giving your kitchen splashback or bathroom a new lease of life, their extensive colour options and ability to match with any coloured grout make them the perfect go-to option for an eye-catching transformation.
Let’s start with what you’ll need.
Materials:
- Metro wall tiles
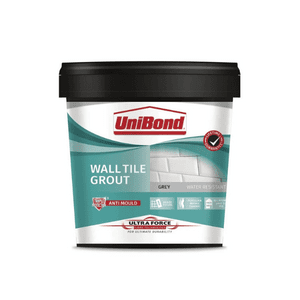
- Ready mixed grout
- Wall tile adhesive
- Tile spacers
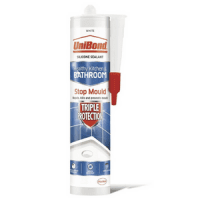
- Silicone sealant
- Tile trim
- Cardboard
Tools:
- Mitre saw or Hack saw
- Notched trowel
- Tile cutter
- Grout float
- Combination square
- Measuring tape
- Tile file
- Tile scorer
- Spirit level
- Bucket & Sponge
- Masking tape
- Safety goggles
- Dust mask
- Popsicle Stick
- Spray bottle filled with soapy water
- Pencil
-

Read our DIY safety tips
Before you begin any DIY work, we recommend you read our DIY Safety Tips guide along with your power tool manuals to keep yourself and others protected while completing this How To guide.
If your wall has any holes or cracks, you can find out how to repair them here.
If you’re in doubt about anything, you should reach out to a certified expert for assistance.
-
Start with a plan
When creating a straightforward tile pattern such as vertical stacked, it can be easy to get ahead of ourselves. However, we want to ensure you end up with as much symmetry as possible.
So, let’s plan your layout before you start.
Measure the wall or space you plan to tile and calculate how many tiles you need to go all the way across the area and up to the ceiling.
Tile calculations
Your calculations will differ depending on the size of your tile and if you have any electrical outlets or appliances you need to cut around. Once you’ve measured your walling area and worked out your quantity of tiles, always purchase a further 10% to allow for wastage on the cut tiles.
-
Find your starting point
This will depend on the area you want to tile and how you want your finish to look.
Some people prefer their smaller tile cuts to be at the bottom of the space or at the top if they have cupboards to disguise them.
Wherever it is you want to place your smaller tiles, start at the opposite end.
Top tip: Don’t forget to think about how you want the end of your pattern to look. Would you prefer your visible corner has full length tiles and the more concealed corner to house the smaller cuts?
-
Complete a dry run
Now take your piece of cardboard or paper and cut it to the same size you plan to tile.
Top tip: If you don’t have any cardboard, you could cover your floor or worktop with some protective sheeting and use masking tape to create a border.
-
Visualise your pattern
Dry lay your first tile and complete one full row.
Once you reach the edge of your dry run, you will be able to mark each tile with your masking tape for them to be cut accordingly.
Top tip: Now is the time to make any adjustments to your pattern and measurements before it’s too late.
-
Cut your tiles
Now it’s time to cut the tiles for your edges using your tile cutter. This is where the tile scorer may come in handy, and your tile file if any of the edges need smoothing out.
-
Apply the adhesive
Get your ready-mixed wall adhesive onto your notched trowel and apply to the wall. Hold your trowel at a 45-degree angle for an even spread.
Top tip: Apply this in small sections no larger than one meter square rather than your whole wall at once, as it will dry quite quickly.
-

Lay your tiles and secure the trim
Place your first tile onto the wall and work your way outwards. Don’t forget to add your spacers between your tiles for the grout and wipe away any excess adhesive with a wet cloth as you go.
When you reach any raw edges, you’ll want to add your tile trim. To cut this to size, you’ll need to use your mitre saw or hacksaw – while wearing your goggles and dust mask for protection. When it’s cut to size, apply some adhesive on the back of the lip, place it onto the edge of the wall or area you are tiling and then tile onto it.
Make sure you apply a spacer between your last tile that meets the tile trim so the grout can be applied in the gap when complete.
Top tip: Complete one full row before working your way up the wall in your vertical pattern.
-
Add the grout
After you have left the adhesive to dry, remove your tile spacers and give your tiles a quick clean with a sponge and some warm water in a bucket.
To make your grout, follow the instructions on your pack. Then fill in the cracks using your grout float.
As you go, you’ll need to wipe away any excess grout at an angle and then clean the surface from any residue with your sponge and bucket of warm water.
Top tip: If you have sensitive or dry skin you may want to wear thin rubber gloves to protect your hands as the grout will dry them out. You should also ensure your switch your electric off from the main power supply as you will be wiping down the grout with a damp sponge or cloth.
-
Seal the edges
Finally, seal the edges with your silicone sealant.
To get a professional finish on this, cut the nozzle of the silicone as close to a 45-degree angle as possible. Then apply your bead of sealant and immediately after, spray your soapy water solution sparingly onto the sealant and popsicle stick. Now, run the stick along the bead, wiping any excess sealant on the wet cloth as you go.
-
The finishing touches
Leave your tiles to set overnight, and then give them a proper clean and buff the next morning.
That’s the end of your guide on How to Lay Vertical Stacked Tiles.
Don’t forget to upload an image of your new vertical stacked tiles to social media, tag and follow us @Homebase_uk
Find your perfect product


