
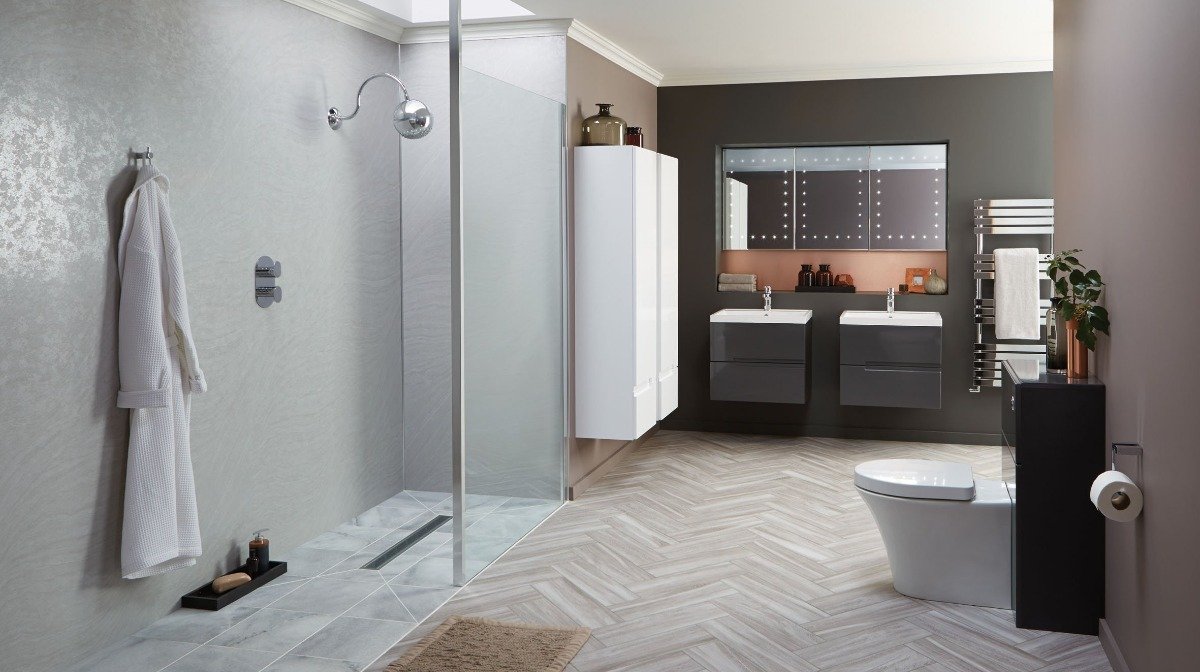

Perfect for contemporary bathrooms, or spaces looking to achieve a truly minimalist aesthetic, a wet room is both a practical and stylish solution for bathrooms of all shapes and sizes.
Taking inspiration from the continent, wet rooms are luxurious spaces that completely do away with shower enclosures, giving you all the space you need for an indulgent, steamy shower.
The shower tray is replaced with a shower drain inset into the floor.
You can install a wet room yourself, remembering that the golden rule of DIY wet rooms is to ensure that the space is thoroughly tanked (waterproofed) to prevent leaks.
Follow our step-by-step expert guide on how to install your own wet room.
Preparation
You’ll need to remove the existing floor coverings, skirting and existing floorboards first. Then choose the lowest point of the floor and raise the joists around that low point to ensure a fall of 10mm over 2m. To do this, you’ll need to use strips of timber known as ‘firring pieces’.
Using 25mm plywood, screw the new flooring to the joists and make sure that it is completely secure and does not flex. Ensure that all screws are countersunk into the plywood – this is so that when it comes to tanking, the screws will not pierce the surface.
Check the walls for flaky plaster or any damage. If necessary, carry out any remedial works to either the floor or walls before you install the wet room.
Once you are satisfied that the room is in a fit state, you’ll need to prep it for priming. Using the brush or cloth, wipe down all surfaces ensuring that they are completely free from dust, dirt and grease.
If the walls in your bathroom are covered with plaster or plasterboard, use the Puragum primer to seal them. Simply follow the instructions on the product and, using a fur roller, paint on the priming solution.
If your walls are not covered, then you’ll need to clad them with panels or plasterboard, and then seal with primer. Wait for the primer to completely dry before continuing.
You’re now ready to start installing your wet room!
Materials
- Shower tanking kit
- Pre-formed wet room shower tray (such as our Playtime wet room tray)
- Clean paintbrush/fur roller
- Cloth or brush (for cleaning the space)
- Floor cutter
- Spirit level
- Screwdriver
- MS (modified silane) adhesive
How to Install a Wet Room
1. Fit the wet room shower tray
Fit the pre-formed wet room shower tray to the floor, and follow the product instructions carefully to cut the appropriate shape out of the plywood, using a floor cutter, for the shower drain.
Place the joist installation brackets on top, followed by the gulley ensuring that the linear waste is 10mm above the floorboards. Connect the waste outlet to the drainage, and then secure the gulley and installation brackets to the joists.
Apply the compound adhesive in 50mm lines as a 3mm by 5mm bead on the floorboards, and then lay the tray into position before securing it with the screws provided at 15cm intervals. Again, it’s important to ensure that all screws are countersunk.
2. Level the room
Next, you’ll need to level the room using 18mm marine plywood (which performs better in wet conditions).
3. Seal the joins
Using the MS polymer sealant, fill the gaps between the drain and the tray as well as the gaps between the tray and the walls and the walls and floor. Smooth appropriately as you go to leave a level finish. Leave the adhesive to dry – this should take at least an hour.
4. Waterproof and tank the area
Use the tape from the tanking kit, and cut into the appropriate lengths for all the joints between the tray and the floor, tray and the walls, and the corner of the walls where the shower will be fitted – this will be detailed in your instructions.
Apply the Puragum to the tray joints and wall, and the affix the tape while it is still wet. Ensure that you smooth out each piece of tape as you go to remove air bubbles and ridges.
5. Fit the membrane gasket
Check to see that the membrane gasket fits, and trim it if necessary. Paint the Puragum in the area between the edge of the grate frame and the tray, reaching beyond the edge of where the membrane gasket will be fitted. Centre and fit the membrane gasket while the Puragum is still wet and smooth down. Allow for the Puragum to dry for at least three hours.
Paint the membrane, tape and tray with a coat of Puragum, leaving it to dry for the minimum three hour period, and repeat with a second coat. Then leave for a full 24 hours before tiling.
Installing a wet room is a big job, but well worth it for the luxurious shower space at the end. You might consider also installing underfloor heating throughout the space. Not only will this give you toasty feet as you use the wet room, but will help to dry splashes and puddles, too!
It’s vital to properly tank (waterproof) the space before starting work, so if you’re unsure at any point in the process, it’s well worth seeking the advice of an expert. And remember to carefully read the instructions.


