

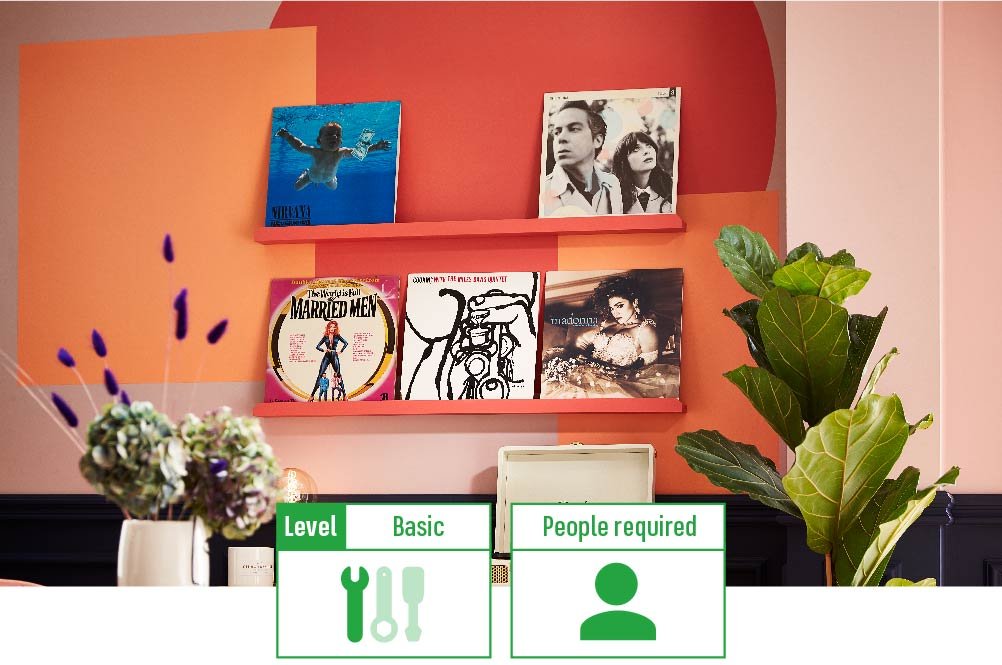
Whether you grew up in the days of vinyl or just love a vintage record, there is no doubt that nostalgia has a timeless appeal. Rather than letting your selection of vinyl records gather dust in storage, you can make a statement by using them to create a unique, personal and striking feature wall.
Let’s start with what you’ll need.
Materials
- 6 x Vinyl records
- 2 x Photo shelves
Tools:
- Tape measure
- Pencil
- Spirit level
- Drill with masonry and screw drill bits (for concrete or brick)
- Screws & Wall plugs (if your shelves do not provide these)
- Claw hammer
- Shelf brackets (if your shelves do not provide these)
- Paint & Primer (optional)
- Sandpaper
- Electronic Wire and Pipe Detector
- Safety goggles
- Ear defenders (if using a corded power drill)
-

Before you begin any DIY work, we recommend you read our DIY Safety Tips guide along with your power tool manuals to keep yourself and others safe while completing this How To guide.
If your walls have any holes or cracks, you can find out how to repair them here.
Remember, if you’re in doubt about anything, you should reach out to a certified expert for assistance.
-
Check the type of wall
First, you need to know what type of wall you are going to be working with. Different wall types require different fixings and can hold different weights.
You must always check the manufacturer’s guidelines on the type of fixings and plugs that come with your shelving.
Top tip: Plasterboard can hold a max of 5KG, whereas Masonry/Brick and Block walls can go up to a max of 10KG – or more with the appropriate kind of fixings and plugs.
-
Ensure there are no hazards
Use the electronic wire and pipe detector to check for hidden hazards behind the wall you will be drilling through.
Hold the device in one hand against the wall and place the other hand flat against the wall, about 20-30cm away, to ensure grounding.
Never drill directly above or below a light fitting, power socket or switch because that is where its supply cable will most likely be.
Top tip: To avoid confusing the detection device, remove any jewellery. And to check the device works, pass it over another electric point where you know cables will be behind the plastered wall – like at a plug socket or light switch.
-
Gather your records
Choose which vinyl records you want to display, each shelf will hold two each. You might already have some lying around or play regularly but if not, head to your local charity shops or music dealers to pick some up for a reasonable price.
Top tip: Have a think about how each record sleeve will tie together. You can select vinyl sleeves of a similar colour or style to create a uniform look or be creative and place clashing designs together to create something striking.
-
Prep, prime and paint
Now you’ve confirmed your wall is safe, tidy everything out of the way and give it a quick wipe down.
If you want to paint your shelves to tie in with your room, it’s much easier to do this before fixing them to the wall.
You’ll need to prime your shelves first to help the paint stick to the wood and leave it for the appropriate drying time. Once it’s dry, give your shelf a very light sanding and then paint them, and leave to dry once again.
Top tip: Don’t forget to open your windows before priming and painting to properly ventilate the area.
-
Shelf placement
Use your tape measure to measure the vertical space on the wall between each shelf to be the same height as your vinyl records vertically.
-
Make your markings
With your pencil, mark the measurements on the wall exactly where you want your shelves to be.
Next, mark where the beginning and end of each shelf will be using a tape measure and spirit level to ensure the lines are level with one another.
Top tip: You may want to add in a cm to ensure your records can easily slide in and out without getting stuck.
-
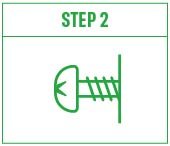
Hang your first shelf
Using your drill bit and drill, drive the required number of holes into your wall with the hammer function. You can mark the length of your wall plugs on the drill bit using a bit of tape – this will tell you how far down to drill.
Then, take a hammer and gently tap your wall plugs into the new holes. Followed by fixing the shelves to the wall using your drill and screw bits. Your shelves will come with installation instructions that you should read for further guidance.
You must ensure you have the right size masonry drill bit to match your wall plugs – these are measured in millimetres and both items will have the number on the side of or on the packaging they came in.
Repeat for your second shelf.
Top tip: Don’t forget your safety goggles (and ear defenders if using a hammer action power drill).
Keep checking everything is level with your spirit level and step back to get a better look each time.
-
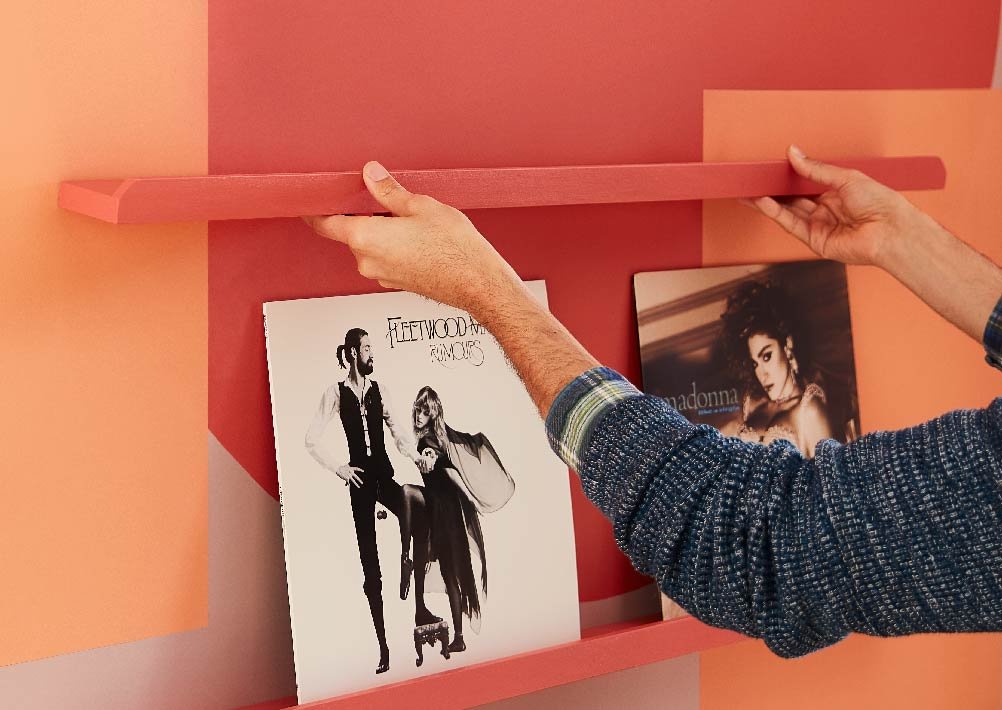
Add your vinyl sleeves
Simply, slide in each vinyl record one by one and then step back to admire your handy work and new feature wall.
That’s your feature wall using vinyl records complete.
Don’t forget to upload an image of your new feature wall to social media and tag and follow us @Homebase_uk


