DIY

MDF Wood Wall Panelling Guide

wood wall panelling guide 2 people needed

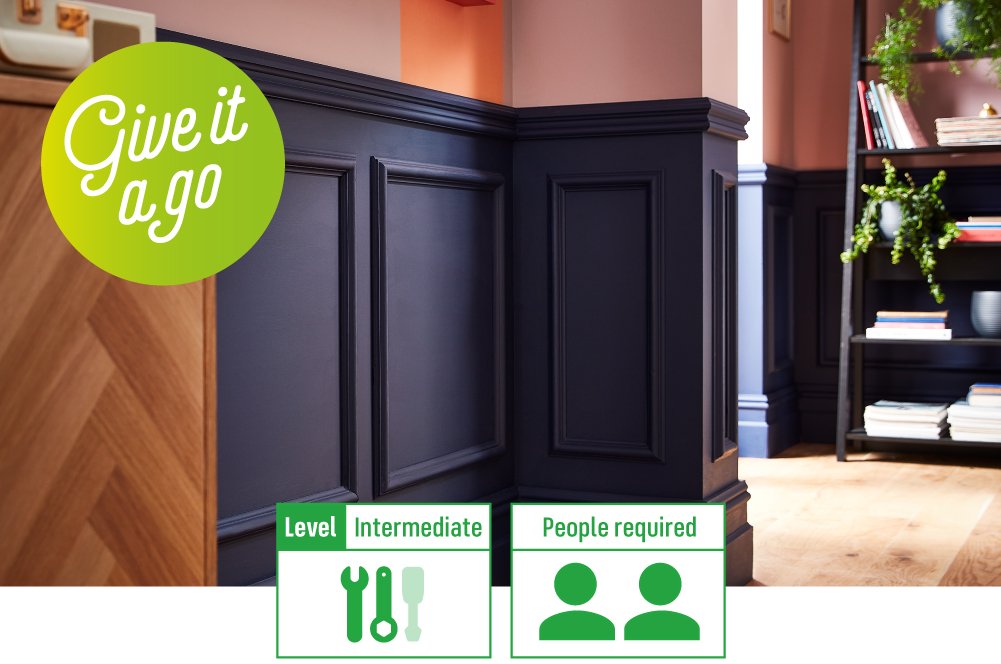
Cost effective and accessible, Medium Density Fibreboard (MDF) wall panelling has taken the world by storm. And with so many mouldings, height options and paint colours to choose from, it’s clear to see why wall panels are the way forward for any DIY project.

With some careful planning and measurements, wall panelling is a simple but effective way to add character, dimension and personality to any room. If DIY isn’t for you, you can shop our wood wall panelling kits, designed to facilitate panelling installation. What’s more, MDF wall panels are suitable for any room – kitchens to bathrooms. Of course, depending on room you’re panelling, choose between water resistant or standard MDF panels.

Let’s start with what you’ll need.

Materials

MDF sheets cut to size (check your local Homebase store to see if they offer a cutting service. If not, head to a Timber merchant near you)

Tools

Read our DIY safety tips and manufacturer instructions

Before you begin any DIY work, we recommend you read our DIY Safety Tips guide along with your power tool manuals to keep yourself and others safe.

And don’t forget to keep your windows open during this process to properly ventilate the room you are painting in.

If your walls have any holes or cracks, read our guide on how to repair your walls and ceilings.

Remember, if you’re in doubt about anything, you should reach out to a certified expert for assistance.

Devise a plan

It’s always good to have a sketch of what you want your finished wall panel to look like. This will not only help you stay on track but also serve as a helpful guide to the person cutting your MDF to size.

Work out your measurements

To accompany your plan, you’ll need some wall measurements.

This is a crucial stage of the overall process to ensure you get evenly sized panels and gaps.

To measure:

  • Using your tape measure, measure the width and height of your wall from floor to ceiling.
  • Decide how many panels you want on your wall.
  • Then decide what width you want your rails and stiles to be (these are the horizontal and vertical MDF pieces used to create your shapes) and what you want your base rail to be.

Create your cutting list

Your cutting list can be quite tricky, so take your time and have your design sketch (and some patience) to hand.

For your horizontal rails:

  • Multiply the chosen width of your pieces (from step 2) by the number of pieces you need for your columns.
  • Then, take that total number and subtract it from your wall’s total width.
  • Finally, divide your new figure by how many panels you’ve decided on.

For your vertical stiles:

  • Combine the depth of your base rail with the depth of your top rail.
  • Then, take that total number and subtract it from your wall’s total height.
  • Then, jot down your measurements onto your sketch so you can explain to the people cutting your MDF to size exactly what it is you’re looking for.

Top tip: If you are cutting the MDF to size yourself, you’ll need a circular saw. You must also wear safety equipment, like your safety goggles, ear defenders and a half mask respirator to protect yourself from the dust.

We only recommend you cut MDF yourself if you are confident using a power saw and if you can do so in a well-ventilated area – ideally outside.

Preparing your wall

You’ll want to ensure your wall is as smooth as it can be, ready for your new panelling.

To do this, sand your wall and fill in any holes using your filler. It’s also recommended you repaint your wall completely white – this is to ensure your wall panels and new wall colour are all the same shade.

Start sticking

Only move onto this step when your wall paint is completely dry.

This is where your second person will come in handy. While one of you holds the base rail to the wall, the other can check it is completely level using the spirit level. Once it’s straight, mark some guidelines on your wall with the pencil and start sticking with the heavy duty grab adhesive.

Top tip: To secure each piece, add the grab adhesive in a zigzag down each panel, stick it to the wall and apply pressure for about one minute. Two of you will be needed to ensure pressure is added at either end.

Create a border

Stick your top pieces to the wall and move onto your outer vertical stile pieces to create a border.

Top tip: Don’t forget to use your spirit level before you secure anything with adhesive and follow the guidelines for drying time.

Create your panels

Using your rails as column spacers, fix the rest of your stiles on the wall one by one until you’ve got neatly divided columns all the way along.

Top tip: To make this overall process easier, you could sketch out the panel design on your wall, using your spirit level and the assistance of your second person.

Fix your rails

Now it’s time to add your smaller MDF pieces to wall to finish off the design.

Caulking time

Once everything is secure, caulk around each square. This will help give it a better-quality finish. If any parts of the wall aren’t straight, use the filler to close any gaps between the wall and your boards.

Top tip: We recommend you leave everything to set and dry properly before moving onto the next step.

Prime your wood

To ensure your paint sticks, cover your panels in water-based MDF wood primer and let it dry following the recommended time.

Top tip: Watch out for any paint drips around the edges.

Painting time

Once your primer has dried, it’s time to get painting. With hundreds of paint shades on offer, pick a colour for your panel wall the matches your interiors. And don’t forget to put your dust sheet down and cover any furniture before you start.

And that’s your MDF Wood Wall Panelling Guide complete!

Don’t forget to upload an image of your new wall panelling to social media, tag and follow us @Homebase_uk


Homebase

Homebase

Writer and expert