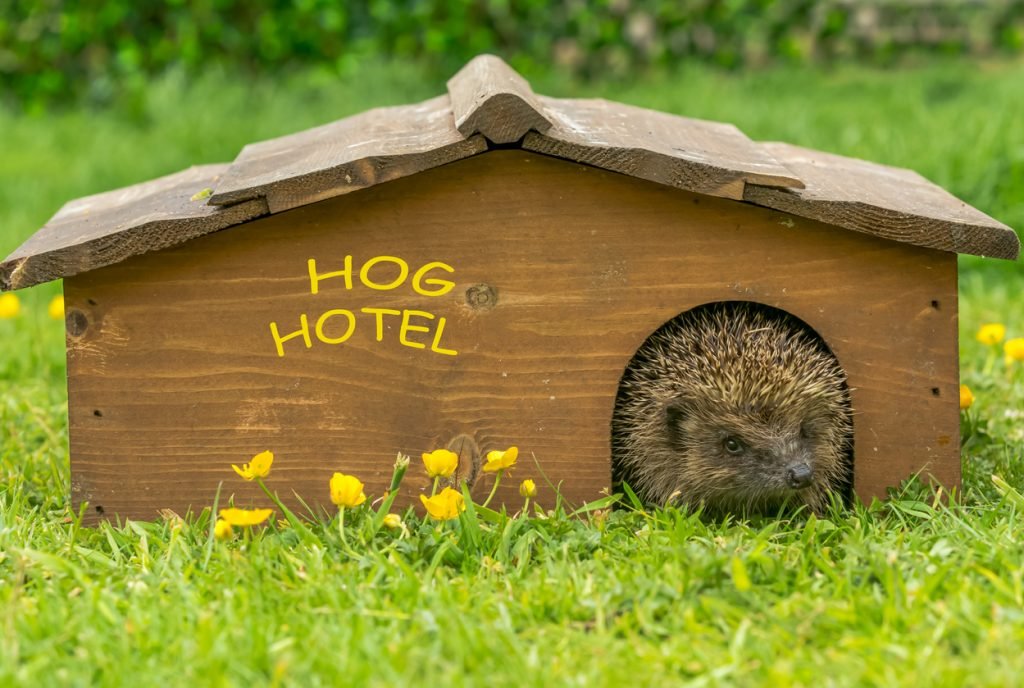
One of the UK’s most beloved and adorable creatures, hedgehogs have been a part of our gardens and hedgerows for centuries. This simple how-to guide will show you how to build them their very own hedgehog house, encouraging them to stick around in your back garden for longer.
Hedgehog numbers are dwindling in the UK – so it’s now more important than ever to give them a helping hand when we can. There are plenty of ways to encourage hedgehogs into your garden. Just like us, they love having a cosy home, and it’s simple to make them one.
Before you begin any DIY work, it’s recommended that you read our DIY Safety Tips guide, along with your power tool manuals to keep yourself and others safe while completing this How To Make a Hedgehog House guide.
Let’s start with what you’ll need.
Materials:
- A plank of wood (1.2m long x 15cm x 1.5cm thick)
- 20mm untreated plywood boards
- Dry leaves
- Dry grass or straw
- Newspapers
- Hosepipe (1-2 metres)
- Soil
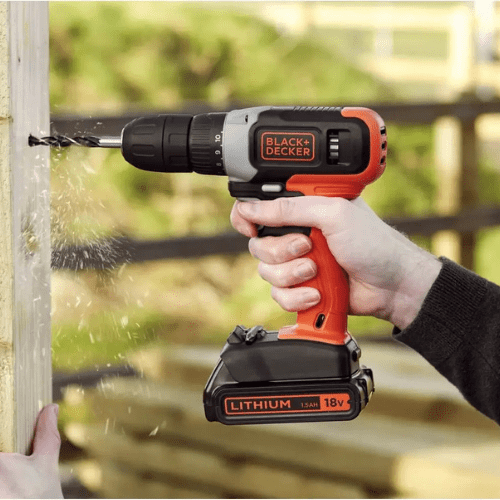
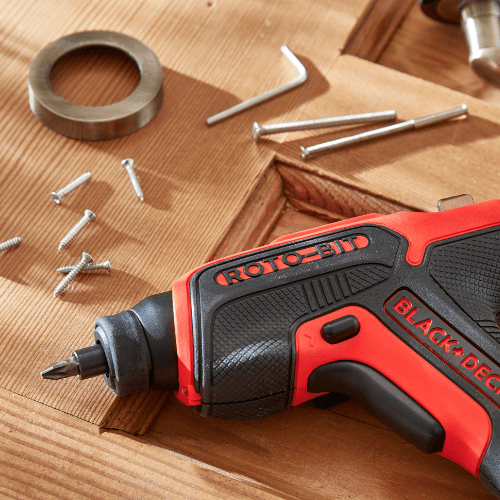
Tools:
-
Choose your hedgehog's home
The easiest way to make a home for a hedgehog is to build a woodpile. It’s a great place for them to hibernate, but make sure it’s out of the way and won’t be disturbed during the Winter months (November-March) when they will be asleep. Alternatively, you can try using a large, sturdy cardboard box with air holes cut into the sides and filling it with dry grass or straw.
However, if you’re keen to give a hedgehog somewhere safe and long-lasting to live in your garden, a wooden hedgehog house is the ideal DIY project.
-
Cut your wood for the tunnel
When you’re building a hedgehog house, it’s best to start with the tunnel – this is designed to keep hedgehogs safe from predator’s paws.
Simply cut your timber into four 30cm sections and nail them together lengthways.
-
Plan out your plywood for the hedgehog house
Mark out and cut your plywood boards into ten pieces:
- Back panel: 40cm x 30cm
- Base panel: 40cm x 30cm
- Side panels x 2: 26cm x 30cm
- Front panel: 40cm x 30cm
- Roof panel: 40cm x 30cm
- 4 Feet: 8cm x 8cm
Sand down any rough edges.
-
Secure your pieces of wood
Using a Jigsaw saw, cut a hole 17cm x 17cm at the base of your front panel.
Screw your hinges onto the edge of your top panel with hinge screws, before attaching it to the top of your back panel. This will allow you to access the hedgehog house once it’s built and clean it out between hibernating seasons if you want to. Just make sure there isn’t a hedgehog in there at the time.
-
Time to build your hedgehog house
Now it’s time to put it all together. Start by nailing your side and front panels to your base before adding the back panel, hinged roof and feet. Then, nail your tunnel to the hole on the front from the inside.
For extra ventilation, you can drill a hole in your back panel and add a length of old garden hose.
Once your box is finished, lift the lid and line the bottom with newspapers. Then fill it with a mixture of dry grass and leaves.
-
Location, location, location
Find a safe spot in the garden, preferably somewhere out of the way so it won’t be disturbed. Pack around the edges with soil and cover the finished home in twigs and leaves to disguise it.
Now you just have to wait for a hedgehog to take up residence.
Top tip: Only give hedgehogs fresh, plain water in a shallow bowl. If there’s a hedgehog out and about in your garden during Winter, it may not be hibernating if it’s underweight. Try fattening it up by leaving out meat-in-jelly dog or cat food, or hedgehog biscuits, until they stop being eaten.
You can also find more ways to encourage hedgehogs into your garden with this guide.
That’s your Hedgehog House complete.
Don’t forget to upload an image of your new hedgehog house to social media and tag us @Homebase_uk
Find your perfect product