

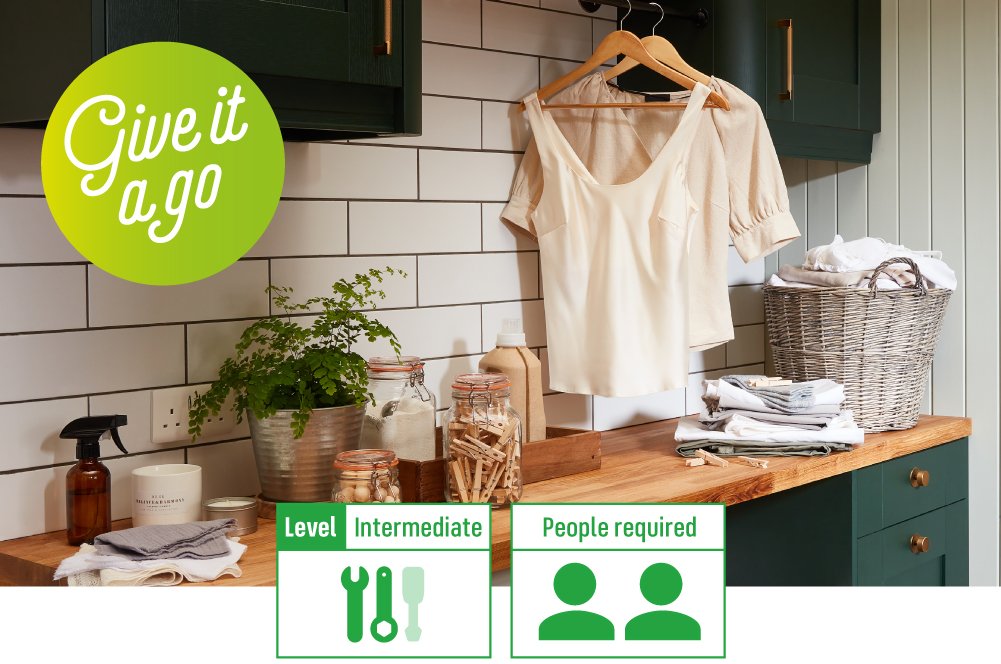
Your utility room is one of the most sacred rooms in your house – designed so you can just close the door to piles of laundry, unsightly cleaning equipment and mucky shoes. But what if it could be a room you could be proud of and enjoy being in?
If your utility room needs an upgrade or more storage, why not give making your own laundry station a go? It’s a practical yet stylish solution that will help make your utility room one of your favourite rooms of the house.
Let’s start with what you need.
Materials
Tools
- Drill with masonry and screwdriver drill bits (for concrete or brick)
- Screws & Wall plugs (if your shelves do not provide these)
- Tape measure
- Spirit level
- Pencil
- Safety goggles
- Ear defenders (if using a corded power drill)
- Electronic wire and pipe detector
-

Read our DIY safety tips and manufacturer instructions
Before you begin any DIY work, we recommend you read our DIY Safety Tips guide along with your power tool manuals to keep yourself and others safe and protected while completing this How To guide.
If you are unsure about anything, you should reach out to a certified expert for assistance.
-

Check the type of wall
First, you need to know what type of wall you are going to be working with. Different wall types require different fixings and can hold different weights. We only recommend doing this on a masonry wall.
You must always check the manufacturer’s guidelines on the type of fixings and plugs that come with your worktop and cabinet.
Top tip: Plasterboard can hold a max of 5KG, whereas Masonry/Brick and Block walls can go up to a max of 10KG – or more with the appropriate kind of fixings and plugs.
-
Ensure there are no hazards
Use the electronic wire and pipe detector to ensure there are no hidden hazards behind the wall you will be securing your new laundry station to.
Hold the device in one hand against the wall and place the other hand flat against the wall, about 20-30cm away, to ensure grounding.
Never drill directly above or below a light fitting, power socket or switch because that is where its supply cable will most likely be.
Top tip: To avoid confusing the detection device, remove any jewellery. And to check the device works, pass it over another electric point where you know cables will be behind the plastered wall – like at a plug socket or light switch.
-
Prep your wall
Now that you’ve checked the wall is safe, tidy everything out of the way and give it a quick wipe down.
If your wall has any holes or cracks, you can find out how to repair them here.
-

Build your kitchen drawer cabinet
Build the cabinet using the instructions provided and attach its feet and secure it to the wall using the supplied accessories.
Top tip: If you are simply securing your worktop to the wall and styling underneath with your own inserts, you can skip this step.
-
Attaching the worktop
Take your pencil and tape measure to mark along the wall where the worktop should sit.
Then, with the help of a second person, lift it and attach it to the cabinet following the manufacturer’s instructions.
Top tip: Use your spirit level to check it’s level before securing it.
-
Securing your worktop
For added support, attach the underneath of your worktop to the wall using three of your brackets – placing one at either side and one in the middle.
Before you do this, use your wall plugs to determine the size of the masonry drill bit you need for your holes. Then, using the hammer action on your drill, drill your holes as straight and cleanly into the wall as possible. Followed by your screwdriver attachment to drive in the screws.
Top tip: If you are drilling into a tiled wall, turn off the hammer action setting on your drill as this will crack the tile – use the standard drill driver setting instead to drill your hole through the ceramic face of the tile. Don’t forget your safety goggles and ear defenders.
-
Attaching the side panel
Take your last two brackets and attach the side piece of worktop to the top with your drill, screwdriver bit attachment and screws.
Remember to check it’s hanging level before securing it with your spirit level.
-
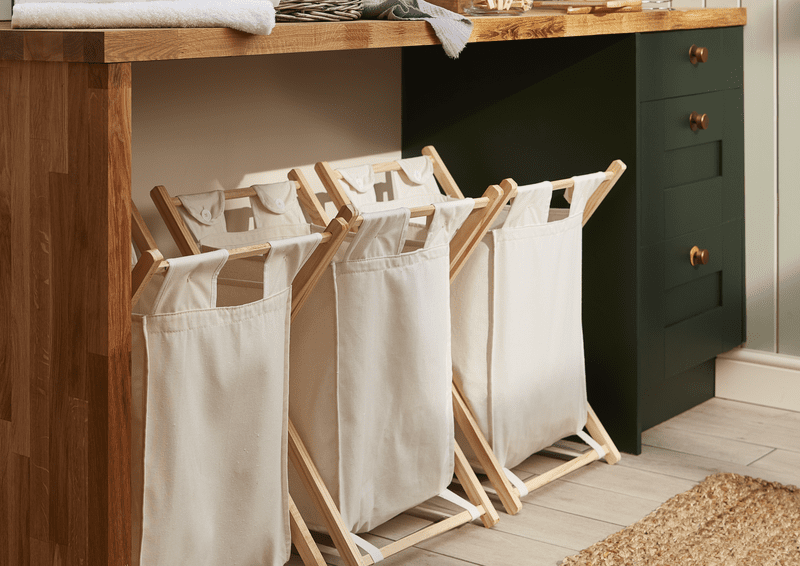
Style it out
Now that you’ve finished attaching your worktop, all that’s left is to style the space and pile up your laundry.
That’s your Utility Room Laundry Station complete.
Don’t forget to upload an image of your new laundry station to social media, tag and follow us @Homebase_uk.


