
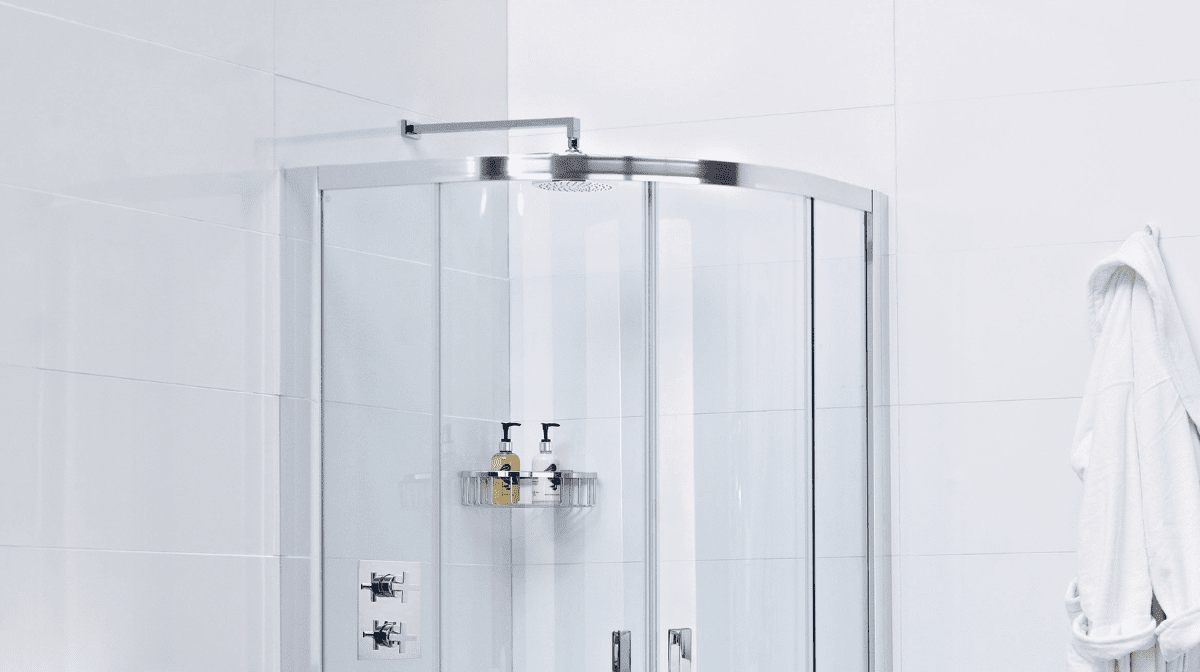

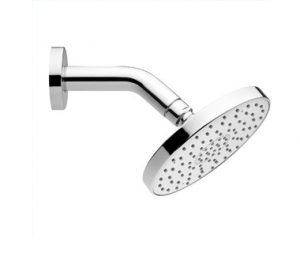
A power shower is a popular choice for those on-the-go.
Power showers use an electric pump to enable a high-pressure showering experience. Even those who live in a home with low water pressure can enjoy the benefits of the powerful flow of water, which can make showering much quicker.
The installation process can be mastered at home by DIY enthusiasts with a basic knowledge of plumbing and electrics. However, always arrange for a qualified tradesman to check the job and make the final connections.
Preparation
Check the kilowatt rating of your power shower ahead of installation. The higher the kilowatt rating, the higher the power; more electricity will be used so utility bills could increase. Lower power options are available or you can set your shower to an economy setting to reduce your spend.
Remove any clutter from the room – especially items of value – and cover anything that could be easily scratched or marked. You’ll need space to work productively.
Make arrangements for a qualified electrician to check the installation. They will also need to make the final connection.
Materials
- Pencil
- Electronic detector
- Drill
- Adjustable wrench
- Masonry bit set
- Reciprocal saw
- Compressed tee fixing
- Pipe cutter
- Screwdriver set
How to install a power shower
1. Firstly, turn off the fuse box or circuit breaker, then carefully select a position for the shower unit. Take off the water heater front cover and attach it to the wall. Using a pencil, make an outline of the heater, clearly marking all holes, copper pipes points, and electrical cable points.
2. Scan for cables and wires within the wall using an electronic detector before drilling the fixing holes in the wall. For extra safety, the electrical cables from the water heater in the wall should be buried either vertically or horizontally in the middle of the switch and unit.
3. Drill holes for the pipes and cable using a drill (or reciprocal saw if needed). Use the wall bracket or sliding rail as the outline to make the hole for the shower rail, then turn the main stopcock off and run the cold tap dry, before using an adjustable wrench to connect the copper pipe to the rising main with a 15mm compressed tee fixing.
4. Cut a long hole in the wall at the main’s pipe – to accommodate the compressed fitting – then put the new copper pipe in the third arm on the tee and put a stop valve close to the tee to make repairs (if required). Turn off the stop valve, reconnect the cold water supply, and attach a flexible hosepipe over the end of the copper pipe.
5. Flush the new pipe to check for leaks, shut off the stop valve and link the copper pipe to the bottom of the heater unit. You’ll need to use an elbow pipe, nut and sealing olive with an adjustable wrench. Finally, check it is leak free by opening the stop valve, and once done, turn the stop valve off.
Now installation and checks are complete, you can enjoy your transformed showering experience.


