2. Clean your tiles
Before applying your tile paint, make sure that your tiles are clean, giving yourself a smooth canvas for painting.
Give the tiles a good scrub using a cloth and your preferred cleaning products. Products with bleach are best for removing limescale, dirt and grease. This will allow the paint to adhere to your tiles as well as possible.
You can also clean your grouting, using a specialist cleaner and cloth, and fill in any grout that’s damaged or has come away. Read our blog for more guidance on how to grout tiles.
3. Preparing tiles for painting
Once they’re good and clean, it’s time to prep your kitchen or bathroom for painting.
To prepare porcelain, glass or ceramic tiles for painting, it’s always a good idea to start by laying a dust sheet to protect your floors or counters from paint spills. Sticking masking tape where your tiles meet your walls or surfaces can help you get a clean paint line and avoid marking adjoining surfaces.
If you want to remove old paint from tiles, this can be done using various products such as paint thinner, rubbing alcohol or white vinegar. Simply apply one of these to a cloth or brush and scrub the painted tiles, being careful not to scratch them.
4. Get painting
Now your tiles are sparkling and your area is protected, it’s time to paint.
Start by stirring your tile paint until it is smooth. Using a paint roller or paint brush, apply the paint evenly across the tiles, covering the grout as well. It may be easier to use a roller before going in with a small brush to work the tile paint into every space.
Once you’ve painted a full coat, leave it to dry. This usually takes around 24 hours. If you’re painting over patterned tiles or a strong, vibrant colour, you may need to apply a second coat once the first coat is completely dry.
5. Define grouting
This step is optional, so if you’re happy with your painted tiles, you don’t have to do this.
Once your paint is completely touch-dry, you can add some definition to your tiles by filling in the grout over the tile paint. Using a grout pen, go over your grout joints, defining the gaps between tiles.
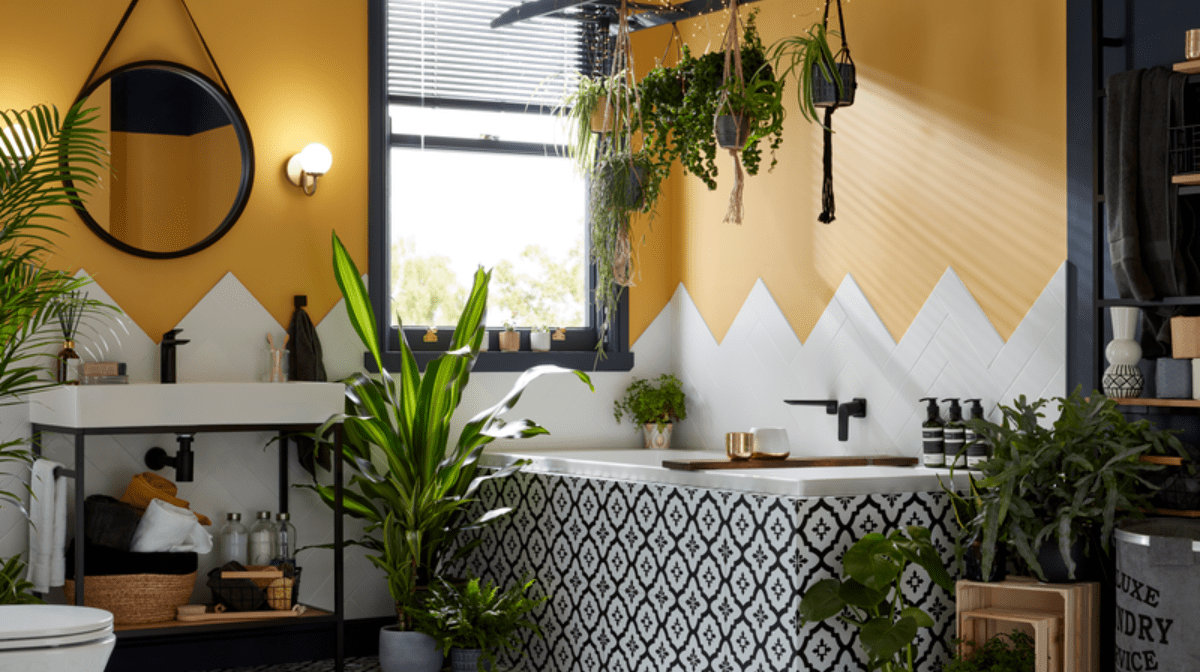
Now it’s time to step back and admire your handy work: a successful, quick and easy tile transformation. Don’t forget to share the result of your tile makeover at @Homebase_UK or visit our Ideas & Advice Hub for more project ideas.