
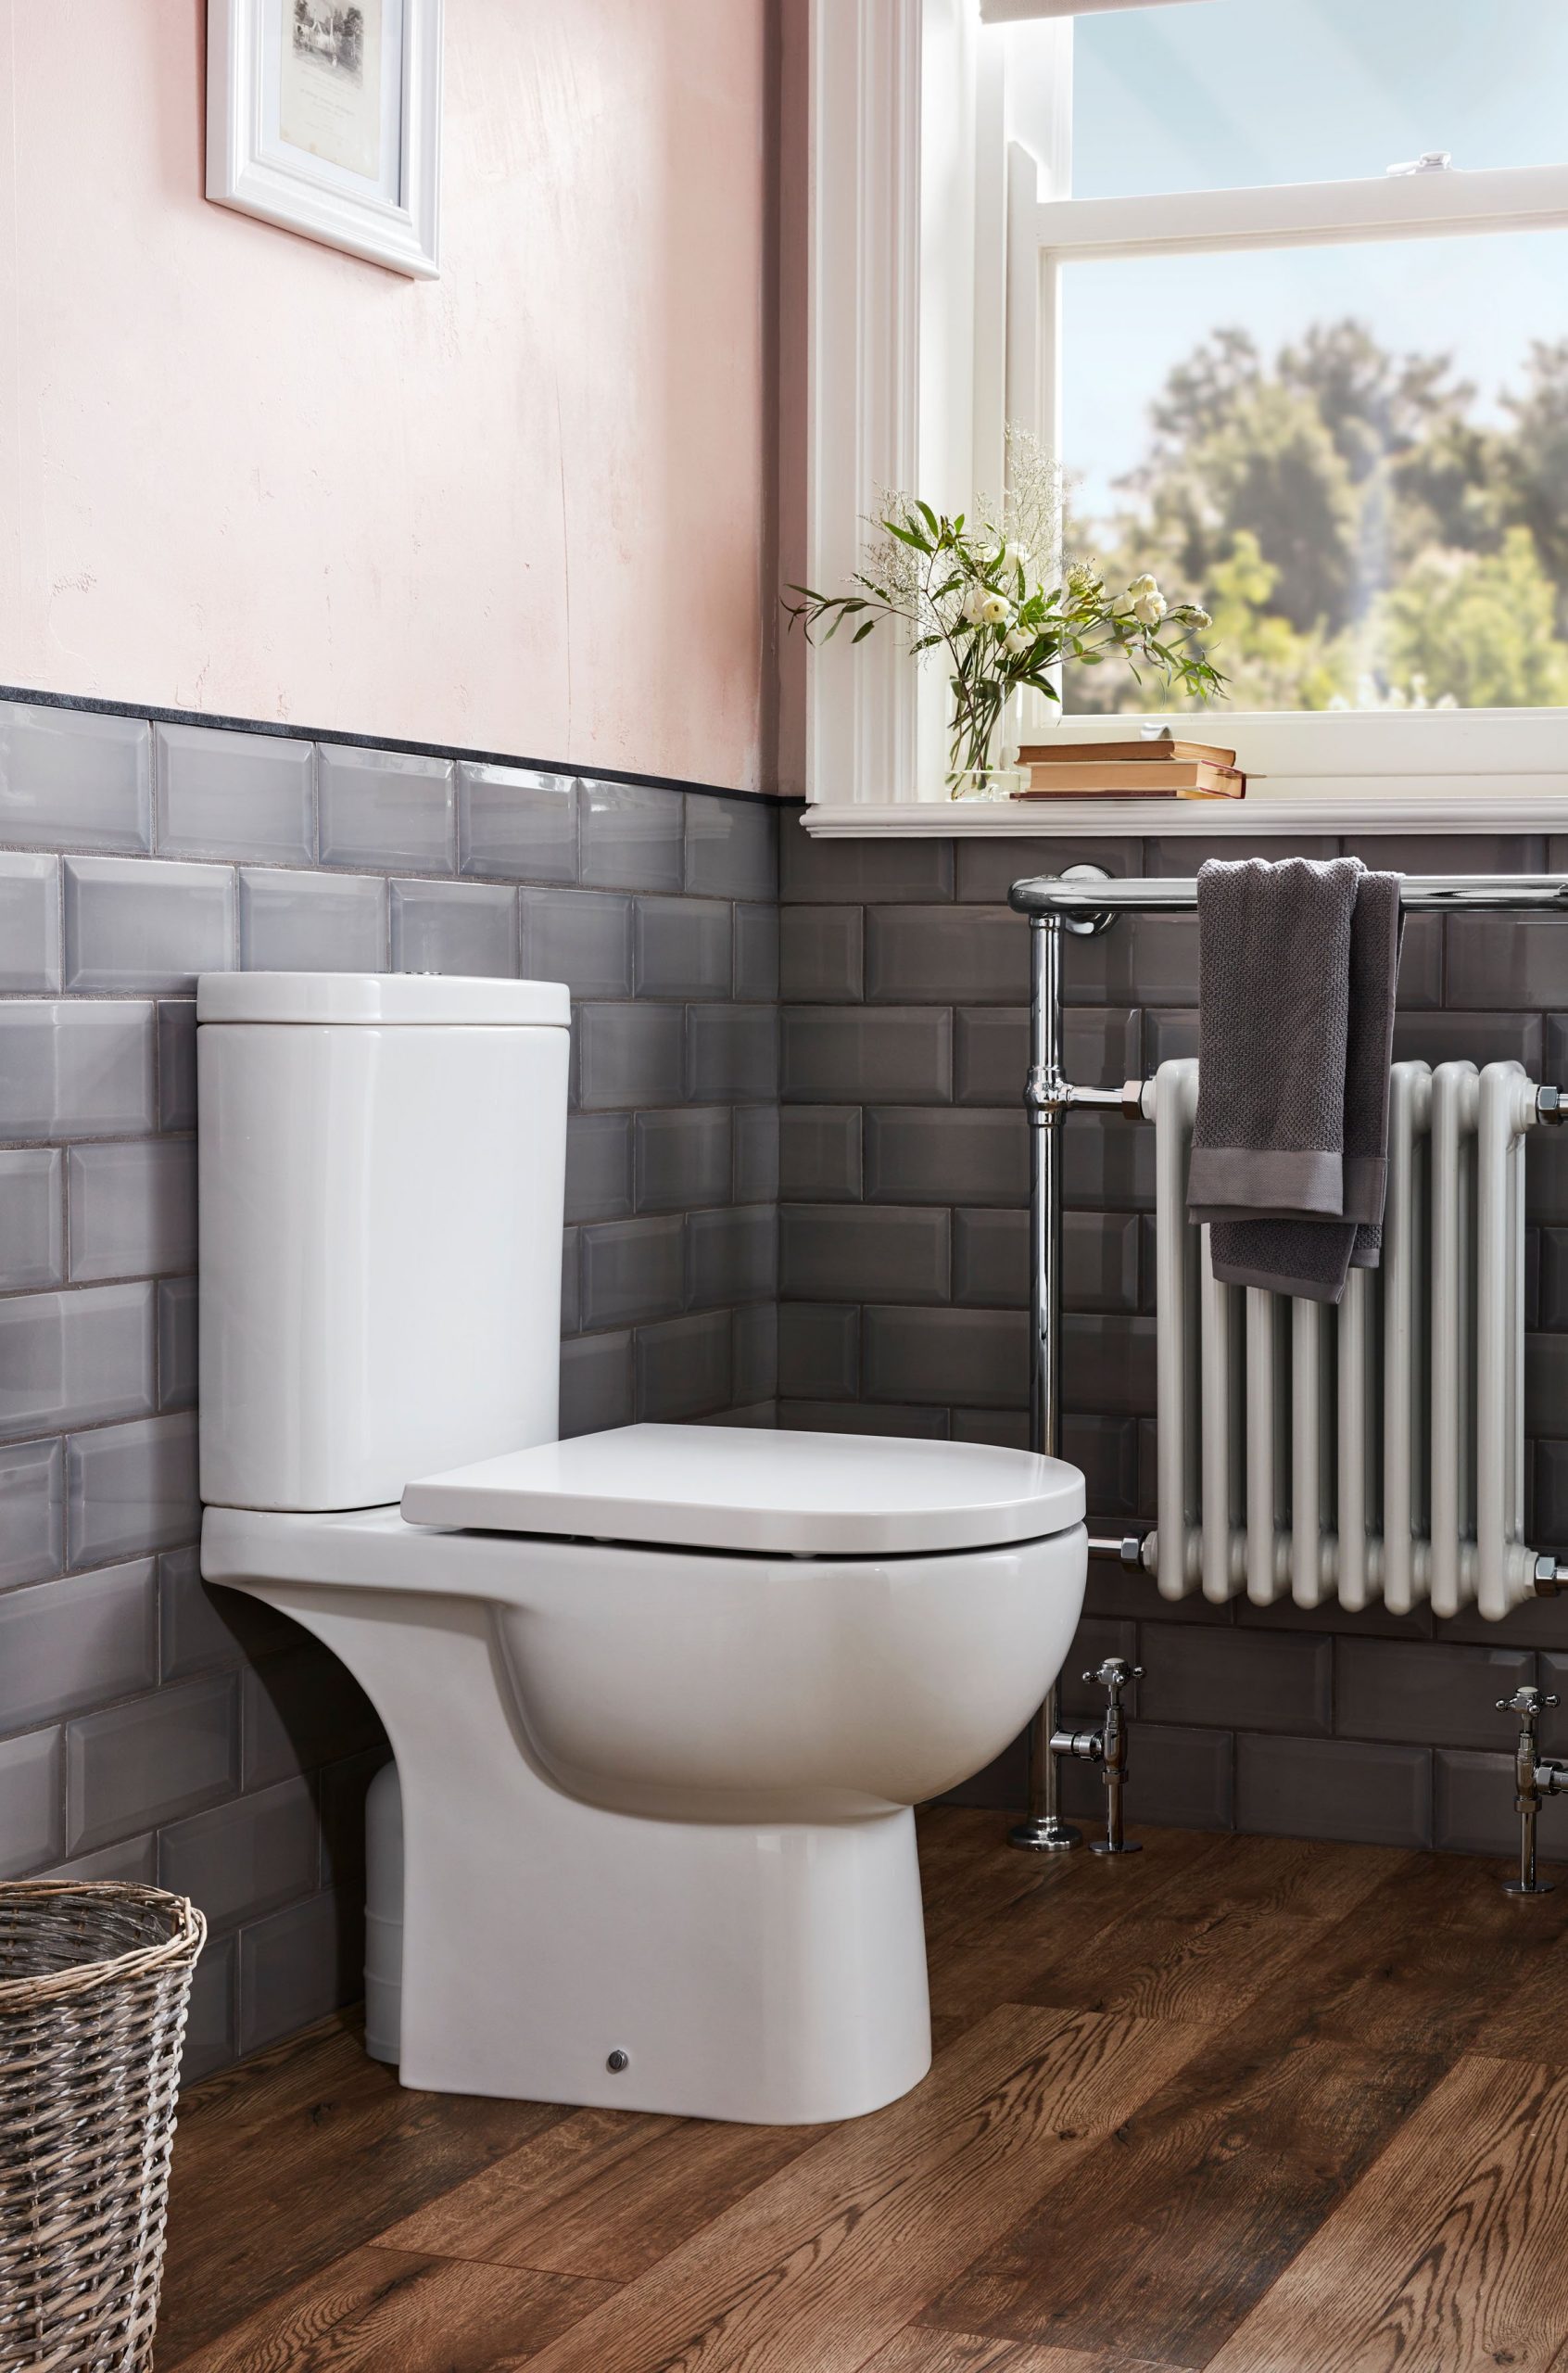

The most common design in the UK, close coupled toilets are fast, easy and straightforward to install at home. Space-saving and stylish, they’re the perfect solution to suit any bathroom, from traditional to contemporary. Often available as a complete kit, fitting a new close coupled toilet in your bathroom can take just a few hours, if you know how. And we’re here to tell you, with our handy step-by-step guide.
What you’ll need:
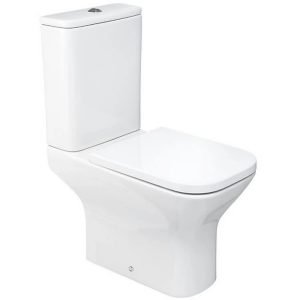
Complete close coupled toilet kit
Drill
Adjustable spanner
Adjustable wrench
Silicone sealant
Stanley knife
Spirit level
Screwdriver
Pencil
Tape measure
the handles
What is a close coupled toilet?
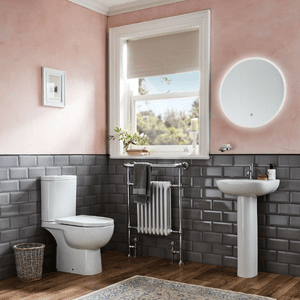
As the name suggests, a close coupled toilet is a design where the cistern sits directly above the basin – rather than hidden away behind a wall like other styles. Often crafted from quality ceramic, it’s simple to pair your loo with your current décor – or craft a whole new wall style behind it to suit.
How to fit a close coupled toilet
Step 1: Stop Your Water
Whether you’re replacing your existing cistern or starting a close coupled toilet from scratch, the first step should always be to turn your water off at the stopcock just in case.
Top tip: We recommend unpacking your toilet kit fully once you’ve got it, as it’s always best to spot any damage or faults now rather than halfway through installation.
Step 2: Let’s Get Assembling
With all your parts spread out, begin by inserting your two fixing bolts into the bottom of the cistern – leaving them unconnected. Once that’s done, take the bottom fixing nut and two washers off the bottom of your flush valve and slide that into the cistern as instructed too – replacing your nut and washers on the other side and tightening with an adjustable wrench.
Top tip: Putting your nuts back on too tightly can cause your porcelain to crack, so try not to overtighten them.
Step 3: Finish Your Cistern
Next up, pop the inlet valve into your cistern base, once again making sure to take your nuts and washers off beforehand – and then replacing and tightening them afterwards. Lastly, roll the large washer over your flush valve, and your cistern is ready to connect. Your close coupled toilet is taking shape!
Step 4: Putting It Together
Fitting your close coupled cistern to the toilet pan should be a simple job once you know how. Carefully pick up your cistern, and thread your stuck-out fixing bolts through the holes in the pan, resting it gently on top.
Now you can (once again) add washers and nuts onto your fixing bolts on each side – tightening by hand and then with a wrench. Once they’re done, reach inside your cistern and tighten the bolts from the other side with a flat-head screwdriver.
Step 5: Connect Your Pan
Push your pan connector into the end of your wall waste pipe until it’s fully inserted, then slowly slide your close coupled toilet backwards until it touches the wall, attaching the connector to your pan outlet at the same time so it fits snugly.
Step 6: Mark Your Holes
Keeping your close coupled toilet secured at all times is essential. So, once it’s perfectly in place, use your pencil to mark the floor where your loo’s holes are on each side, measure the width of your toilet with a tape measure, and mark the wall where your cistern’s fixing bolt holes are too.
Step 7: Time To Drill
Now, disconnect your loo from the wall and slide it out of the way. Using your original floor marks as a guide – measure the thickness of your toilet inwards on either side to position your fixing brackets, mark and drill a hole for each of them, then screw them in place.
Top tip: Use a pipe or stud detector on the floor before you start drilling to check for cables or metalwork, especially if you have underfloor heating.
Step 8: Screw In Place
Once your floor brackets are in, you’re free to follow up by drilling your wall holes too – taking care to drill at a diagonal angle so you can reach them with a screwdriver once your loo’s back in place.
Add your wall plugs, then move the whole close coupled toilet back into position – screwing the cistern to the wall, the toilet to the floor and reattaching your pan connector once again.
Step 9: Activate The Water
With the loo in place, it’s time for your water. Apply some PTFE tape and screw on your flexi hose to the base for the cold-water supply – double checking for kinks in the cable that could cause issues. Once it’s all hooked up, turn your stopcock back on and check all round your close coupled toilet carefully for any leaks.
Step 10: Find Your Flush
Almost done! Slide your flush mechanism into the hole on your cistern lid, making sure your rods are parallel to the front and back of the lid – and screw your plastic nut into place. If the rods are too long, you may need to cut them to the correct length. Place your lid on and test the flush a few times.
Step 11: Seal It Down
Place a spirit level on your cistern lid to make sure your whole loo is level. If it is, it’s time to seal the deal by applying a layer of sealant all the way round between your toilet pan and the floor, before leaving it to dry.
Step 12:
Congratulations! Now that you’ve finished fully fitting a close coupled toilet, the only thing left to do is decide how to celebrate (as well as pick which toilet seat you want).


