
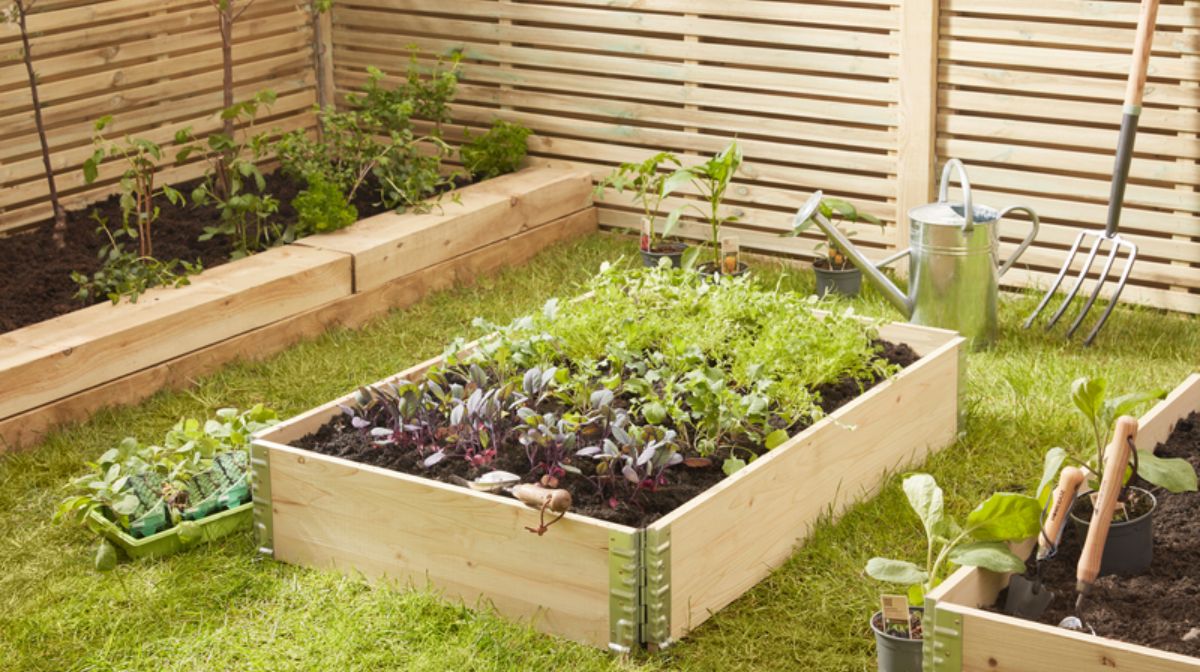

Whether you’ve got a big or not-so-big garden, building your own planter bed is a great way to save on space and keep all your plants and vegetables together in one area. We love any DIY project that involves getting out into the garden and enjoying the fresh air. Plus, the fact our new planter bed gives us the perfect spot to grow our own ingredients is a bonus.
It doesn’t matter if you’re a DIY beginner or if you see yourself as a bit of a pro, putting together your own planter bed can all easily be done in one afternoon. And it’s the perfect project for getting the kids involved in as they can help plant the flowers, herbs or veg you plan to grow.
We’ve put together a handy video guide with all the instructions, tools and materials you’ll need to build your own planter bed – enjoy!
Materials:
- Value deck boards (roughly 6” high & 1” thick) – the number of boards you need will depend on the size of your planter
- 4 x 75mm Deck screws
- Timber offcuts
Tools:
- Hand saw (or check if your local Homebase store will cut the wood for you)
- Triton Superjaws workbench
- Electric drill
- Screwdriver bit set and handle
- Tape measure
- Clamp
- Safety goggles
- Carpenters pencil
-

Safety first
Before you begin any DIY work, we recommend you read these DIY Safety Tips guide from Homebase, along with your power and hand tool manuals to keep yourself protected while building your planter bed.
Always reach out to a certified DIY expert if you’re not sure about anything.
-
Measure
Measure the lengths of wood with your tape measure. It’s always best to measure twice and cut once to save on wasting any materials.
Use your pencil to mark up where you will need to cut. Mark out three pencil points so you know it’s going to cut a straight line – you can use the straight edge of your saw as a guide for this.
Top tip: Make a quick scribble on the pieces of dead wood that you can throw away, so you don’t mix the two up.
-
Cut
Use a sharp saw to cut your wood to size as smoothly as possible. To cut an exact line, carefully rest the knuckle of your index finger against the flat of your saw as a guide.
Start at the edge of your piece of wood and cut by applying pressure onto the saw and drawing back. Once you’re halfway through cutting, you can use your clamp (if you have one) to secure the wood and help achieve a smooth edge.
You will need to repeat this process another three times to get the edges of your planter all cut to size.
-
Drill
Lay out your lengths of wood to form a rectangle shape. Once you’re happy with it, you can start connecting the pieces together.
Using your drill and matching drill bit, make three equal-distanced holes from the edge of every end length to stop the wood splitting when you put in the screws. These holes will hold the corners of the planter bed together.
-
Secure
Next, butt one end of each length up to the next with the drilled holes on the side – and screw those bits of wood together until you have your rectangular planter.
Then it’s simply a case of repeating the above process over again, until you have reached the desired height.
If your planter is more than one level, you may need to secure it together using additional pieces of wood or stakes.
-
Fill
Now your planter is in place, it’s time to fill it with compost to just below the top of your boards.
-
Plant
Finally, you’re ready to plant – or the kids are if they’re in need of something to do. To get the most out of your planter bed, it’s best to grow ingredients the whole family can enjoy.
Here’s a list of everything you’ll need to start planting your own:
-
Relax
Lastly, put the kettle on and make yourself a cup of tea – you’ve earned it! But not before giving your new seeds and plants a drink as well.
That’s your planter bed complete.
Don’t forget to upload a photo of it to your social media and tag @Homebase_uk.


