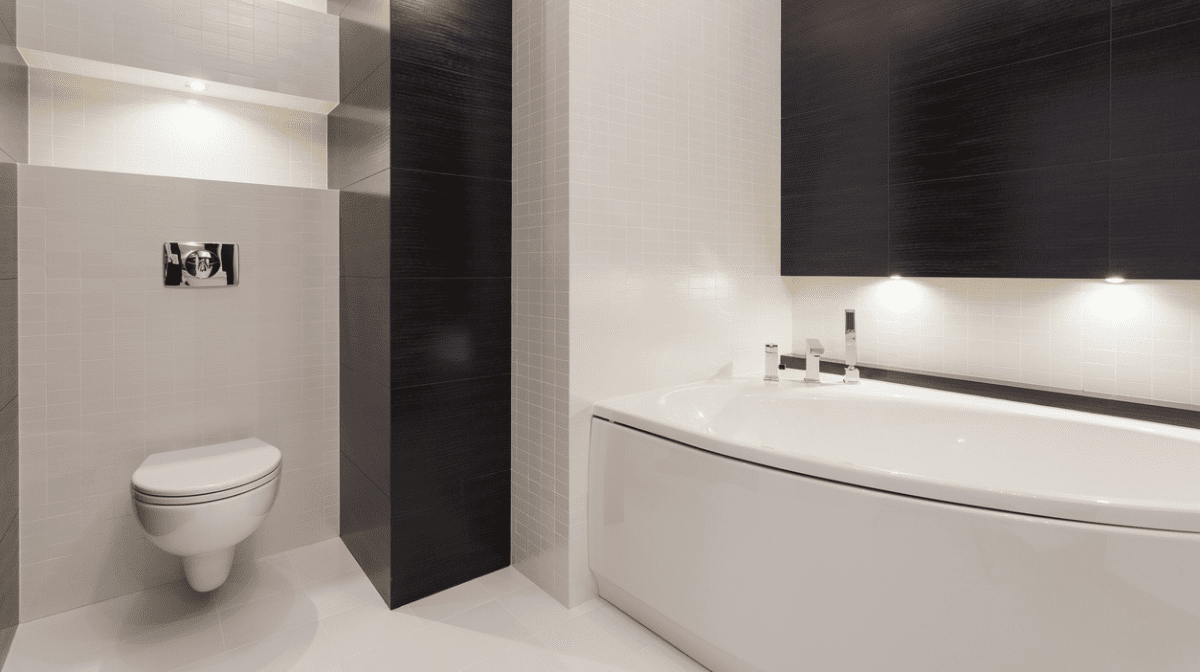
A corner bath is a great way to make a style statement in your bathroom. And give you a big, spacious, comfortable bath to relax in too. Buying a corner bath is one thing, but installing it is another. At first look, this can seem quite complex but with this step-by-step guide we’ll show you how to build in a corner bath easily. But first, let’s explore what kind of corner bath you could get.
Which corner bath should you buy?
There are plenty of corner bath designs out there to choose from. Here are a few options to consider:
Standard corner bath
Your standard rectangular bath built into a corner to give you more room. They’re also great for shower baths as they’re mounted to the wall and give you ample room to install things like riser rails and shelves for your toiletries.
Equilateral corner bath
This is a corner bath that’s the same length on each straight side. They’re usually roomy and luxurious looking – mimicking a hot tub shape. You’ll also save a bit of space as most aren’t very long.
Whirlpool corner bath
Corner baths can not only mimic the shape of a hot tub, but also the style. Whirlpool corner baths come with luxurious jets built in for massage and lots of bubbles for a spa-like experience.
Freestanding corner bath
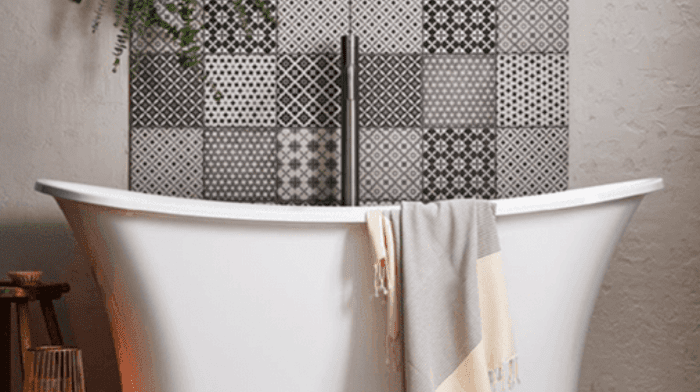
You may think that freestanding baths are a luxury for those with enough room, but not with this freestanding bath design. You can install a beautifully styled freestanding bath in the corner of your room for an aesthetically pleasing and practical fixture.
How to build in a corner bath
Once you’ve chosen your design, it’s time to build in your corner bath. Here’s how to create your bathroom sanctuary in seven easy steps:
Step One
First, locate the existing bath piping fixtures in your bathroom, and consider how the plumbing from your new corner bath will be attached. Check the connection compatibility and how far away it is from where your new bath is going to be situated. If you’re unsure it’s best to consult a professional plumber. Your new corner bath should be positioned on a level and sturdy base, so check your flooring for any rotten or damaged boards or unevenness and repair/replace if necessary.
Step Two
Once you’re happy with the pipework and foundations you can start fitting. Your corner bath will need to sit on a wooden frame to support its weight – it will be quite heavy once it’s full of water! You’ll be able to find the exact dimensions of the frame in the manufacturer’s instructions that came with your corner bath. You can then construct your frame by cutting up timber battens and attaching them together with screws. Use a stud locator to find the studs in your corner wall. Always remember to check for any hidden electrical wiring before you drill into them. Then attach your frame to the wall.
Step Three
Before positioning your corner bath on its timber frame, you’ll need to fit the taps onto the bath itself. Take care not to scratch or damage the outer surface of your bath. With the help of someone else, lift your bath into position and check that all your plumbing will connect to your existing piping fixtures. This is very important as once your bath has been fixed in its position with mortar it will be very difficult to access the plumbing without risking disruption and damage.
Step Four
Once you’ve happy with your plumbing you can go ahead and secure your corner bath into its wooden frame. But before that, lift your corner bath away and carefully set it aside. Prepare a thin-set mortar mix and apply it evenly across the floor under where the bath will sit. You should spread it evenly, one or two inches thick depending on the weight – the larger the corner bath the thicker the mortar.
Step Five
Carefully drop your corner bath into place (again, with some extra hands), so the bottom sits on the wet mortar floor and its edges rest on the wooden frame. Use a spirit level to ensure it’s sitting straight and adjust if necessary by placing shims (small tapered wedges) along the bottom of the bath.
Step Six
Securely connect and tighten with a spanner all your plumbing fixtures (water supply to taps, overflow pipe and drain to the waste outlet) and check for any leaks. If you come across any major problems, it’s easier to quickly remove your mortar now before it sets and then try again later. If everything is working correctly you can then screw your corner bath to the battens in your wall using the fittings on the underside of the bath.
Step Seven
With your corner bath firmly in place, you can now attach and side panels and apply silicon sealant around its edging to make it watertight. Allow 24 hours for it to set completely before treating yourself to a first soak in your new corner bath.
And there you have it!
That’s how to build in a corner bath. If you have any other questions or comments, the Homebase team is happy to help. Simply pop in store or get in touch online today.

