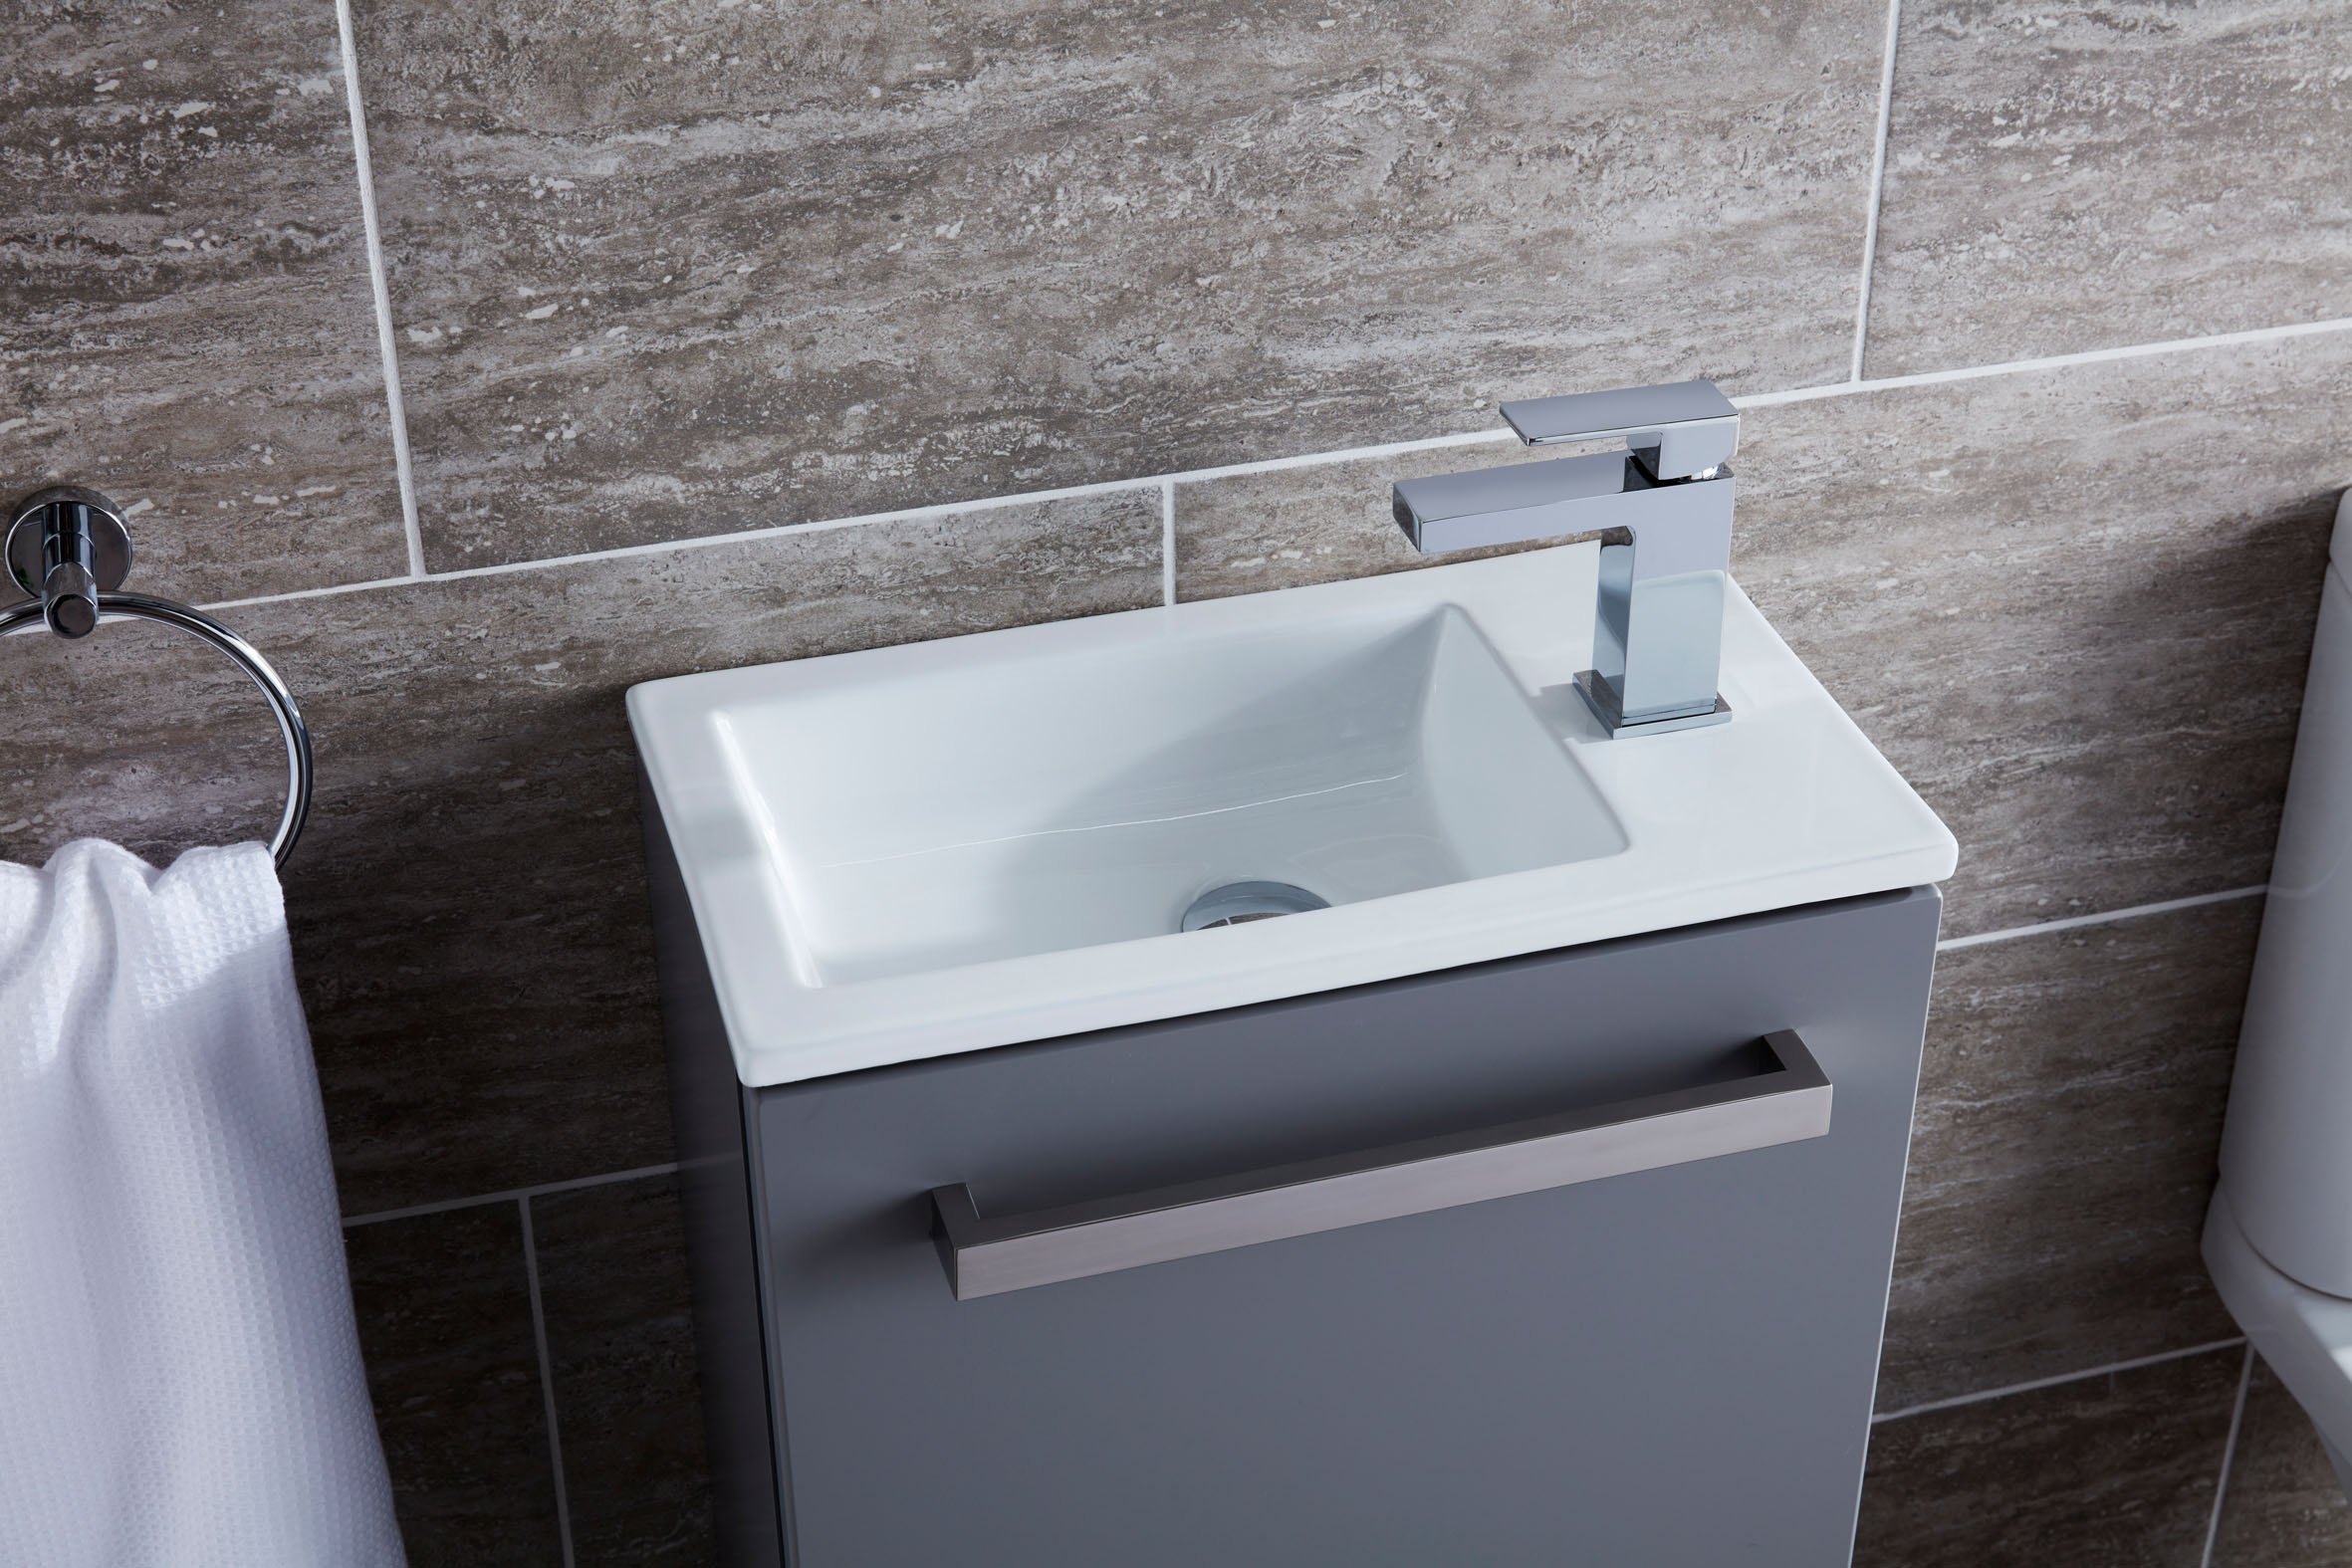
Designed to help fill and empty your basin, wastes are often the most neglected part of any bathroom, meaning rust, limescale and even mould can build up before you know it. Thankfully, it couldn’t be easier to change a basin waste out for a fresh new model. With some basic plumbing know-how and tips on finding the right waste fittings, this guide is designed to get you on your way in no time.
What you'll need:
The different types of basin waste
Typically, basin wastes come in 5 design types, with a wide variety of combinations available.
Plug & chain basin wastesThe most traditional look of all, plug & chain wastes couldn’t be simpler – as one slots into the other to form a watertight seal. Just make sure your sink has a pre-drilled hole to attach your chain to before you buy it!
Pop up basin wastesOperated by a push-pull mechanism, pop up basin wastes mix control with style for the best of both worlds. Just push the stopper down to seal the water in, or pop it up to drain away.
Flip top basin wastesA chic option for the most modern of bathrooms, flip top plugs spin smoothly on a central pin for easy operation. Press flat for closed, or push either side to flip it open instead.
Push button basin wastesMuch like a flip top basin waste, push button ones can be switched to open or closed quickly and simply. Also known as click-clack or sprung, press once to close and fill with water – then press a second time to drain.
Freeflow wastesMore commonly found in commercial or public basins, freeflow wastes aren’t able to be closed at all. Instead, they allow the water to drain freely the whole time the tap is on for safety or convenience reasons.
Alongside the many types of basin waste, you’ll also need to decide whether yours needs to be slotted or un-slotted too.
Slotted basin wastesSimply put – slotted basin wastes are designed for sinks with an overflow outlet, and need to be fully connected to work properly.
Most modern sinks do have an overflow, so slotted basin wastes are by far the most common chase, but it’s well worth checking beforehand!
Unslotted basin wastesConversely, unslotted basin wastes create a complete seal at the bottom of your sink, so they’re designed for sinks without an overflow. However, this means that they can spill over if left on their own – so never have your taps running unsupervised.
How to change a basin waste
Step 1: Shut off your waterLike most bathroom projects, your first move should be to shut off the water using a stopcock – usually found under the sink. After all, the last thing you want to do is flood the room with water!
Step 2: Remove your trapPlace your bucket underneath your basin where the pipes meet the bottom of your sink waste, known as a “trap”. With a spanner or pliers, loosen the trap just a little, then unscrew the rest by hand so you don’t damage it.
Top tip: Your trap will probably come with a rubber “O” seal on the end. You might need it for your new one (or as a spare), so put it somewhere safe!Step 3: Detach the basin wasteNext up, it’s time to remove the waste itself. It’ll be attached to your basin with a big hexagonal nut – but your spanner can make short work of it. Once it’s off, remove the large rubber washer and push your waste upwards – peeling off the silicone in the process.
Top tip: Depending on how much silicone there is round your waste, you might need to loosen it with a screwdriver first. Just be careful not to scratch the ceramic as you do so. If there’s any residue leftover, a hot cloth can clean it away.Step 4: Start from scratchNow the old basin waste is out, it’s time to get your new one installed! Making sure everything is clean and dry, disassemble the waste, nut and washer parts and lay them out on your bathroom floor.
Step 5: Fit in placeNext, drop your waste into the basin cut-out waiting for it – making sure it fits the right way if it’s a particular shape or design. If you’ve chosen a slotted basin waste, it’s essential to face it the right way round for connecting your overflow holes together too.
Step 6: Seal the dealWith everything in place, form a watertight seal between your plug and the sink by re-applying a strip of silicone around the thread of your basin waste. For extra protection, press the silicone gently into the gap all the way round with the nozzle of your applicator and then your rubber washer.
Step 7: Attach and enjoyLastly, screw your washer and hexagonal nut on tightly underneath the sink, keeping one finger on your waste to prevent it from turning with it – finishing off by hooking up your trap too.
And that's how to change a bathroom basin waste! For more plumping tips and tricks, take a look at our Ideas & Advice hub.


