
Difficulty rating: Medium
These tasks may be tricky so will suit you if you’re experienced in DIY, or simply love a challenge.
Before you get started on any of our ‘how to’ guides, please take a moment to read through our DIY safety tips.
What You’ll Need:
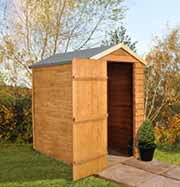
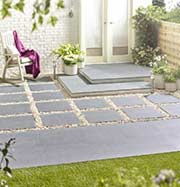
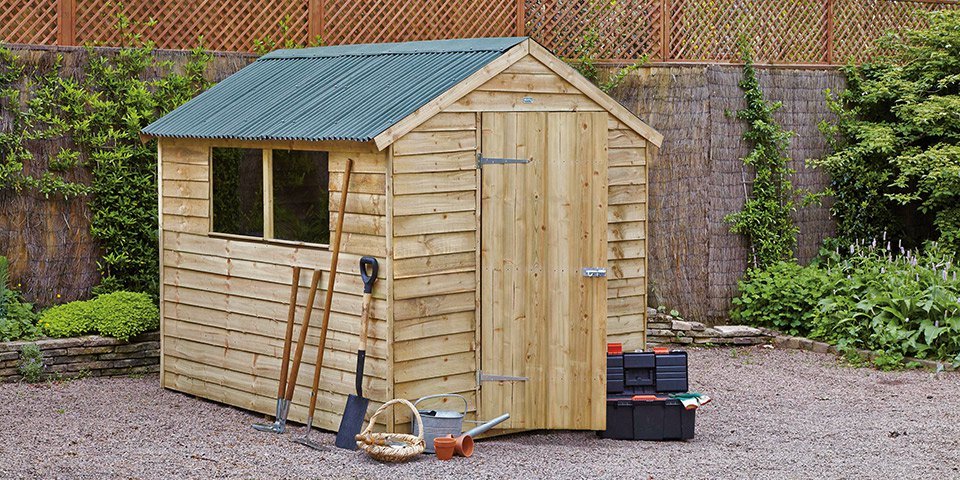
Step 1. Planning the shed base
The base is key for garden sheds. They need to sit on a hard, level base – or the shed frame will distort and the door and windows won’t open properly.
Here are the different kinds of base you can get:
- Treated wooden beams on flattened hardcore or shingle.
- An interlocking plastic base system laid onto firm, level ground.
- Concrete slabs on a level bed of sharp sand.
- Concrete laid on hardcore.
The two concrete bases should be slightly smaller than the external dimensions of the shed.
Step 2. Treating with wood preservative
Before you put your shed together, treat all the wooden parts with a preservative. Most garden sheds come with a factory-applied base coat but you should boost that protection with at least two coats of good-quality preservative.
Helpful hint…
Wear rubber gloves and safety glasses or goggles when you use wood preservative.
Step 3. You’ll need a helper
The individual parts of your shed aren’t that heavy but they’re awkward for one person to handle. It’s best if you get someone to help you.
Step 4. Assembling the shed floor
Some garden sheds come with the floor panel already attached to the joists. Others will need some assembly.
- You need to lay out the joists under the floor sheet. The spacing depends on the specific shed you’re building. Follow the manufacturer’s guidelines.
- Fix the first joists under the long outer edges. Then put the remaining joists evenly between them. They can then be fixed in place.
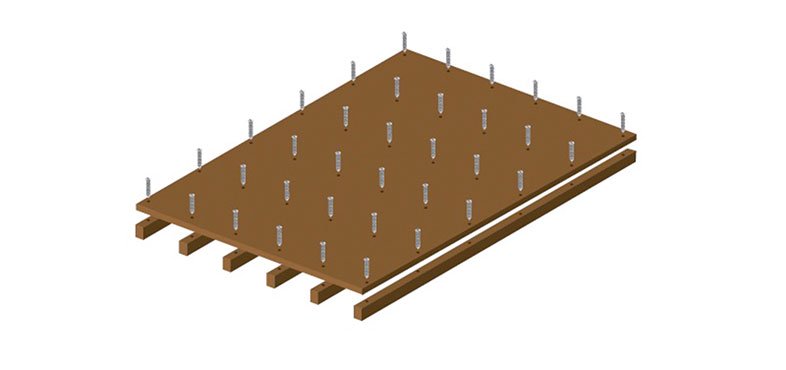
Putting the shed floor together
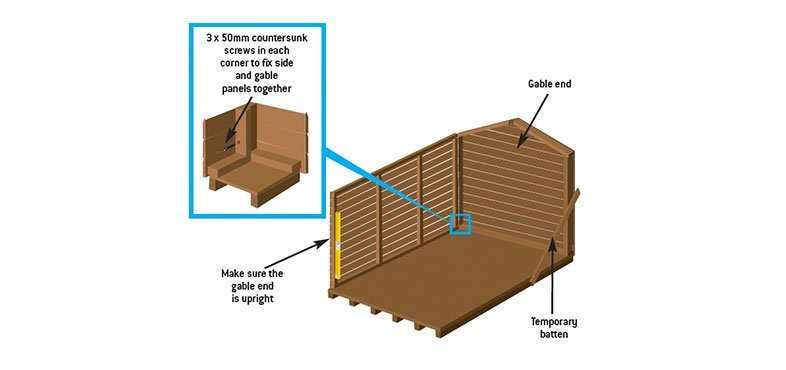
Step 5. Putting up the walls
- Mark the exact centre point of each wall on its bottom edge. Do the same on the shed floor. You can now make sure they’re centred exactly when you put up each wall.
- Stand the gable end on the base and line up the centre marks.
- While your partner supports the panel, check that it’s vertical with a spirit level. Then use a temporary holding batten – a scrap piece of wood not provided – to hold it in place.
- Don’t fix the wall panels to the floor until the roof is fitted.
- Next position and fix a side panel (sometimes called a ‘back gable’) to the gable end panel with three countersunk screws.
- You’re now ready to add the second side panel (or ‘front gable’) and the door panel in the same way.
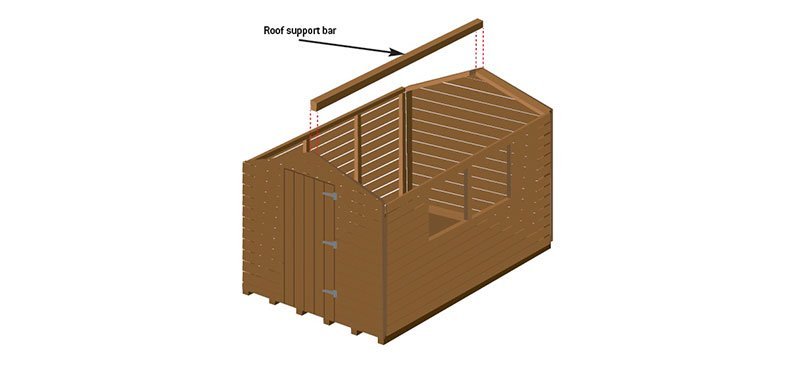
Fix the roof support bar before the roof panels.

Roll out the felt and make sure there’s a 50mm overlap to the front, back & sides.
Adding the side panels
Step 6. Fitting the roof
If your shed has a roof apex support, it must be fixed in place before the roof panels. Roll out the roofing felt from front to back, leaving a 50mm overlap all around.
- Some garden sheds come with a roof support bar. You must fix this in position before the roof panels are positioned.
- Next, nail the roof panels in place – following the manufacturer’s instructions as you do so. Make sure there’s an equal and parallel overlap at either end.
- Roll out the roofing felt from front to back. Leave a 50mm overlap to front, back and side.
- Secure the felt with clout-headed felt tacks at 100mm intervals.
- With a sealant gun apply mastic sealant to the outside corners of your shed. Then fix the four corner trims with 30mm nails.
- Now put on the fascias and finials. Predrill 2mm holes to avoid splitting them. Nail them through the felt into the shed top frame with 40mm nails.
Helpful hint…
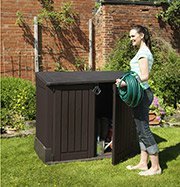
Make sure you have a good sturdy padlock on your garden shed.
Step 7. Fixing the windows
- Put in the plastic sills between the window frames. Slide each sill into the tongue and groove cut out.
- Next put the window cover strip in position and fix it to the vertical framing with three 30mm nails.
- Then place the glazing sheets into the window rebates from inside your shed. Make sure the bottom edge of the glazing sheets sit on the outside of the sill.
- From inside the shed, fix the window beading (top and sides only) with 25mm nails. The hammer will slide against the glazing sheets as you drive home the nails.
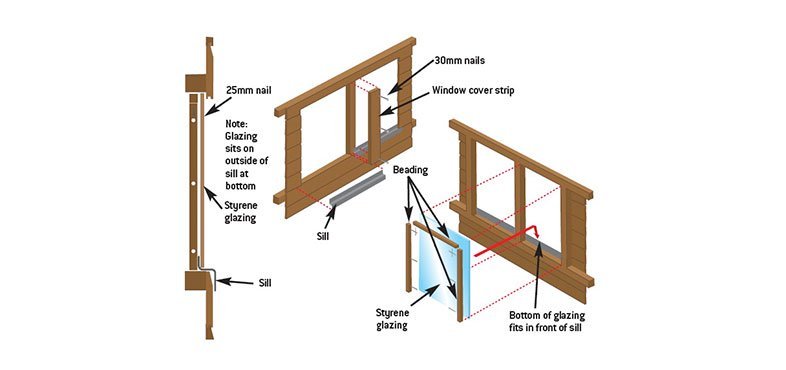
Fixing the windows in place.
Step 8. Fixing the walls to the floor
- Check once again that the centre marks on the walls line up with the corresponding centre marks on the shed floor.
- Next fix the wall panels to the floor with 50mm screws in alignment with the joists.
- Enjoy your new shed!
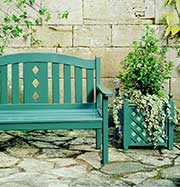
When you’ve finished building your new shed you might like to give it an extra coat of paint. This will help to prolong the life of your shed and protect it from weathering. You’ll find a great range of wood preserver, shed and fence paint and shed paint brushes at Homebase.
Why not brighten up your outdoor space by transforming your shed into a colourful garden feature with our range of garden colours? For more shed painting tips, take a look at our helpful guide: How to paint a shed.