

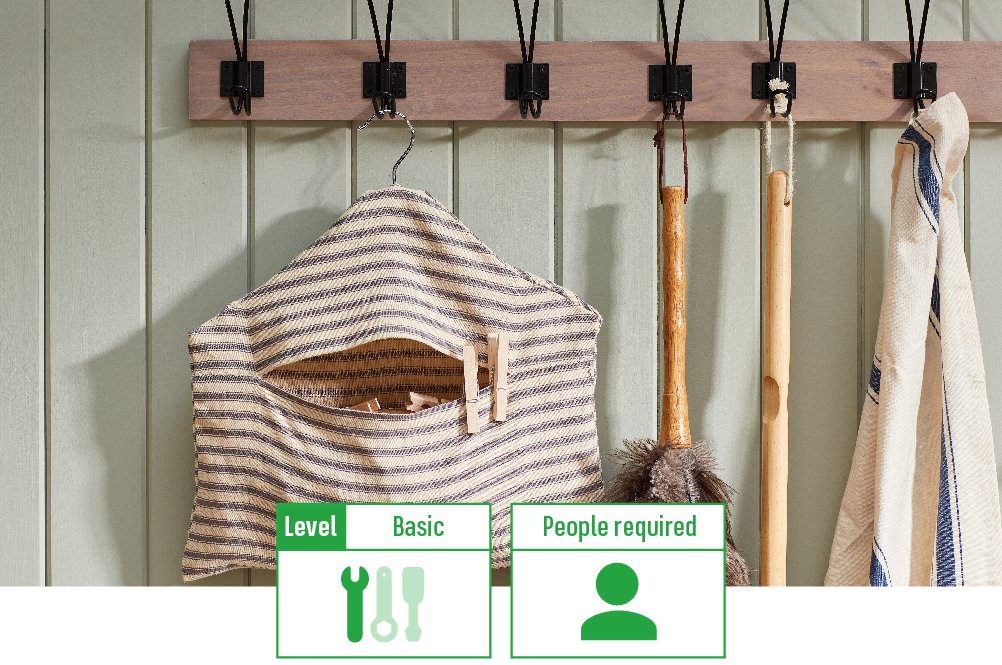
There really is nothing better than the smell of fresh linen drying on the washing line. So, with the spring sunshine beginning to peak through the clouds and the warmer breezes upon us, why not give making your own peg bag a try?
Let’s get started with what you’ll need.
These instructions follow a guide to fit a 25cm wide child’s coat hanger. For the fabric, you can use off cuts or even a tea towel.
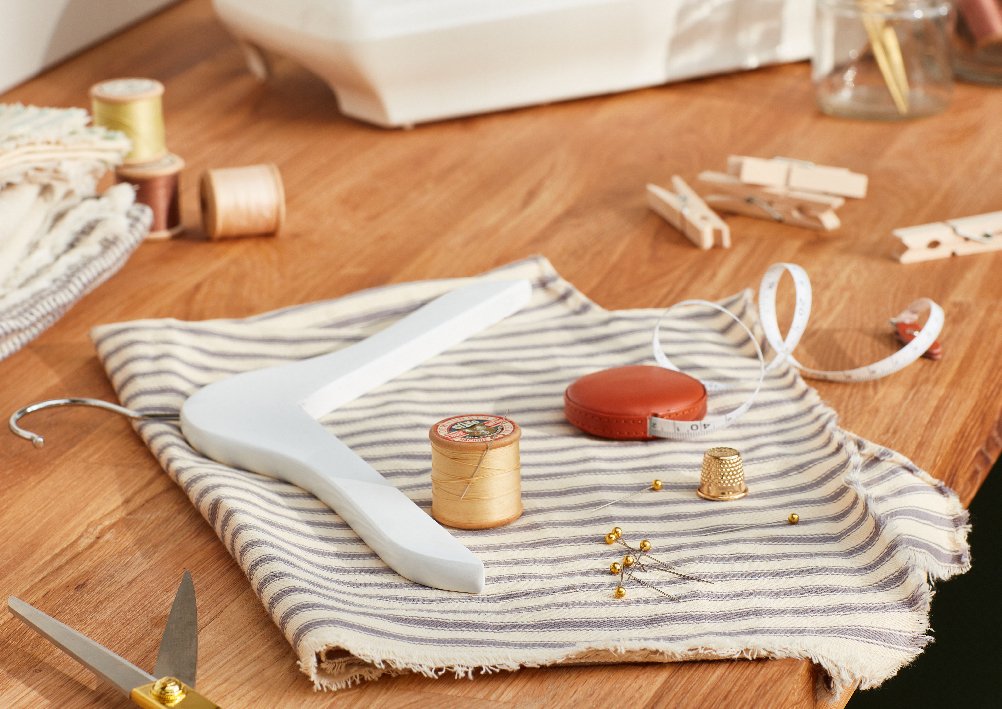
Materials:
- Child’s Sized Coat Hanger
- Cotton Fabric
- Paper for Template
Tools:
- Sewing Machine
- Basic Sewing Kit
- Sewing Scissors
- Pencil
- Ruler
-
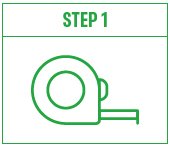
Create your paper border
First, take a sheet of paper (this can be a piece of old wallpaper or even baking sheet paper) and measure 29cm x 35cm. Use your ruler and pencil to mark your borders.
Top tip: Whatever the size of your hanger, add 4cm more to the width.
-
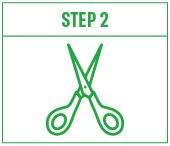
Make your curved edges
On the same piece of paper, draw around the curved edges of your hanger and connect it to the top of your border.
Cut the pattern out using your scissors.
Top tip: Make sure you note the position of the wire hook on the drawing.
-

And repeat
On your second piece of paper, make an identical pattern but 5cm longer.
Cut the pattern out using your scissors. Then measure 24cm from the bottom and cut the pattern into two parts.
Top tip: Don’t forget to label your pieces of paper accordingly.
-

Pinning it together
Next, pin each paper cut out to your fabric and cut around it. Your sewing kit should come with pins.
You will need to do this for your front and back, so in total you will end up with 6 fabric cut outs.
-

Time to sew
Place each corresponding piece of fabric with the outer sides facing into each other – pin and tack using your sewing machine supplies. Don’t forget to leave a small gap for turning out your fabric.
Sew around the borders of your fabric with a seam allowance of 1cm. Snip the corners and turn out all the pieces of fabric. Then, hand stitch the openings closed.
-
Making the opening
With your two front pieces of fabric, fold over a hem along the edges – this will make the opening of your peg bag.
Next, check the front and back of the peg bag are now the same length by placing your front pieces on top of the back one. Zigzag stitch the hems using your sewing machine as close to the edge as possible.
Place the back piece face up and lay your two front pieces right side down on top of this. Pin and tack in place.
Then leave a small gap at the top of your peg bag to insert the hook of the hanger. Stitch neatly on your sewing machine with a small seam allowance of 1cm.
-
The finishing touches
Remove the tacking thread, turn out your bag and put your hanger in place.
Lastly, simply fill with pegs and await the perfect spring day to put it to good use.
That’s your homemade peg bag complete.
Don’t forget to upload an image of your new peg bag to social media and tag us @Homebase_uk.


