
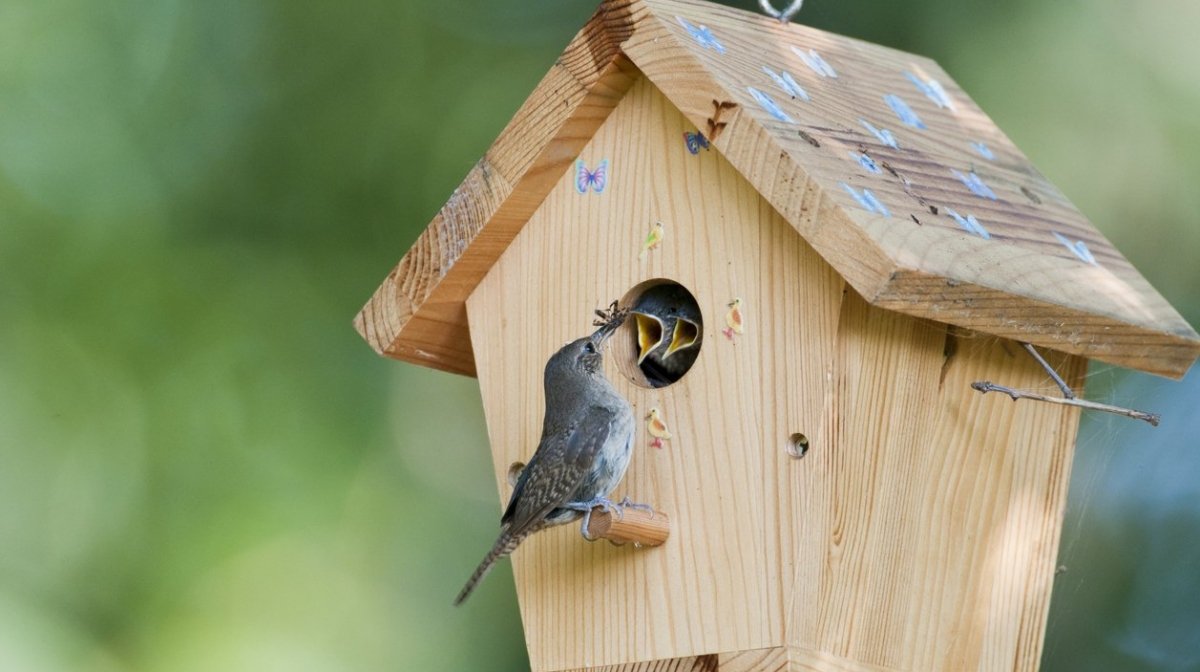

From sparrows to wrens, if you want to create the ideal home for native birds right in your own garden, then it’s time to make a bird box. It’s a quick and easy DIY project – and you can make it an activity for the whole family, getting the kids to personalise your new homemade bird box once it’s been built.
Before you begin any DIY work, it’s recommended that you read our DIY Safety Tips guide, along with your power tool manuals to keep yourself and others safe while completing this How To guide.
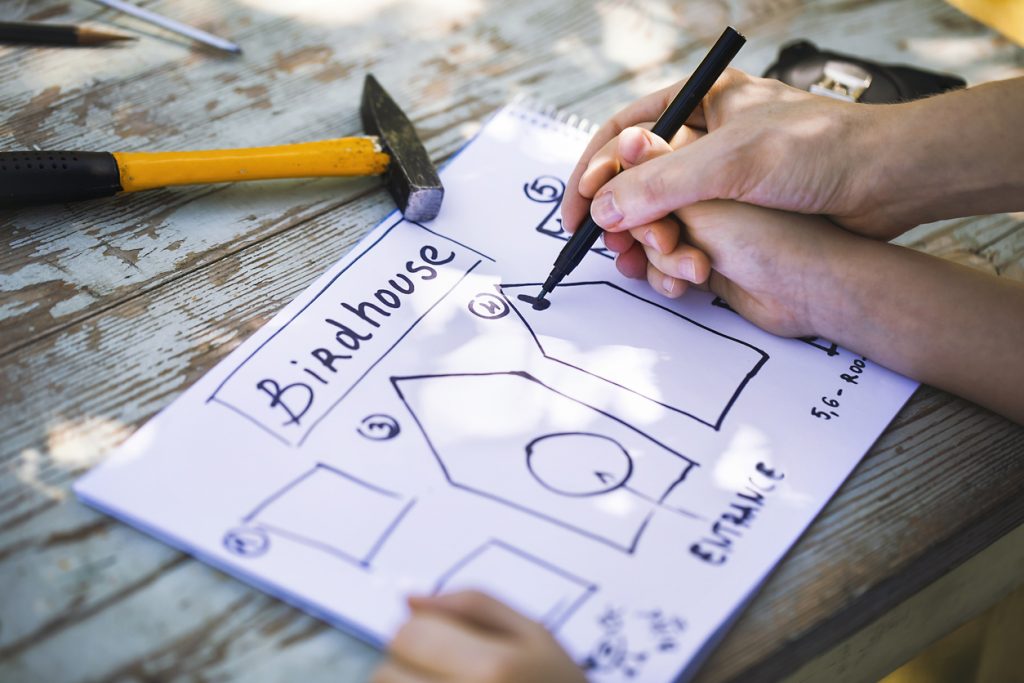
Let’s start with what you’ll need.
Materials:
- A plank of wood (1.5m long x 15cm x 1.5cm thick)
- Strip of rubber
Tools:
Prepare the wood for your bird box
As you cut each section of wood for the house, you will need to sand down the edges to avoid any sharp splinters harming the birds. For added safety, be sure to use untreated wood at all times.
We’ll tell you the exact measurements further down.
Think about placement
The best bird-friendly spot for your bird box tends to be at least 2-4 metres above the ground, ideally high on a wall or under your house’s eaves – so it’s safe from hungry cats or foxes. Tilt the box to keep rain away from the inside and face it somewhere between North and East to avoid direct sunlight.
Which materials to choose?
To make the best bird box, you need to pick a type of wood that will protect the birds from the heat and cold outside, which is why we recommend plywood, soft wood or hardwood for the best results.
Just make sure you keep the thickness accurate, so it doesn’t warp. Nails are sufficient for joining it all together but if you want to clean out the box between seasons, try using screws for the top piece.
Saw your pieces of wood
Before you start assembling, you’ll need to carefully saw your wood into six panels.
Measure and mark out your pieces with a pencil:
- Back panel: 45cm x 15cm
- Base panel: 12cm x 15cm
- Side panels x 2: Sloped to fit the roof, so 25cm x 15cm at the back and 20cm x 15cm at the front
- Front panel: 20cm x 15cm
- Roof panel: 21cm x 15cm
Saw along your pencil lines and sand off any rough edges with your sandpaper.
Hammer and nail
Hammering gently to avoid your wood splitting, nail one of your sides to the base. Three nails should be enough for each piece.
Nail both your sides and base to the back plate, attaching halfway between the top and the bottom of your back piece.
Flip your bird box over so it’s resting on the fixed side and nail the other side on.
Secure
Before you attach the front piece, create an entrance hole with a wide-fitting drill bit and sand down well.
Once you’ve got the right sized hole, place your bird box on its back and nail the front on securely.
Finally, attach your roof panel – with screws instead of nails, as we mentioned earlier – giving you access to clean it out between seasons. Using the strip of rubber, as a hinge between the roof and the back, should help keep it waterproof too.
All that’s left to do, is to place your bird box into position. If you’re hanging it, you can drill a small hole in the top and secure it using some heavy-duty twine.
Don’t forget some bird food!
That’s how to make a bird box.
Don’t forget to upload an image of your new bird box to social media and tag us @Homebase_uk.


