

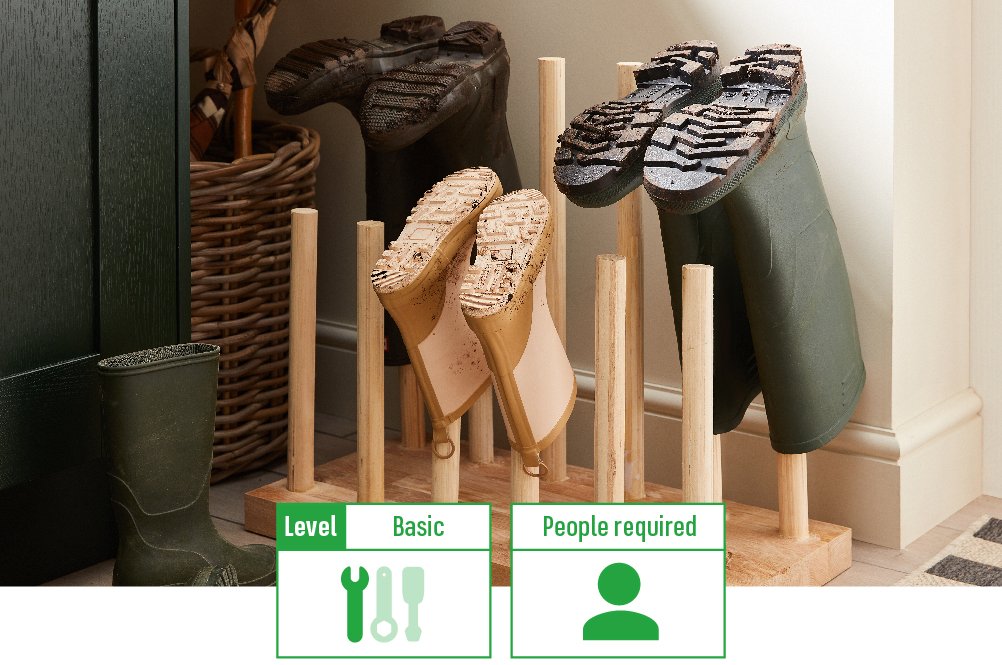
After a long walk in the great outdoors, having somewhere to keep mucky boots tidied away is essential – that’s why we love this homemade wellie boot stand.
Whether you’re a DIY beginner or a bit of a pro, creating your own homemade wellie boot stand is just a few steps away. It’s the perfect project for keeping the mud at bay while showcasing some simple woodwork skills!
Let’s start with what you need
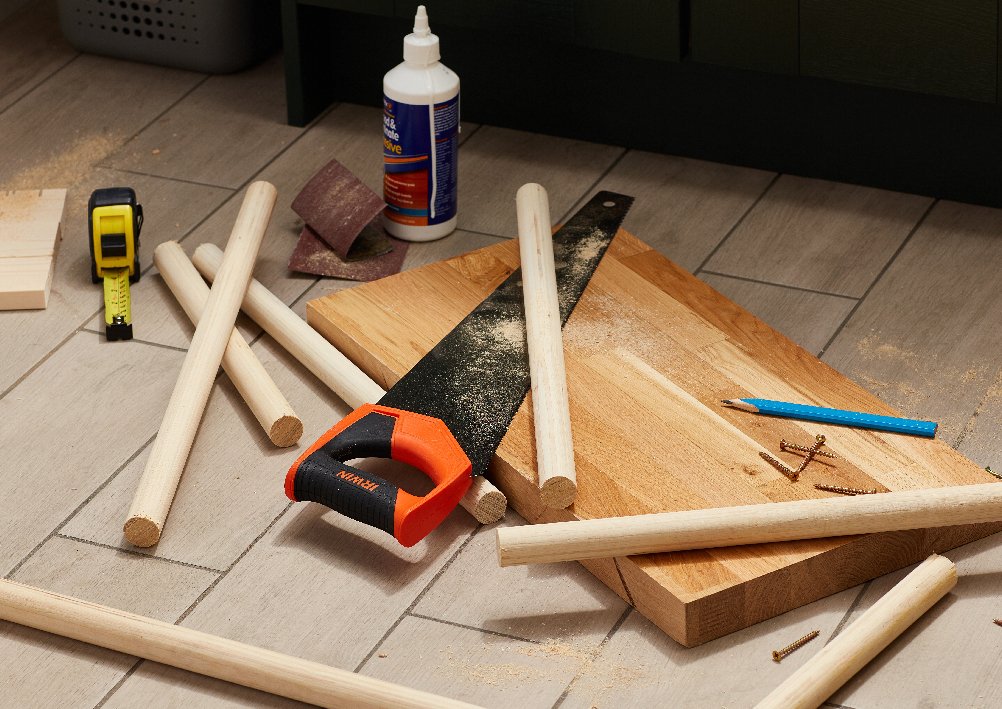
Materials for a 6-pair Wellie Boot Stand:
- 6x 1” x 33” Wooden dowels
- 2x 2” x 3.5” x 44” Wood boards
- 2x 2”x 3.5” x 13” Wood boards
- 6x 3” Deck screws
Tools:
- Hand saw (or check if your local Homebase store will cut the wood for you)
- Electric drill with a drill and screwdriver bit
- Wood glue
- Tape measure
- Combination square
- Pencil
- Mallet
- Safety goggles
-

Read our DIY safety tips and manufacturer instructions
Before you begin any DIY work, we recommend you read our DIY Safety Tips guide along with your power tool manuals to keep yourself and others safe while completing this How To guide.
Always wear your safety goggles when cutting or drilling any wood.
-
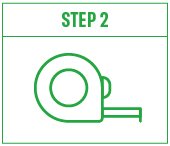
Measure
Grab both your 2” x 3.5” x 44” wood boards, tape measure and pencil. Use your hand saw if you need to cut your wood boards to use or check if your local Homebase store will cut the wood to size for you.
Along the wood boards, with your pencil mark points every 6 and ¾ inches apart. This should give you enough space between each of your wellie boots.
-
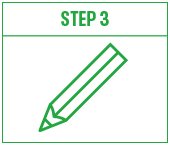
Check your measurements
At each point you’ve marked, use your measuring square to check they’re in the centre of the piece of wood.
-
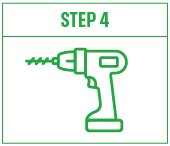
Drill
Using your drill and drill bits that are the same diameter as your dowels, drill your holes for the dowels into your 2” x 3.5” x 44” wood boards along each of the points you’ve just measured out.
These will need to be nice and snug for your dowels to stand up in, so don’t drill the whole way through. We recommend drilling to a depth of 1″ into the wooden boards.
-
Assemble
Take your two 2” x 3.5” x 44” wood boards and lay them horizontally in front of you, with a small gap in-between them.
Now, take your 2” x 3.5” x 13” wood boards and place them under each of your longer pieces of wood. These will create the feet for your stand.
When you’ve matched them up, you’re ready to secure everything in place by drilling in your deck screws at each end with your drill and screwdriver insert.
-
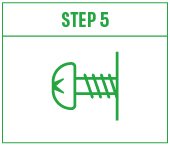
The finishing touches
Time to put the dowels in.
Simply fill each of the holes with a spot of wood glue. Then take your dowels and push them into the holes so they are standing proud, using a mallet/soft hammer to make sure the dowels are all the way in. And you’re done.
We recommend you leave everything to dry for a couple of hours before placing your wellie boots in their new home. So why not head out into that great outdoors and your new stand will be ready to test out when you get back.
That’s your Wellie Boot Stand complete.
Don’t forget to upload an image of your new wellie boot stand to social media, tag and follow us @Homebase_uk


