

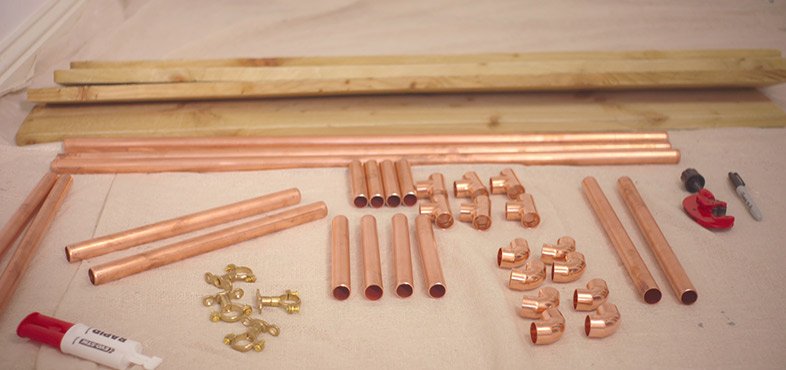
What you’ll need:
This is a 2 person job, so make sure you have someone to help you before you start.
Step 1: Prepare your design
Draw your design out onto a piece of paper, our guide is for a 90cm wide by 70cm high shelf.
Step 2: Measure and cut
Measure and cut the pipes to length.

Step 3: Organise your components
Lay all the cut pieces out on the floor to check you have all the parts that make up your shelf.
Step 4: Check it all fits together
Before you use any glue, put the pieces together, to check it all fits together.
Step 5: Glue together
Using epoxy resin, while wearing gloves, glue the joints together and push the pipes securely into the joints. Then allow at least 15 minutes for the glue to dry.
Step 6: Fix to the wall
Secure the brackets to the wall using pipe brackets. Check that they are level using a spirit level.
Top tip: Use the correct fixings for your walls.
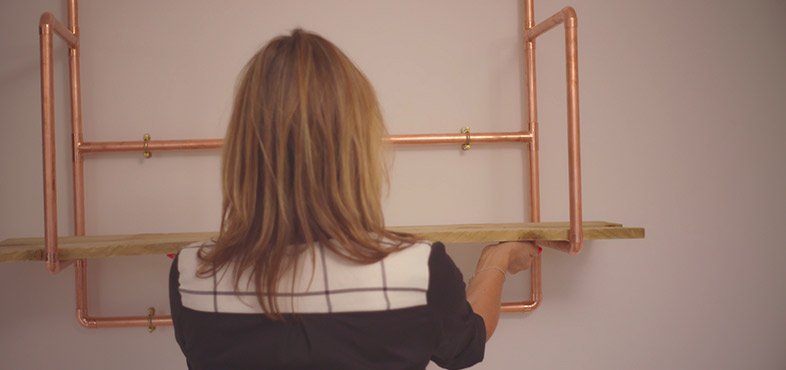
Step 7: Secure the frame
Secure the shelving frame in the brackets.
Step 8: Check everything is even
Check that the shelf lengths are even then position and fix them by drilling screws carefully through the pipe frame and into the shelf.


