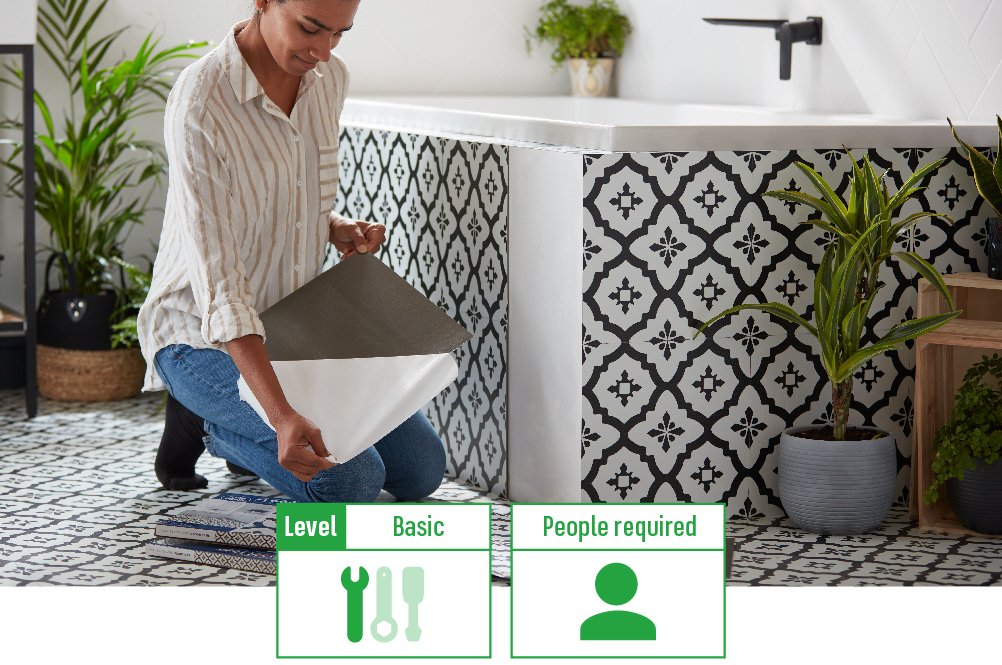
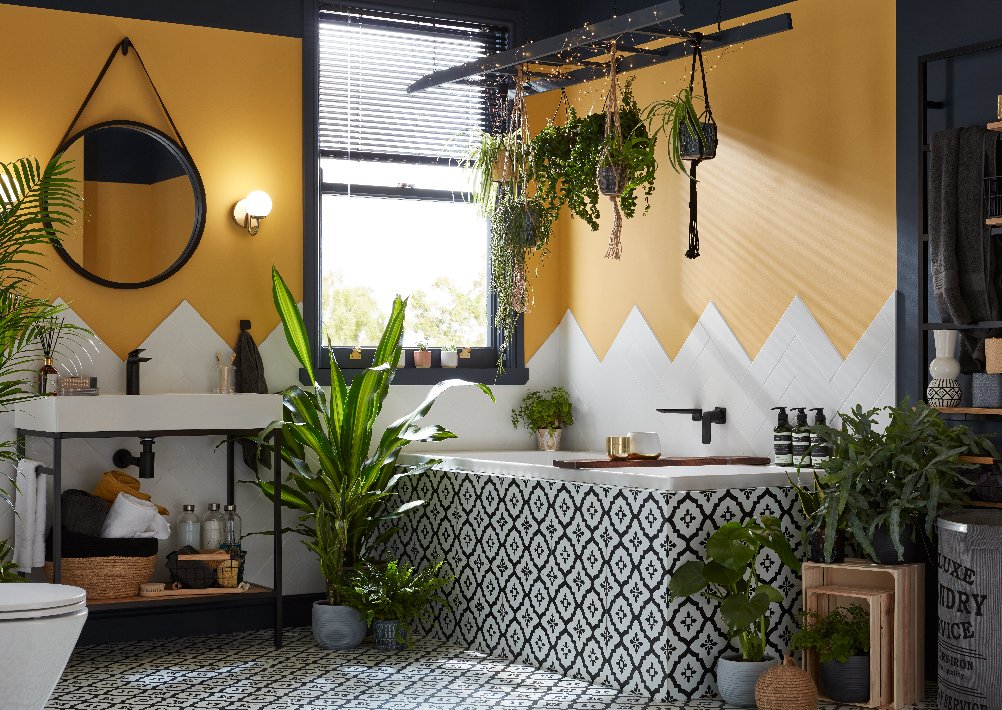
If you want the look of a tiled floor without the fuss of installing heavy stone tiles, then self-adhesive vinyl floor tiles are a simple, easy and quick solution.
These peel and stick tiles can be easily laid without the help of a professional. We’ve put together this simple guide to show you exactly how to lay vinyl floor tiles to achieve the best result.
Let’s start with what you’ll need.
Materials:
- Peel and stick self adhesive tiles
- Hardboard or Plywood (optional)
- Levelling agent acrylic primer (optional)
- Card (optional)
- Cleaning materials
- Tile roller or Rolling pin (optional)
- Dust mask
Tools
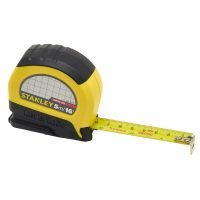
- Tape measure
- Chalk/ pencil
- Chinagraph pencil
- Craft knife
How to Lay Vinyl Floor Tiles
-

Read our DIY safety tips and manufacturer instructions
Before you begin any DIY work, we recommend you read our DIY Safety Tips guide to keep yourself and others safe and protected while completing this How To guide.
If you’re in doubt about anything, you should reach out to a certified expert for assistance.
-
Preparation
You need to measure the area you want to install your vinyl floor tiles to and then add 10%. Round it up to the next whole square meter so you have some room for mistakes.
Since vinyl is a thermoplastic material, you must give your tiles time to acclimatize. To do this, leave them lying flat in the room they will be installed in for at least 24 (preferably 48) hours in advance.
Make sure the room is warm and when you remove the tiles from their packaging, ensure they are straight as they may have curved a little.
Top tip: Buy all your tiles at the same time because sometimes batches can differ slightly in colour.
-
Clean the area
You will need to clean your floor and walls from any dust, dirt and grease and dry it off. Followed by checking if the flooring is sealed and in good condition. As any bumps, holes or cracks will be seen on the surface.
If you are sticking your vinyl tiles to a wall that has any holes or cracks, you can find out how to repair them here.
Peel and stick vinyl tiles are also great for attaching to other surfaces such as your splashback or even bathtub. You just need to ensure it is completely clean and dry before starting.
-
Level the ground
If you are installing your vinyl tiles to the floor, you will need to level the ground.
Any timber floors with loose boards will need to be screwed down and have plywood or hardwood laid over the top. Unfortunately if your timber has been treated with wood preservative then you will need to replace it, as overlaying will not be suitable.
Tiles will also stick to laminate or vinyl flooring if smooth, sealed and in good condition. And likewise, ceramic tiles will work if they are untextured, though any dips must be filled and sealed.
Applying a suitable levelling agent such as an acrylic primer will improve the adhesiveness of the floor so that the vinyl tiles will stick better.
Top tip: If you require the use of any power tools in this section, you must read their instruction manuals before starting to keep yourself and others safe. And don’t forget to wear your dust mask and safety goggles.
-
Set your laying pattern
The best laying method is to find the mid-point of whatever wall/floor you are planning to tile. Then you can work your way outwards in each direction. Use a tape measure and chalk/ pencil to make your marks.
Once you have marked the position of your first tile, this will help you to work out where all the other tiles will go.
If you are tiling a whole wall/floor, dry-lay a row of tiles from the mid-point mark to one of the walls. Check to see if you’re left with any gaps. Try to avoid having to add a thin strip of tile at the edge of the wall if you can. Move the starting line back about the width of half a tile and repeat dry laying in the opposite direction. Adjust until there’s a gap of about half a tile all the way around the room.
Top tip: Take your time doing this, as you want a great finished result.
-
Start sticking
Once you’re happy with the pattern, you can start to stick.
Peel off the protective film on the back of the vinyl tile and press gently onto your surface.
Keep checking you are not trapping any dirt under your tiles, as it will show through.
After your first tile, add the next ones to make a square with your tiles and then continue positioning the tiles until you have covered the areas you want to cover.
You may want to roll over the tiles with a tile roller or domestic rolling pin for extra sticking pressure.
Top tip: Leave the filling of any small gaps at the edges until the end.
-

How to cut vinyl floor tiles to fill any gaps
If you need to cut tiles to fill gaps, put another tile on top of the tile you plan to cut and use a chinagraph pencil to mark onto the face of the tile below.
Put the marked tile onto a piece of old cardboard and cut part-way through the tile using a craft knife. Then break the tile by bending it at the cut line until the tile snaps.
Check your newly cut tile will fit into the gap before removing the protective film. If it does, you can go ahead and stick it down. Repeat this process to fill all the gaps needed.
Top tip: Always check before you stick.
-
You're finished
A simple, yet very effective way to make a difference in a room that needs a little décor refresh.
Don’t forget to upload an image of your new Vinyl Floor Tiles to social media, tag and follow us @Homebase_uk
Find your perfect product


