

It’s no surprise: bathrooms and moisture go hand-in-hand. In order to avoid the problems that can arise from excess damp, venting condensation out of the bathroom is an important procedure that can be achieved by installing an extractor fan.
In order to draw moisture out of the bathroom, read on for a guide on installing an extractor fan in your bathroom ceiling.
Preparation
There are a few things to keep in mind before beginning the installation process. If you are fitting a fan in a new spot on the ceiling, you will have to cut a hole through the ceiling and into the loft space. From there, the extractor fan will have to be secured to either the floor or wall and connected via ducting to a vent in your bathroom ceiling, and to ventilation that runs through the roof of your home or an outside wall.
It is important to plan ahead and keep layout in mind – make sure there is enough room in the loft for the fan to fit into place. If you are making a hole in your ceiling, always cut between joists (the horizontal supporting beams that plaster is secured to). Use an electronic detector to check for any hidden wiring or piping in the wall or ceiling beforehand.
Note: Depending on the style of your fan, the method for installing will vary, and so it is always necessary to consult the manufacturer instructions alongside this guide.
Materials
- Flexible ducting
- Saw (if cutting ducting to size)
- Grill cover and fittings
- Drill and correct sized drill bit
- Pad saw
- Stepladder
- Screwdriver
- Safety equipment: Gloves and goggles
- Pencil
Installing an extractor fan in the ceiling
1. Create a hole in the ceiling
If you are installing an extractor fan in a new place, you will need to create a space through your bathroom ceiling to the inside of your loft. Choose the location where you want to install your fan (refer to the ‘Preparation’ section for guidance). Clear away insulation.
Using your pencil, mark the position of the vent part of the fan on the ceiling. Drill a hole through the ceiling at a point on your outline, and then, using the pad saw, cut around the outline to create a hole. Carefully remove the waste material.
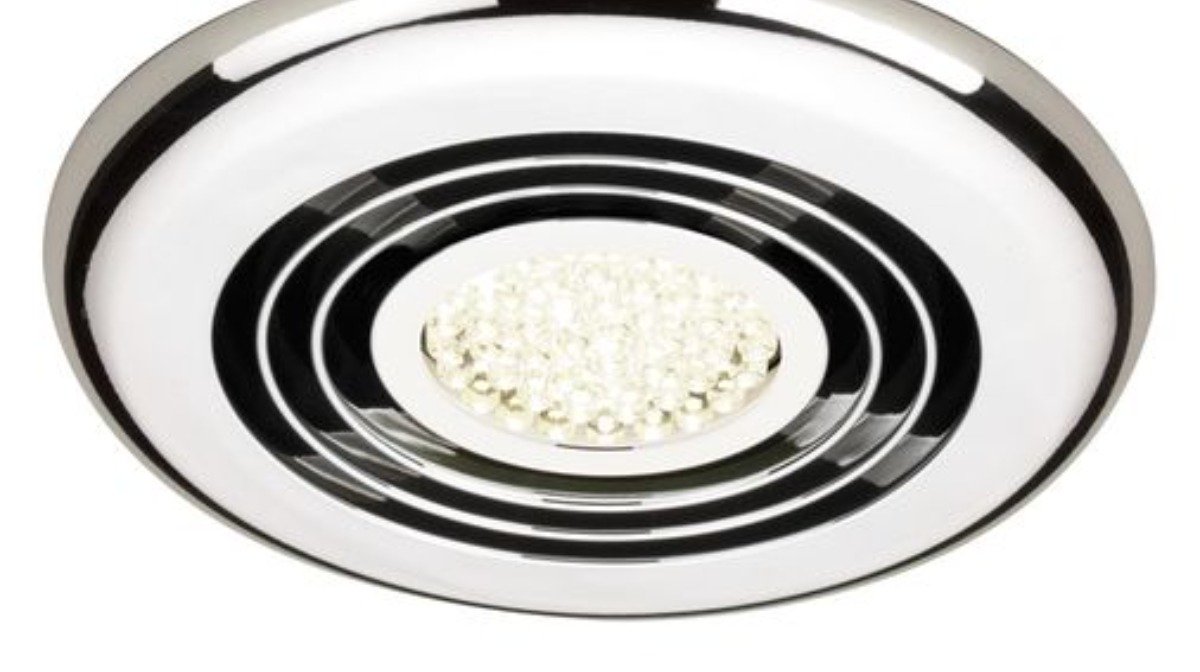
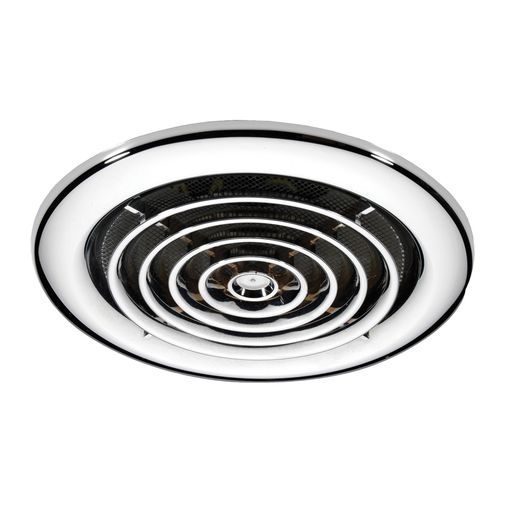
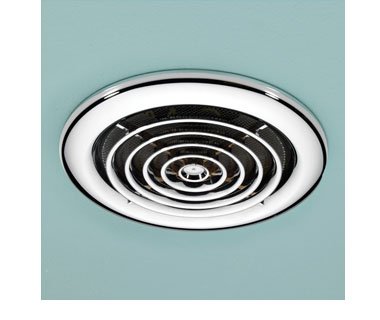
2. Fit the vent onto the ceiling
Attach the fittings onto the vent that will secure to the duct pipe in the loft. Once these are in place, hold the vent over the space you have created and mark the location of the holes where it will be secured to the ceiling.
Drill holes in the places you have marked and insert the necessary fittings, such as wall plugs. Hold the vent in position and secure into place using your screwdriver. Keep in mind that, depending on the construction of your ceiling, appropriate fixings may vary.
3. Install the fan within the loft space
Depending on the design, the fan should be secured horizontally to the floor or on the side of the loft. Using your pencil, mark out the place where the frame of the fan will be attached and drill holes. Insert the appropriate fittings such as wall plugs, if necessary, and secure the frame over top with your screwdriver.
You may need to remove the bracing clips (fittings on either side of the fan where the ducting is attached) before securing the frame to the wall.
4. Attach the ducting
Secure the flexible ducting to the ceiling vent and onto one side of the extractor fan. On the other side of the fan, secure ducting that attaches to the exterior source of ventilation.
5. Make the electrical connections and secure the grill cover
All electrical work must be carried out by a qualified electrician. Depending on the style of your extractor fan, it can be operated by a separate control or connected to the light switch in your bathroom.
Once this has been done, fit the grill cover onto the bathroom ceiling, over the vent. When you are confident with the operation of your extractor fan, replace the insulation in the loft.
Always be sure to take precautions and use the correct safety materials required. By planning carefully and clearly reviewing the steps outlined in the manufacturer guidelines, you can enjoy the comfort and quality reassurance of a well-ventilated bathroom!


