
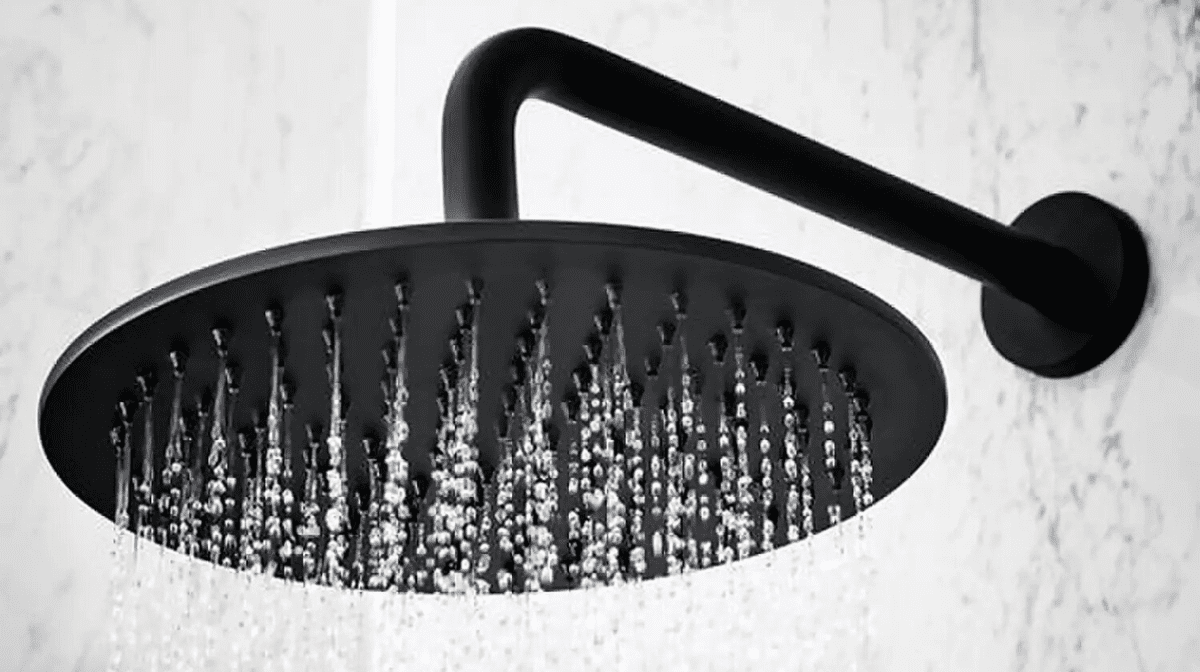

An increasingly popular choice in many homes, rain shower heads bring a touch of spa day luxury to your bathroom. Designed to fully cover the user in a gentle, rain-like stream of water, rain shower heads are a great way to upgrade your daily routine.
There are a few things to consider before installing a rain shower head; these shower heads are generally wider than standard ones, so you should ensure that your bath or shower tray is going to catch all the water. You also need to consider whether you want the shower head to be ceiling or wall mounted – this may be determined by your existing plumbing set up. For a ceiling mounted shower head you would need a shower arm coming vertically down from the ceiling; if this is not already in place you are likely to need to hire a professional to install one, unless you have extensive plumbing experience.
Step-by-Step Guide to fit a rain shower head
You will need:
- Your new rain shower head
- Pre-installed rubber sealing washer
- Safety goggles
- An old towel or some terry towelling fabric
- Teflon tape or a No More Leaks Kit
- Adjustable wrench and/or pliers
Step 1: Remove the old shower head
Depending on what type of shower head you already have and how it was installed, you may be able to do this by hand by simply unscrewing it. If your current shower head is quite old, you may need to use a wrench to unscrew it.
Step 2: Check and clean the shower arm
As you’ll be using the existing shower arm for the new rain shower head, you need to make sure that it’s clean and in good condition. Check the threads for grit, old tape and other debris, and clean them thoroughly (if required).
Make sure that the threads aren’t showing signs of wear and tear, and that the pipe isn’t corroded or rusted – it’s advisable to replace the pipe if this is the case. You can get a new shower head and arm set at your local Bathstore or browse a selection online.
Step 3: Make Use of Your No More Leaks Kit
Tape will help stop leaks as you are installing your rain shower head. This part of the process requires patience and precision so take it slowly and don’t be afraid to start over if you need to.
Remember to wrap the tape around the threads in a clockwise direction so that you don’t undo it when you attach the shower head.
Carefully line the tape up over the threads and wrap between three and five layers over them – don’t use too much; you need the threads to be usable. Make sure that there are no wrinkles or bumps and smooth out the tape so that it fits snugly and firmly.
Step 4: Change the shower head
Make sure that the washer is in place, and then screw your new rain shower head onto the shower arm in a clockwise direction by hand. Once it’s in place and reasonably tightly fitted, it’s time to tighten it up using the wrench (or pliers).
Top tip: To avoid scuffing or scratching your new rain shower head while you are installing it, wrap a strip of old towel around it before using the wrench (or pliers) to tighten it up. Whilst the shower head should be securely in place, don’t over tighten it, as you may wish to remove it for cleaning in the future.
Step 5: Testing! Testing!
Before you put your tools away and enjoy a well earned cuppa, test your new rain shower head for leaks by running the shower for a couple of minutes. If you spot any leaks, check that the shower head is properly tightened, adjust as necessary and repeat. If there are still leaks, you may need to remove the shower head and reapply the tape.


