
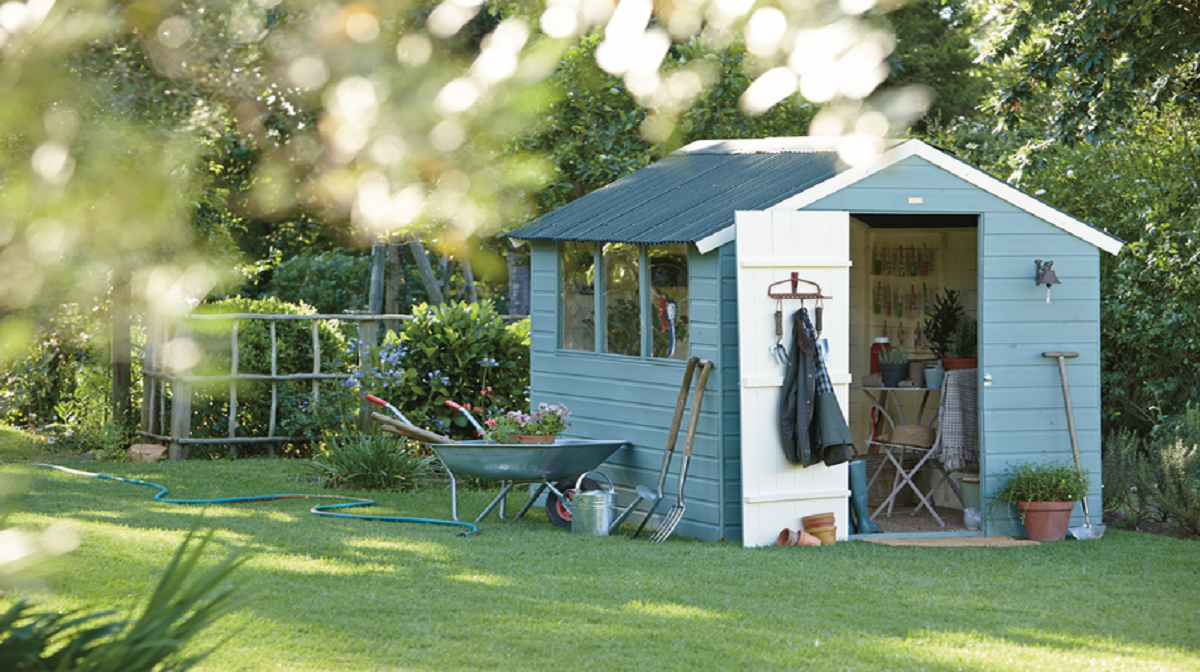

Whether you’re looking for an outdoor storage space to house your myriad of gardening tools, or a peaceful sanctuary to relax and enjoy being in nature, a garden shed might be just the answer. If you’re thinking of sprucing up your outdoor space with a garden shed, you first need a shed base.
Building a base for a shed is essential as it provides a solid foundation and a level starting point. It also makes the job of assembling the shed much easier.
With some step-by-step guidance, we’ll take you through how to build a wooden, plastic and paved shed base, perfect for supporting your dream garden shed.
Choosing the Right Spot
No matter what kind of shed base you’re building, finding the right spot should always be your first step. When choosing where your shed would look best, there are certain practicalities to consider.
Firstly, remember you may need to be able to access all four sides of the shed, especially if it’s a wooden shed that you’ll want to varnish or paint. If you’re going for a corner spot, make sure you leave a bit of room so you can still reach all four sides.
Depending on the desired purpose of your shed, you may also want it to have an electricity supply. If this is the case, you should either place it close to an external plug socket or contact an electrician.
Finally, and perhaps most importantly, you need to find a surface that is flat, not overly rocky and isn’t a location where water pools or collects.
How to Build a Wooden Garden Shed Base
Wooden shed bases are versatile and reasonably affordable. Made up of a timber frame that is secured into the ground with wooden stakes, wooden shed bases are a great choice for smaller and more lightweight sheds.
What You’ll Need
- A wooden shed base
- Power drill
- Drilling set
- Spirit level
- Club hammer
- Try Square
Step 1. Lay Out the Base
When you get your wooden shed base kit, first check the instructions to check you have all the correct components, including four ground spikes for each corner, L-shaped metal brackets and screws.
Once you’re happy you have all the components, lay out all the timber beams on the ground, roughly where you want the shed to be. Arrange the shorter beams so they’re perpendicular to the longer beams, spacing them evenly to form a grid.
Following the specific instructions that come with the base, drill pilot holes into the ends of the longer beams where they adjoin with the shorter beams.
Step 2. Assemble the Shed Base
Now, fit the screws into the pilot holes, using a drill to tighten them into place. Do this for all the beams until you’ve got a fully assembled grid. You can use a try square to make sure all the corners are right angles.
Once you’re happy that the frame is in place, drill the L-shaped brackets to the inside of the base. These will help to secure the base. Remember, you need to leave space for the spikes, so make sure your L-shaped brackets aren’t fixed right into the corners.
Step 3. Secure the Shed Base into the Ground
Finally, you need to secure the shed base into the ground. First, make sure the base is placed exactly where you want the shed to sit.
Next, take the four metal spikes and place them on the inside of each corner of the frame. Hammer the first spike into the ground until it’s level with the rest of the frame. You can use a spirit level to make sure it’s level, adjusting the spike as needed. Repeat this process with all four spikes.
Once you’re sure that the spikes are level with the base, secure them to the frame using the screws provided. Your base is complete and ready to hold your shed.
How to Build a Plastic Shed Base
Plastic shed bases are one of the most popular choices, thanks to their easy assembly and effective water drainage. Plastic shed base kits also come with several grids with which you make up your base, so you don’t have to look for a specific base size.
What You’ll Need
- Pegs and string
- Plastic shed base kit
- Weed control fabric
- Scissors or retractable knife
- Spirit level
- Pea gravel
Step 1. Prepare the Area
First, you need to measure out the site for your shed base and clear the area. The shed base should be slightly bigger than the perimeter of the shed.
Use a spirit level to make sure the area is completely level. Mark out the site using pegs and string. Place a peg in each corner of the site and run string around all four pegs. This will help you visualise the exact size of your shed base and how much room it’ll take.
Step 2. Lay Out the Weed Control Fabric
Once you’ve measured out the site, it’s time to lay your weed control fabric, also called weed membrane. This will sit under the base and prevent weeds growing underneath or around your shed.
Roll out the membrane and cut it to size using scissors or a retractable knife. If it’s windy, you may need to peg or weigh the corners down, so it stays in place.
Step 3. Lay Out the Plastic Grids
Plastic shed base kits come with a set of plastic grids. You can use as many of these as you need to make up the desired size of your base.
Once you’ve worked out how many grids you need, lay them on top of the weed membrane, matching the size of your shed. Next, clip the plastic grids together to create one large base.
Finally, fill all the gaps in the plastic grids with pea gravel. This will create a solid, sturdy base for your shed, helping to protect against moisture and enable proper drainage.
How to Build a Shed Base with Paving Slabs
Laying paving slabs is a popular choice for a shed base, as it provides a simpler and more affordable alternative to a concrete shed base. Knowing how to build a shed base with concrete is very complex and is usually a job best left to a professional, so if you’re looking for a DIY project, using paving slabs is an easier option.
What You’ll Need
- Paving slabs
- Pegs and string
- Trowel
- Mortar
- Club hammer
- Spirit level
- Shovel
Step 1. Excavate Your Space
Paving slabs need to be laid on level and firm ground, so the first step is to clear the site where you want your shed to sit and create an even surface.
Start by using pegs and string to mark out your site. Then, grab a shovel and dig about 2-3 inches deep to create a flat space where your slabs can sit. Do this across the base site, using a spirit level to check the surface is level.
Step 2. Lay the Mortar
Now it’s time to lay the mortar. To save you the hassle of mixing your own, at Homebase we stock a range of premixed mortar.
Using a trowel, fill the dug-out space with mortar one marked slab area at a time. This will ensure you lay enough mortar and keep the coverage even.
Step 3. Lay the Paving Slabs
One at a time, lift the slabs and carefully place them onto the mortar you’ve just spread. Remember, paving slabs can be very heavy, so you’ll probably need someone to help you carry them.
Use a club hammer and a piece of timber to tap the slab into place. Be careful not to hammer too hard as this may crack the slabs. Continue laying the paving slabs in your desired pattern, tapping them into place. Use a spirit level to ensure each slab is level.
Once you’re happy that the slabs are all level, brush off any excess mortar or dirt. Your base is ready to hold a garden shed.
So, there you have it, three simple ways to build a shed base. If you’re ready for the next step, check out our Garden Shed Buying Guide, and explore our entire Garden and Outdoor range online or in-store.


