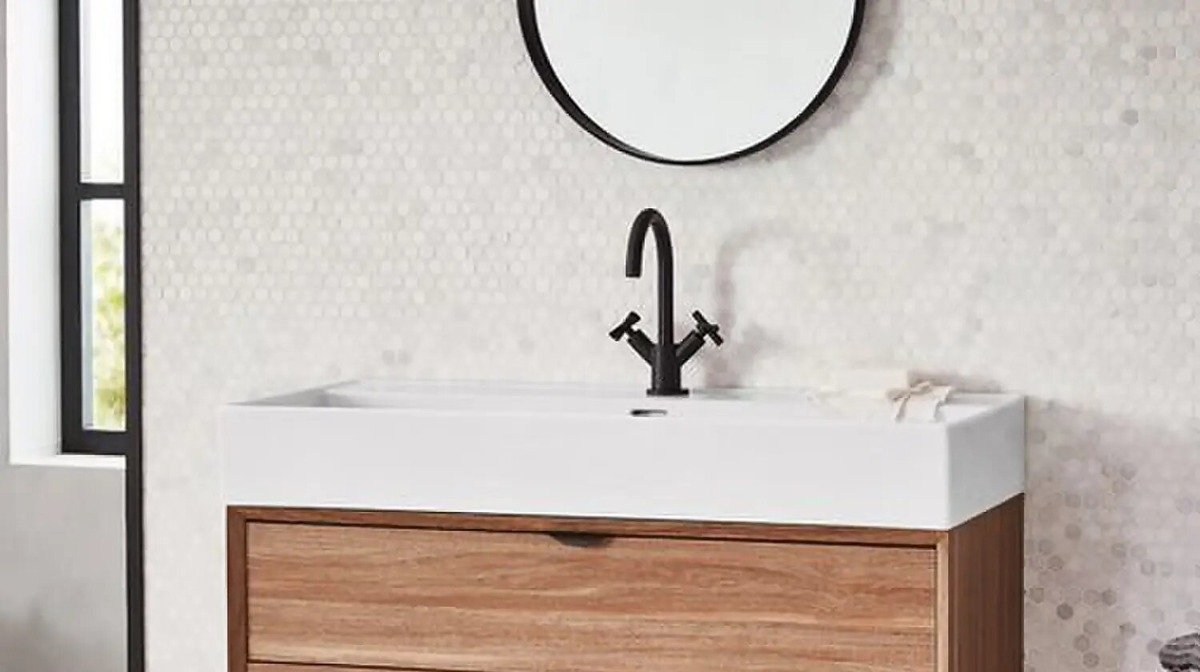

What’s a countertop basin?
A countertop basin is any type of basin, fitted onto a counter that doesn’t connect with the back wall. Over the past few years, they’ve become increasingly popular. And from colourful bowls steeped in Middle Eastern charm, to minimal chic spa-style basins, it’s not hard to see why.
From the Savoy Old English white basin to the Noir Veneto, they’re perfect to add a touch of elegance and class to your bathroom. While the bolder designs make a great statement piece too. They come in a wide variety of shapes and sizes and they’re easy to install.
How do I fit it?
If you’d love to have a go at fitting one in your own bathroom, you’ve come to the right place. Our guide to installation is hassle-free but does require a few DIY skills and tools. Remember, it’s always best to consult a professional if you’re not sure. But if you’re ready to go, here’s our simple guide on how to fit a countertop basin.
-
Measure up
Put the basin on the counter where you’d like it to sit, preferably in the centre with good proximity to the taps. Draw around the drain hole of the basin, where the basin waste will sit, and put it to one side.
-
Cut your hole
Using where you’ve drawn as a guide, cut a circle where the bottle trap will sit under the drain hole of the countertop basin – we recommend about 12cm in diameter. Be sure to not cut this too big, so you can’t see the hole when you put the basin back on the counter. You might also want to cut a hole in the counter where your taps and connections sit. You’ll then need to seal the edges of where you’ve cut to avoid water damage.
-
Fit the basin
Apply a bead of silicone around the base of the countertop basin to fix it to the counter over the hole. Place your basin on the counter and press down to create your silicone seal. Always check the packaging for specific setting times and instructions too – some have different setting times and thicknesses. Wipe away any excess silicone with a clean, dry cloth.
-
Add the waste pipe
Apply a bead of silicone then fit the waste pipe through the drainage hole and and the hole you’ve cut in the counter. You may want to now fit any other brassware and connections where you’ve made your holes too – making sure to add a good seal around them. Thread a rubber gasket, friction washer and lock nut up the waste pipe then tighten them up.
-
Let it sit
As we said in step three, silicones have different setting times so check the instructions. We’d always recommend leaving it to dry for at least 24 hours anyway before using.
And that’s how to fit a countertop basin. Remember these things can be tricky, so always consult a professional if you’re not sure. If you need any help, our experts are always on-hand in-store too.


