
Choosing a new basin is an exciting part of remodelling or updating your bathroom – with a range of shapes and styles available, this essential feature is also important in dictating theme and mood.
Once you’ve done the fun part, however, it’s time to get to work. Installing a bathroom basin requires an advanced level of DIY skill, but if you’re confident in your abilities and you have the correct materials, it is something you can do yourself.
Preparation
There are many important aspects to take into consideration before installing a sink. First and foremost, ensuring you have the right fittings is essential – make sure your taps and tap hoses, waste trap and outlet, and the corresponding valves fit your basin and your plumbing connections.
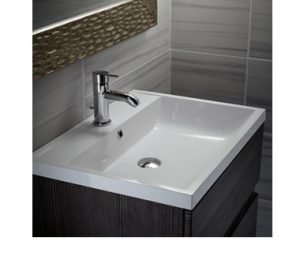
Take care to check the positioning of your basin before making any permanent connections. Depending on the style, there are a few different things to look out for. In the case of an inset basin, which sits in a vanity or counter, ensure it will fit into the surrounding worktop surface, and make any necessary adjustments before installation.
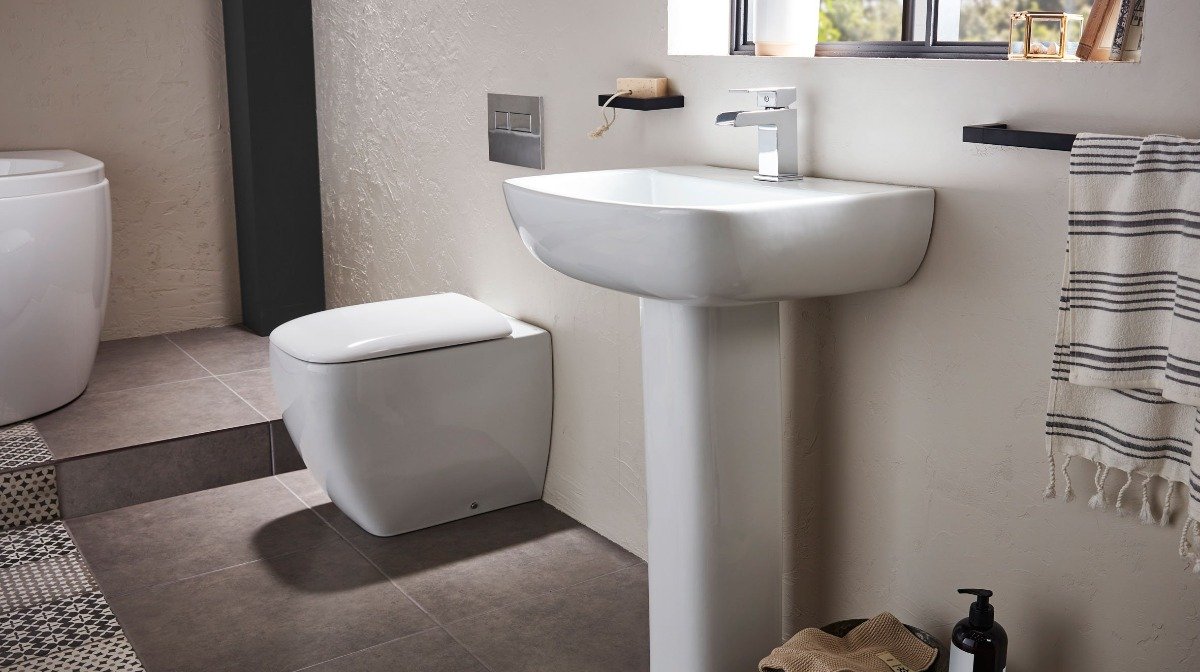
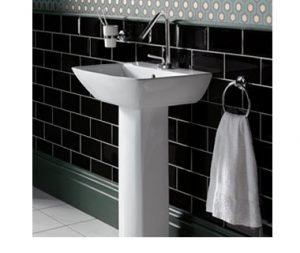
It is also worth testing the layout of a pedestal basin (a floor standing sink that rests upon a pillar) and a wall mounted basin, to determine that the desired height and location coincides with the plumbing attachments.
Check to make sure the areas you will be drilling into are free of electrical wires or piping, and always remember to turn off the mains water supply before installing.
Note: Keep in mind that installation procedures will vary depending on your basin and you should always consult the manufacturer’s instructions alongside this guide.
Materials
Materials required will differ depending on the type of basin you are installing – be sure to consult your manual for specific instructions.
- Drill
- Silicone and caulking gun
- Plumber’s wrench
- Screwdriver
- Spirit level
- Pencil
Installing your basin
1. Attach the extra fittings to your basin
If you are installing a pedestal or wall mounted basin, it can be easier to attach the fittings to your basin before you install it permanently.
Consulting the manufacturer’s guidelines, fit the taps onto the basin and secure the tap hoses to the bottom of the taps so that they hang beneath the basin. These will connect to the water supply in your bathroom, feeding water into the taps.
Secure the basin waste beneath the plughole and attach the waste trap – these are the attachments that will connect to the waste pipe in your bathroom, carrying the water away from the basin. Fit the pop-up waste fitting, if necessary.
2. Position the basin
Inset basin: Set the basin in place and check to make sure that the fittings align with the plumbing connections.
Pedestal basin: Align the pillar and carefully rest the basin on top. Move the components into the desired location and check to make sure the tap and waste fittings will attach to the corresponding plumbing attachments.
Use your spirit level to ensure that the basin is resting evenly on top of the pillar. Once you’re happy with the layout, mark the location of the floor fixings for the pedestal and the wall fixings for the basin.
Corner or wall mounted basin: Have an extra pair of hands hold the basin in the desired location. Check to make sure the fittings will match up with the plumbing attachments and adjust the height and position as necessary, using a spirit level to ensure the basin is even. At the desired location, mark the place where the brackets will attach to the wall.
3. Securing the basin
Inset basin: Using the caulking gun, trace a thin border of silicone along the edge of the space the basin will sit in. Set the basin in place and press down evenly to create a watertight seal. Make sure to clear up any excess sealant that may seep out.
Use your spirit level to make sure the basin is sitting evenly. Attach it to the surface using the corresponding clips (if included). Fit the taps and tap hoses, along with the basin waste and waste trap.
Pedestal basin: Drill holes in the places you’ve marked on the floor and wall. Secure any necessary additional fittings, such as plugs or brackets. Move the pillar into place and anchor it to the floor using a screwdriver and the corresponding screws.
Align the basin on top of the pillar and, once again, check that it’s level before fixing it to the wall with the screws provided.
Corner or wall mounted basin: Drill holes in the places you marked previously and attach the corresponding clips, brackets or hooks to the wall, using a spirit level to check that they are even. Carefully fit the basin into place over the attachments.
4. Make your final connections
Connect the waste trap to the drainage pipe, using the fittings supplied and a plumber’s wrench. Connect the supply pipes to the tap hoses and tighten everything into place.
Once you are confident your connections are tight, turn the water back on and test out your new basin! In the case of an inset basin, it is recommended that you wait about a day for the sealant to dry before using it regularly.


