
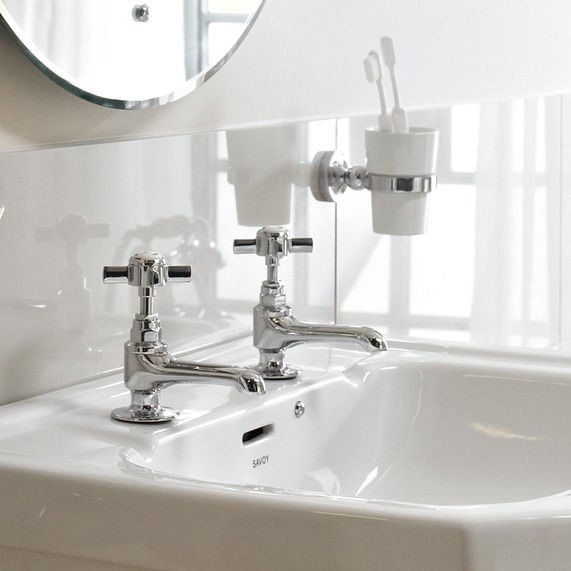
Fix or replace?
Before you begin, you’ll need to decide whether or not to invest in a new tap or simply fix the one you already have.
Whether you choose to fix the problem or replace the tap will depend on how old your taps are and what condition they’re in. Fairly new taps might just need a few tweaks, but if your bathroom taps are a little old and tired, it may be time for an upgrade.
With more efficient models on the market today, you can replace your tap with one that’s more environmentally sound and will last longer – better for the planet and your water bill!
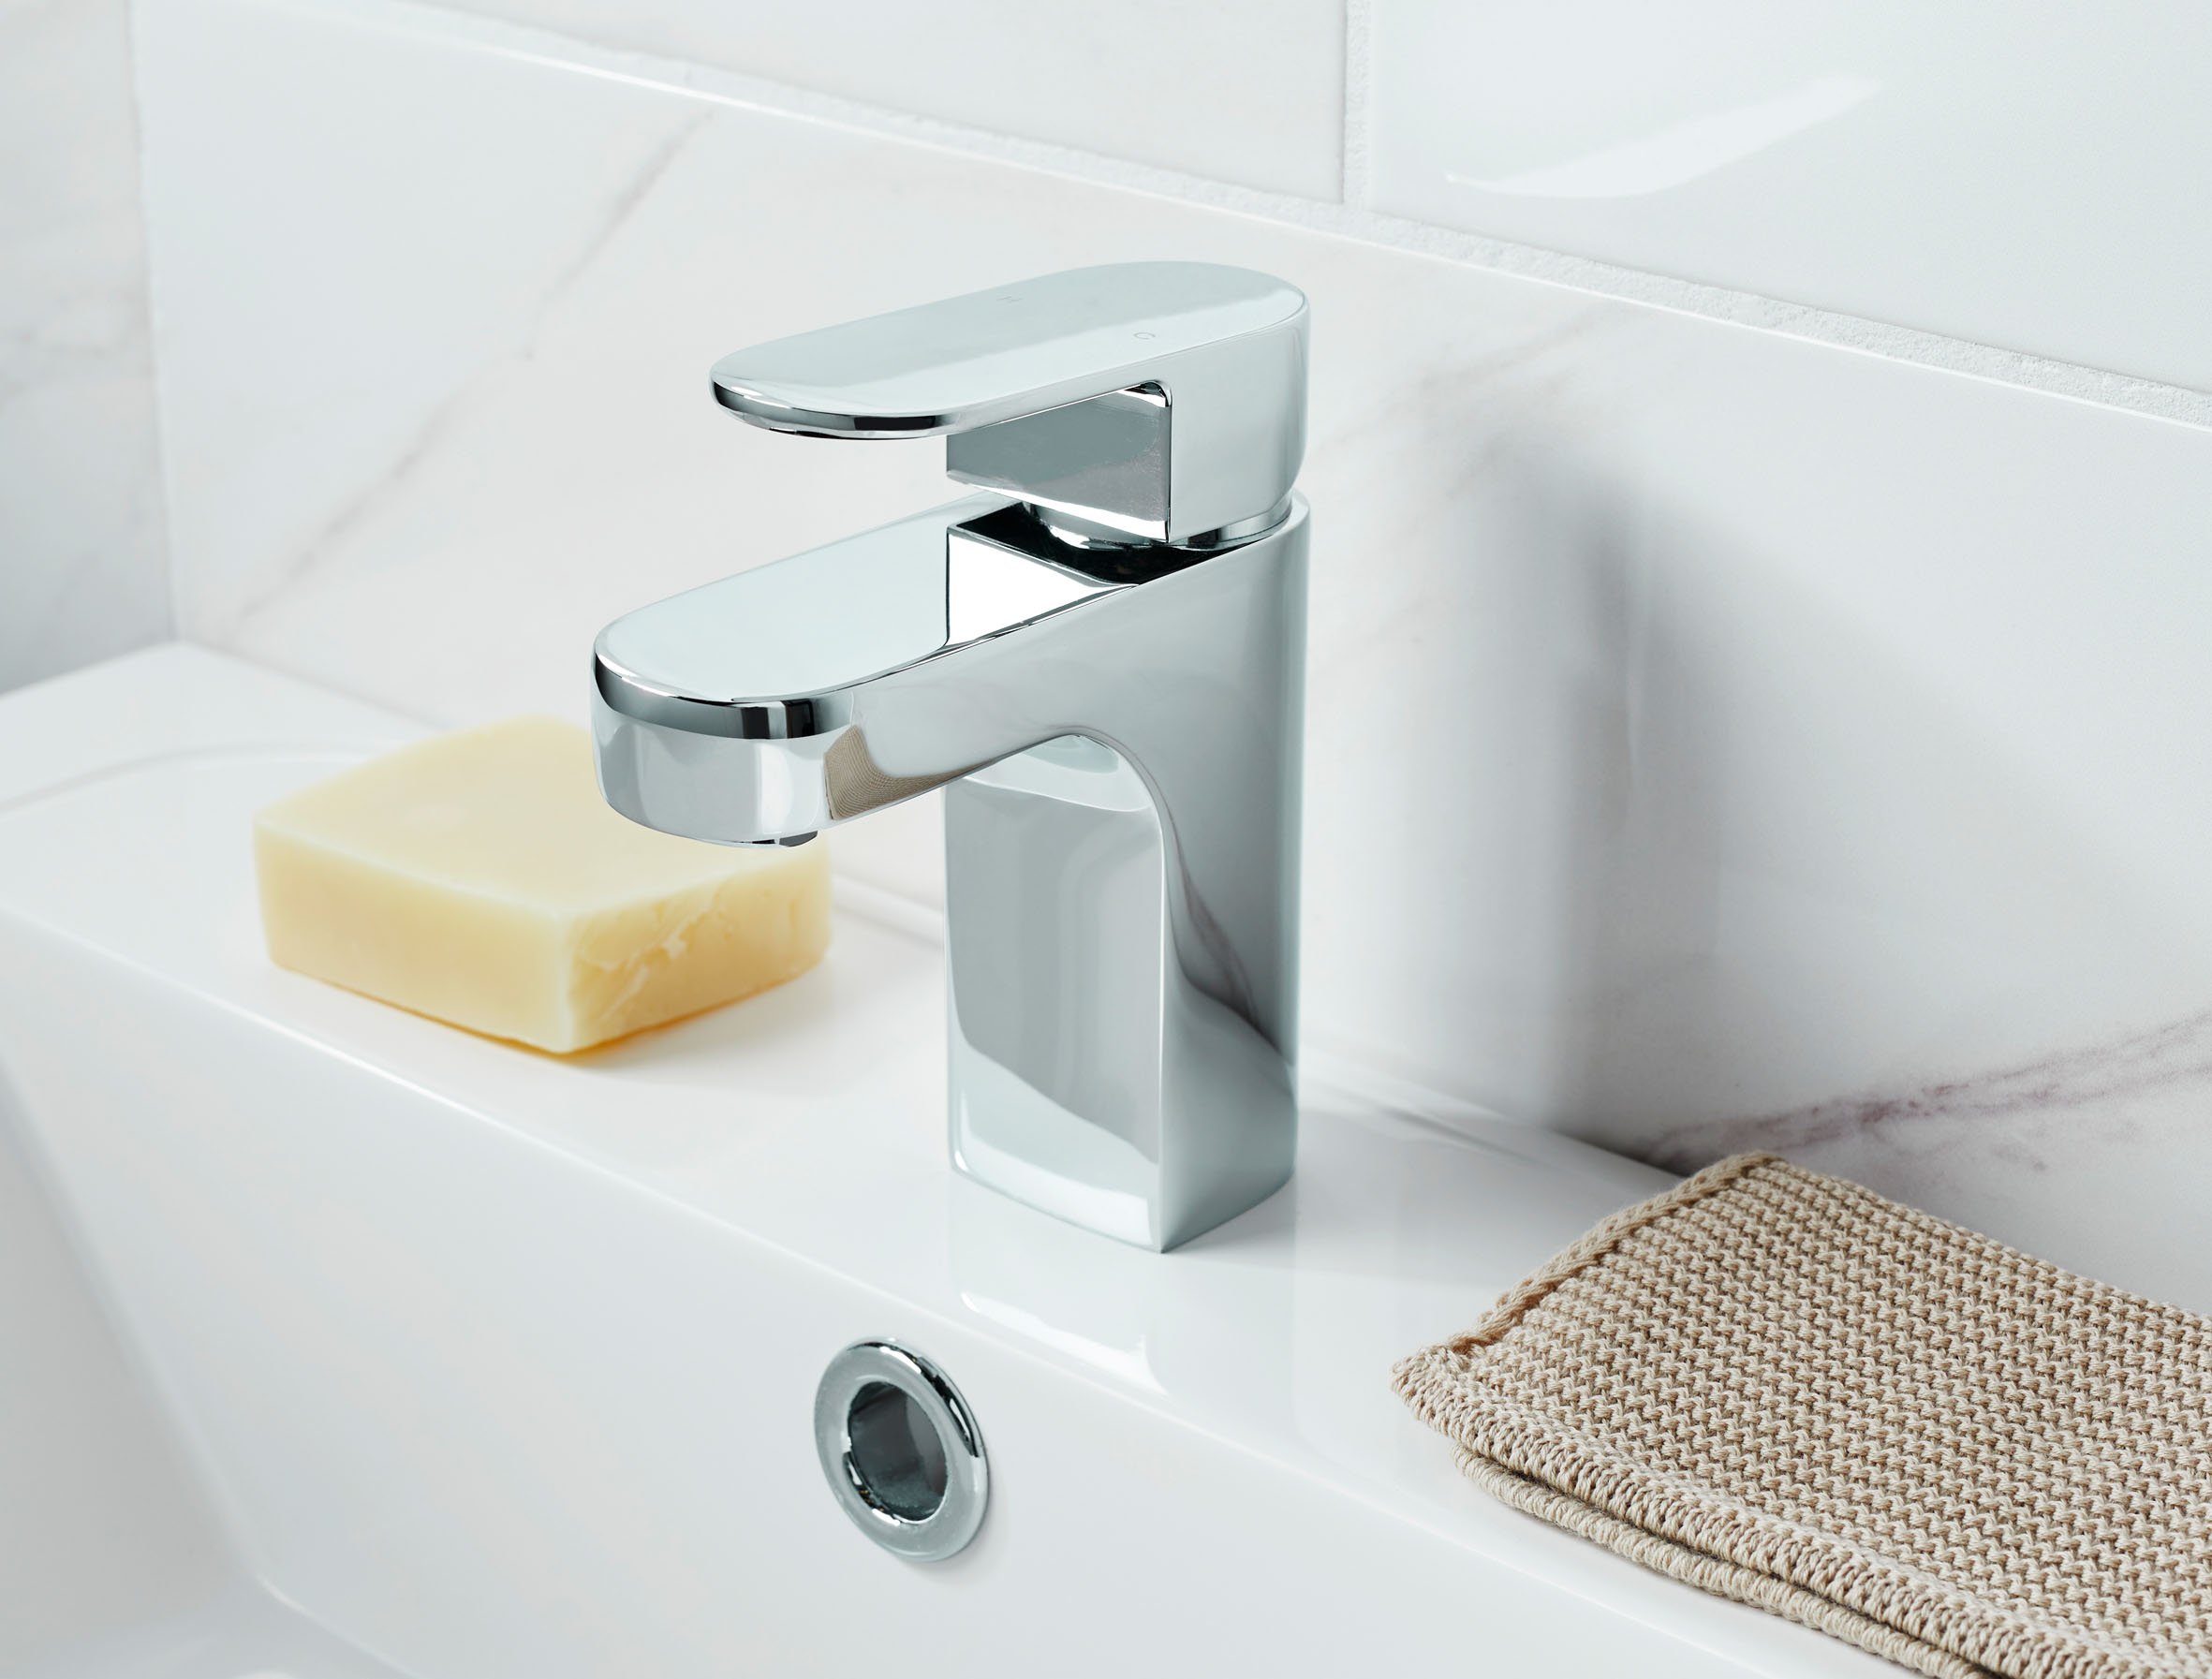
Replacing your leaking bathroom tap
Replacing a bathroom tap requires moderate DIY skills and confidence when it comes to plumbing, as you’ll need to disconnect your water supply.
If you decide to replace the tap yourself, you’ll need an adjustable spanner and a slot or cross-head screwdriver to carry out the task. The process will vary depending on your basin and how your old tap is fitted, but generally you’ll need to:
1. Turn off your water
Before you do anything else, you need to switch off both your hot and cold water supply, which should be near your boiler.
Next, run all the taps in your house to ensure that any excess water is drained away and that the water supply has indeed been switched off.
Once each tap is drained, be sure to leave them all turned on until after you’ve replaced your tap and switched the water supply back on.
2. Remove your old tap
Unscrew the nut that connects your basin to the tap (it should be directly underneath the basin). This can be difficult, especially if the tap is old or has been screwed on particularly tightly.
You may want to consult a professional if you think a power tool may be required to get the job done, to avoid damaging your ceramics. Once the nut has been unscrewed, remove the old tap from the basin.
3. Install your new tap
Take your new tap and connect it to the threaded post, feeding it through the basin hole so that tap is perched on top of the basin and the thread is sticking out of the bottom.
Next, tightly screw the nut to the threaded post, so the tap is firmly fitted to the basin.
4. Connect your plumbing
This bit can be tricky, and if you’re ever in doubt we recommend you contact a plumber to help ensure your new tap is connected to your water supply correctly.
Your flexible connectors must be screwed firmly into your new tap and connected to the copper pipes. To ensure your new tap fixture is both regulated and safe, don’t forget the compression fitting in between the two pipes.
All being well, the hot and cold water pipes should now be ready to flow through the wall into the new pipes. Make sure to do one final check to ensure the taps are firmly in place and there are no loose connections.
5. Switch your water supply back on
As we mentioned earlier, make sure your new taps are turned on before you switch the water supply back on, otherwise any air stored inside the pipes will be forced through and could damage the taps. Once you turn your water supply back on, don’t forget to turn off all the taps in your home to stop the waterflow.
So there you have it, your brand-new taps should be in working order and ready to go! If you’re looking for some bathroom inspiration when it comes to choosing new taps, take a look at our tap buyer’s guides. With an assortment of taps for both traditional and ultra-modern suites, we’re confident you can find exactly what you need.


