
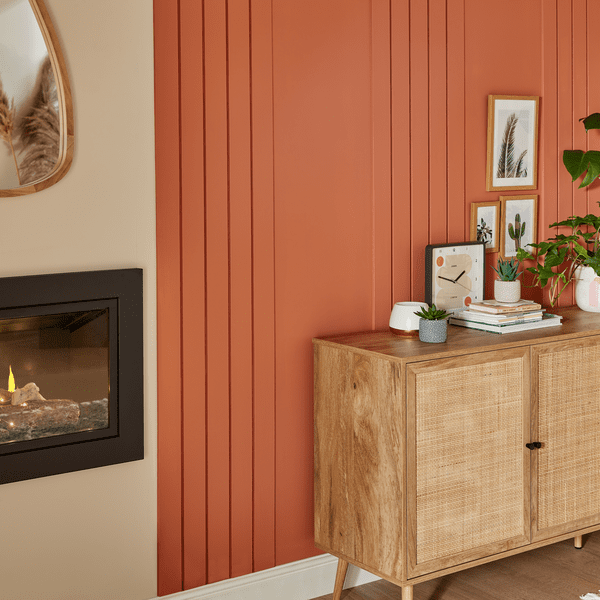

If you’re looking to make a contemporary style update to your guest bedroom, or create a sophisticated feature wall in your dining room, a wood slat wall is an easy and effective solution.
Adding wood slat wall panels to your home is a simple task – whether you’re a DIY novice or a seasoned pro. To ensure you stay on track, we’ve put together this guide to show you how to build a wood slat wall, complete with instructions and the tools and materials you need.
Let’s get started with what you’ll need…
Materials:
- Thin wooden slats
- Sandpaper
- Wood stain/ paint
- Wall paint
- Liquid nails
- Brad nails
- 2 screws (for the spacer)
Tools:
- Tape measure
- Sander
- Mitre Saw
- Jig saw
- Brad gun
- Spirit level
- Paint rollers and tray
- Paint brushes
- Floor covering
- Safety goggles
- Face mask
Before you start
Building your own wood slat wall requires the use of power tools, so make sure you read your tools’ instruction manuals and our DIY Safety Tips beforehand. Keep your space well ventilated, put down a protective sheet to guard your flooring, and cover all switches and sockets with masking tape.
1. Choose your wood slat panels
Decide on the width and texture of the wood slat wall panels you want to use.
Pine will provide a beautiful finish and doesn’t have to be sanded extensively, whereas common board is a very affordable option that will look exquisite if you’re willing to put in the work.
Top tip: Check that the wood slat wall pieces are as straight as possible. Also, try find them in the exact size you want them – this will help you save time on having to cut them to your exact requirements.


