DIY

Upcycling Ideas

Upcycling Ideas
Homebase
Writer and expert2 years ago
View Homebase's profile

Good for the planet, kind on purse strings and a fun way to spend an afternoon, upcycling furniture is a great way to give old and unused items a new lease of life. From upcycling a chest of drawers to using up leftover materials from a previous project, our favourite upcycling ideas include something for every room and level of DIY expertise. 

Get creative and discover what you can make from your old furniture and storage items with these inventive upcycling projects. 

Best paint for upcycling furniture

Before you get started, consider which paint is best suited for your upcycling project.

Chalk paint

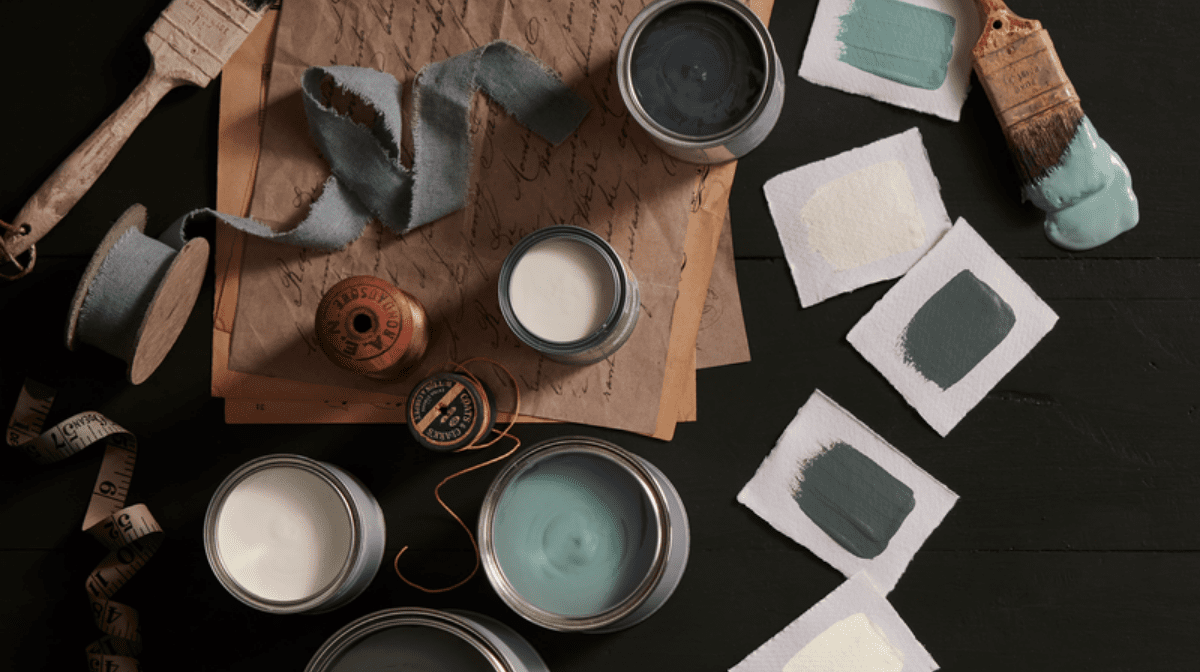
Perfect for upcycling furniture, chalk paint offers a rich depth of colour and can be used on virtually any surface – from wood to metal. The paint’s excellent coverage means there’s also no need to sand down your surface, saving you time without compromising on the overall finish. The only prep required is to clean and repair any areas that could leave an uneven finish.

With a velvety textured finish and an easy application, our latest range of Annie Sloan chalk paint is great for a quick touch-up or can even be used to achieve impressive decorative effects. Finish with a protective chalk paint wax or lacquer to seal your paintwork or enhance brushstrokes with coloured wax for extra artistic detailing.

Spray paint

Whether you’re upcycling a second-hand cabinet or giving neglected garden chairs a new lease of life, spray paint is an effective way to transform metal furniture. Providing excellent coverage and long-lasting, fade-resistant colour, using spray paints is often less time-consuming and offers endless design possibilities. For the best results, ensure you’ve properly prepped the surface – removing all flaking paint, dirt and rust with a wire brush and diluted detergent.

From eye-catching metallic finishes to rich pastel tones and natural effects, our Rust-Oleum spray paint has a breadth of colours and finishes to choose from.

Peelable glass paint

Whether you’re upcycling a pre-loved mirror or looking to create a show-stopping glass window design, our range of Thorndown peelable glass paint is the perfect product. Made from a resin using 100% recycled plastics, with the option to return old coatings for recycling, choose from a gorgeous selection of water-based opaque and translucent colours.

Use for temporary seasonal or party decorations, such as a spooky pumpkin jam jar for Halloween or a personalised glass bauble for Christmas, or as permanent paint for craft projects. Suitable for interior and exterior use, peelable glass paint can even be used for greenhouse or conservatory shading.

Garden paint

Providing long-lasting colour and much-needed weather protection, garden paint is the perfect solution for all your outdoor upcycling needs.

Applicable to a range of surfaces, from wood to brick and terracotta, our wide collection of garden paint has something for every DIY project. From refreshing a preloved wooden bench to giving your retired shed a well-deserved makeover, there’s an array of colours, textures and finishes to explore. You could even transform your old plant pots with a quick lick of paint or quirky design.

Our Top 10 Upcycling Ideas:

1. Convert a kitchen cupboard into a mobile island

Especially if you have a smaller kitchen, work surfaces and storage areas are very valuable spaces. This genius upcycling idea will give you an inexpensive, mobile island that can be used for preparing food or as a drinks trolley. What’s more, you can simply roll it out of the way when it’s not in use.
  1. Take a double base cabinet and paint it with your favourite shade of appropriate furniture paint. Replace the handles for an extra touch. 
  2. Choose sturdy castors and install one to each corner at the base of the cabinet. 
  3. Make sure at least two of the castors have brakes. This will prevent the island from moving around on its own while you’re preparing food or drinks.
  4. Fit a piece of worktop either to the size of the island or slightly overhanging for additional surface area.
  5. To complete the project, install hooks at one end to hold tea-towels or utensils. 
Top Tip: For advice on the best paint for upcycling furniture, take a look at our guide on how to upcycle furniture with paint for a flawless finish. 
2. Repurpose an old wardrobe as a bathroom cabinet

If you have space in the bathroom, a freestanding storage cupboard is a perfect way to store towels, linens and toiletries. Cabinets specifically designed for bathrooms tend to be modern in appearance and don’t always suit a classic or vintage interior, but a re-purposed small wardrobe will look elegant and chic. 

  1. Check the wardrobe or cupboard fits the available space and give it a good clean. 
  2. If it has a heavily lacquered finish, sand it to remove the lacquer, then water down a chalk furniture paint to achieve a lime-washed look. Always add a very small amount of water at a time, stirring well, until you’re happy with the consistency and finish. 
  3. Paint the cupboard in light coats and use a dry brush to smooth out the wash before it dries. 
  4. Once dry, finish with a furniture wax or lacquer sealant. 
  5. For a country-inspired look, swap out the front panels for chicken wire attached to the rear of the doors and display pretty accessories and piles of fluffy towels behind. 

Top tip: Check out more bathroom storage ideas here 

3. Transform old crates into storage trucks 

Wooden crates are a cheap and sturdy solution for storing bulky toys and books. If you’ve got some old wooden boxes taking up space in the garage, turn them into fun and portable storage with a lick of paint and some castors. 

  1. Begin by sanding any rough edges 
  2. Drill two holes at each end of the crate for the rope handles. 
  3. Paint the outside of the crate using chalk paint and allow to dry. Why not get the kids involved for this? A little personalisation always goes down well! 
  4. Feed the rope through the holes at the ends of the crates and knot securely on the inside to keep the handle in place. 
  5. Position the castors flush to the edge of the wood at each corner. Install all the screws and, once all 4 castors are attached, flip the crate back over and fill with toys, trinkets and anything you desire! 

4. Upcycled ladder shelves 

Ideal for interior or exterior, an old wooden A-frame ladder can be easily transformed into a stylish centrepiece. Whether used as a vertical herb garden to proudly display your potted plants outside, or as a playful storage solution indoors, this upcycling project is always a great conversation point. 

  1. Begin by sanding your ladder to create a smooth base for paint application. 
  2. Using a chalk paint, bring your design to life. Whether opting for chic neutrals or bright pastels, it’s up to you to get creative. If your upcycled ladder will be living in the garden, opt for a hardier garden paint. 
  3. Cut 3 to 5 planed timber boards to your desired size before sanding and painting them as above. These will be placed lengthways across the frame of your upcycled ladder to form the shelves.  
  4. Once dry, finish your woodwork with a furniture wax or lacquer sealant. 
  5. With your ladder frame and shelving planks fully prepared, it’s time to assemble! Using the ladder rungs as support brackets, lie each plank across the A-frame at your chosen height. Secure with a drill, and you’re finished! 
  6. Now that your upcycled ladder is complete, you can decorate it. Wind fairy lights around the frame, use it as a contemporary bookcase or display your favourite pots and plants – the options are endless. 
Top tip: Don’t forget to look at ourDIY safety tips before using any power tools to keep yourself safe when starting a new upcycling project. 

5. Convert unused drawers into an eclectic side table

This creative furniture upcycling idea is a great way to repurpose old drawers and will leave you with a bright and unique bedside table. 

  1. Taking your drawer (deeper drawers work particularly well here), sand it down to remove any existing paint or varnish. 
  2. Remove the handle and fill the holes with wood filler. This outward facing part of the drawer will form the top surface of your side table. 
  3. Cut a piece of MDF to the depth and width of the internal drawer space. This will be slotted into the drawer to form a sleek display shelf. 
  4. Using strong wood glue and brad nails, fix the MDF shelf to the middle of the drawer space. 
  5. Decorate your upcycled table with chalk furniture paint. For an additional flourish, you could paint the internal shelving in a bright contrasting colour. 
  6. Once your new side table is decorated and dry, finish it off with furniture wax. 
  7. Attach legs to the base of your table, and it’s ready for use

6. Build your own DIY pallet garden furniture

It can feel like a waste throwing away wooden pallets after a delivery. With these simple tips on how to upcycle old pallets, you can put them to good use and create a new outdoor lounging space for you and your family this summer.  

  1. Keep your pallets au naturel or use a garden paint and roller for a pop of colour. 
  2. Once painted and dry, stack 2 pallets on top of each other to form the base of your bench. 
  3. Secure with screws and an electric drill. 
  4. Place another pallet behind your base in a vertical position to form the back. Attach as above. 
  5. When you have mastered the basic shape, you can get creative. Stack 2 or more pallets to create a coffee table, or place 2 pallets short side together to make a longer sofa. 
  6. Dress your new garden furniture set with cushions and throws for the ultimate outdoor socialising area. 

Top tip: Check out more of our pallet ideas here 

7. Tiled coffee table upcycle project

Easy to clean, sustainable and bound to be the centerpiece of any room, update your old coffee table with a mosaic-inspired tiled top. Before starting, ensure that you have enough tiles to cover the top of your table. If you have old unused tiles lying around, this is a great opportunity to use them up. Alternatively, opt for playful patterned tiles. 

  1. Create a border for your table by cutting strip wood to the size of its perimeter with a saw. Choose wood the same height as your tiles to avoid a lip between them. Lightly sand the edges. 
  2. Paint the strip wood the same colour as the table legs (or a contrasting shade if you prefer) and leave to dry. This trim will act as a frame for your tiling design. 
  3. Fix the wood trim flush to the edges of the table with wood glue. 
  4. With your chosen tiles to hand, fix them to the table using a tiling adhesive. 

8. Turn spare boxes into stylish shelves

Whether you're accumulating wooden boxes in the garage or have spare dresser drawers taking up space, upcycle your spare wood into bright and patterned shelving. 

  1. Sand any rough edges and paint your wooden crate, boxes or drawers. Get inventive – you could use stencils, contrasting colours on the interior or work with geometric patterns. 
  2. As an alternative to paint, decoupage your storage boxes with an old map or bold wallpaper for an eccentric touch. 
  3. Work out where and how you are going to hang your shiny new box shelves. They make a great storage solution for children’s bedrooms and look particularly striking when clustered in groups of three. 
  4. Using brackets, hang your upcycled crate storage. Use them to display ornaments, books or photo frames. 

9. Upcycle old cupboards and cabinets into a statement piece 

Have you fallen out of love with your furniture? Before looking for a replacement, see if you can work with what you’ve got. Upcycling furniture with a lick of paint, new handles and stylish accessories isn't just a fun activity. It will also leave you with a unique piece to cherish forever.  

  1. Sand,paint and wax your old storage unit. This is a chance to be adventurous, so choose a theme and run with it. From French farmhouse chic to a bright and bold geometric design, experiment with an interior trend that you’ve had your eye on lately. 
  2. Swap old, tired handles for a more statement option. A simple touch like this can turn a basic chest of drawers into a Moroccan-inspired cabinet or a modern, minimalist side table. 
  3. Line drawers with a patterned wallpaper or paint them in a contrasting colour. 
  4. Vintage furniture legs often appear in charity shops and online auctions. If you can get your hands on some, they make a great finishing touch when upcycling a chest of drawers. 

Top tip: For more tips on how to upcycle furniture, take a look at our guide on how to upcycle your mantelpiece or how to give an old chair a new lease of life. 

10. Turn old coat hangers into dainty decorations 

If bent and out of shape wire coat hangers are cluttering your wardrobe space, try upcycling them into a unique bedroom or hallway decoration. All you need is a pair of wire cutters, some scrap fabric and a little imagination. 

  1. Using wire cutters, cut your hangers so that they form a long length of wire. 
  2. With your hangers prepared, it’s time to get creative. Bend the wire to form your desired shape. If you’re stuck for ideas, try a heart-shaped wreath for the hallway, a delicate birdcage decoration or a hanging mobile for a bedroom. 
  3. When connecting two lengths, twist them together to securely. A pair of pliers may come in handy. 
  4. Once you’ve created your desired shape, wrap strips of scrap material all the way round the wire frame to finish your bright decoration. Attach a ribbon for hanging if needed.
And those are our top 10 upcycling ideas! Take a look at ourDIY ideas hub to get you started on your next upcycling project and make sure to show us what you get up to by tagging us on Instagram @Homebase_UK. 


Homebase
Writer and expert
View Homebase's profile
homebase