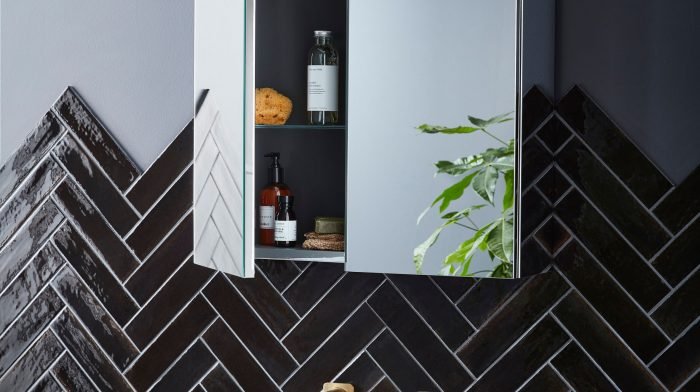
Learning how to lay a herringbone tile pattern can be complicated. However with this guide, you will see that with the right preparation and planning, you can create a stunning feature design in your kitchen or bathroom.
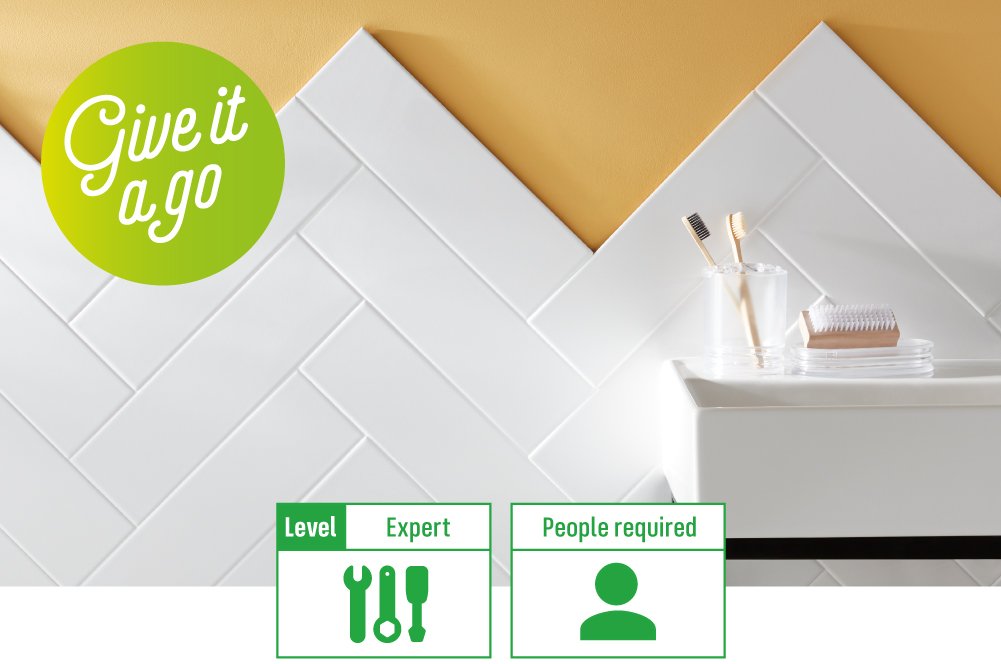
Firstly, for a herringbone tile pattern to work, you will need a rectangular shaped tile. Secondly, before you begin, it’s good to picture what the pattern looks like in your head. It’s created by placing a rectangular tile together so the short end of one tile is against the long end of another, to create a zigzag pattern.
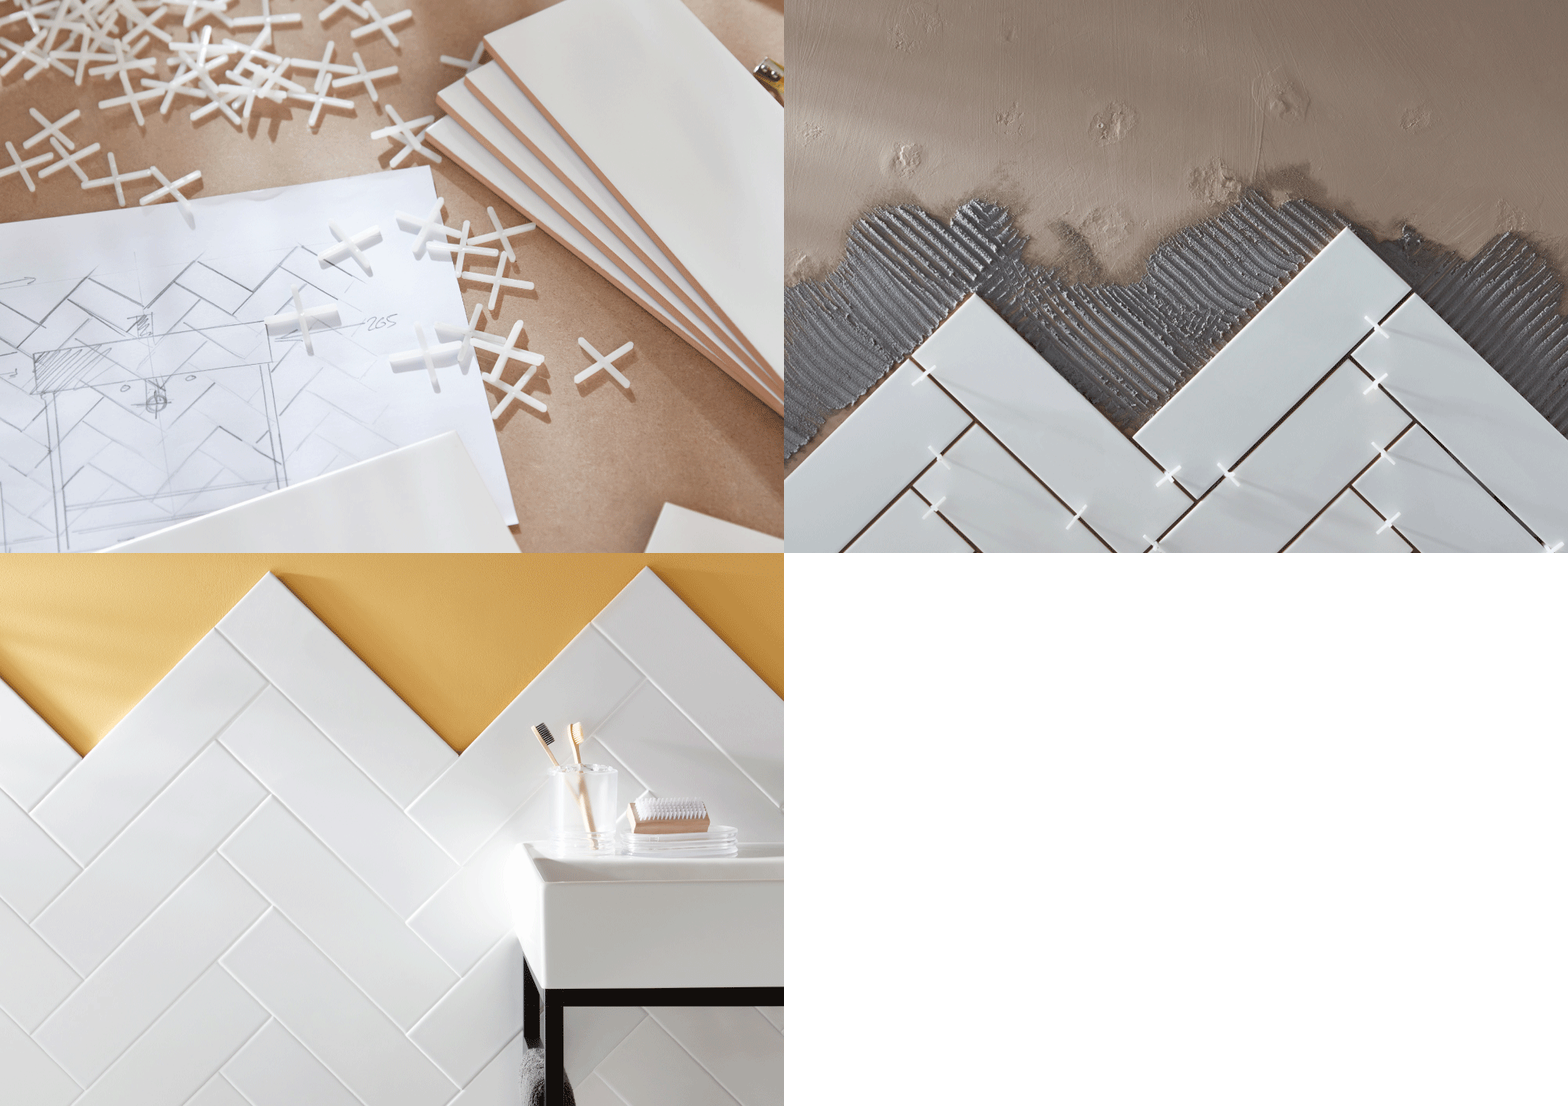
Let’s start with what you’ll need.
Materials:
- Metro wall tiles
- Ready mixed grout
- Wall tile adhesive
- Tile spacers
- Silicone sealant
- Tile trim
- Cardboard
Tools:
- Mitre saw or Hack saw
- Notched trowel
- Tile cutter
- Grout float
- Combination square
- Measuring tape
- Tile file
- Tile scorer
- Spirit level
- Bucket & Sponge
- Masking tape
- Safety goggles
- Dust mask
- Popsicle Stick
- Spray bottle filled with soapy water
- Pencil
Tile calculations
Your calculations will differ depending on the size of your tile and if you have any electrical outlets or appliances you need to cut around. Once you’ve measured your walling area and worked out your quantity of tiles, always purchase a further 10% to allow for wastage on the cut tiles.
-

Read our DIY safety tips
Before you begin any DIY work, we recommend you read our DIY Safety Tips guide along with your power tool manuals to keep yourself and others protected while completing this How To guide.
If your wall has any holes or cracks, you can find out how to repair them here.
If you’re in doubt about anything, you should reach out to a certified expert for assistance.
-
Find your starting position
Find the midpoint of the wall you are planning to tile. To do this, measure the width of your wall with your measuring tape and mark the centre point with your pencil.
Then at your midpoint, draw a straight vertical line to the top of your wall using your spirit level.
Top tip: Your spirit level will help you create the perfect right angle.
-
Complete a dry run
Now take your piece of cardboard or paper and cut it to the same size you plan to tile. Include the vertical line at your midway point.
Top tip: If you don’t have any cardboard, you could cover the floor or worktop with some protective sheeting and use masking tape to create a border.
-
Visualise your pattern
Dry lay your first tile using your combination square, placing it at a 45-degree angle from your midpoint line. Then proceed with the rest of your tiles in your herringbone pattern.
Once you reach the edge of your dry run, it’s likely some of your tiles will need to be cut to fit correctly. Mark them accordingly with your masking tape and number them to help you remember the order.
Top tip: Dry laying the tiles first will help you visualise the pattern better and show you what cuts you will need to make.
-
Mark your angles
Now it’s time to cut the tiles for your gaps and overhangs. For your triangle gaps, use your combination square to measure your 45-degree angles from one corner of your tile and line the angle using masking tape.
-
Cut the tiles
Finally, cut your tiles using your tile cutter. This is where your tile scorer will also come in handy should you need to add any pressure to the cutting line.
Don’t forget to read the provided instruction manual for your tile cutter before starting.
Top tip: If your edging is a bit rough after the cut, use your tile file to smooth it out.
-
Apply the adhesive
Get your ready-mixed wall adhesive onto your trowel and apply to the wall. Hold your trowel at a 45-degree angle for an even spread.
Top tip: Apply this in small sections no larger than one meter square rather than your whole wall at once, as it will dry quite quickly.
-

Lay your tiles and secure the trim
Place your centre triangle onto the wall first and work your way out, width wise. Don’t forget to add your tile spacers between your tiles for the grout, and wipe away any excess adhesive with a damp cloth as you go.
When you reach any raw edges, you’ll want to add your tile trim. To cut this to size, you’ll need to use your mitre saw or hacksaw – while wearing your goggles and dust mask for protection.
When it’s cut to size, apply some adhesive on the back of the lip and place it onto the edge of the wall or area you are tiling and then tile onto it.
Make sure you apply a spacer between your last tile that meets the tile trim so the grout can be applied in the gap when complete.
Top tip: Create one full row of your herringbone pattern before working your way up the wall.
-

Add the grout
After you have left the adhesive to dry, remove your tile spacers and give your tiles a quick clean with a sponge and some warm water in a bucket.
To make your grout, follow the instructions on your pack and cover off any surfaces – masking around wall sockets and appliances. Then fill in the cracks using your grout float.
As you go, you’ll need to wipe away any excess grout at an angle and then clean the surface from any residue with your sponge and bucket of warm water.
Top tip: If you have sensitive or dry skin you may want to wear thin rubber gloves to protect your hands as the grout will dry them out. You should also ensure your switch your electric off from the main power supply as you will be wiping down the grout with a damp sponge or cloth.
-
Seal the edges
Now to seal the edges with your silicone sealant.
To get a professional finish on this, cut the nozzle of the silicone as close to a 45-degree angle as possible. Then apply your bead of sealant and immediately after, spray your soapy water solution sparingly onto the sealant and popsicle stick.
Now, run the stick along the bead, wiping any excess sealant on the wet cloth as you go.
-
The finishing touches
Leave your tiles to set overnight, giving them a proper clean and buff the next morning.
That’s your guide to How to Lay a Herringbone Tile Pattern complete.
Don’t forget to upload an image of your new herringbone tile pattern to social media, tag and follow us @Homebase_uk

