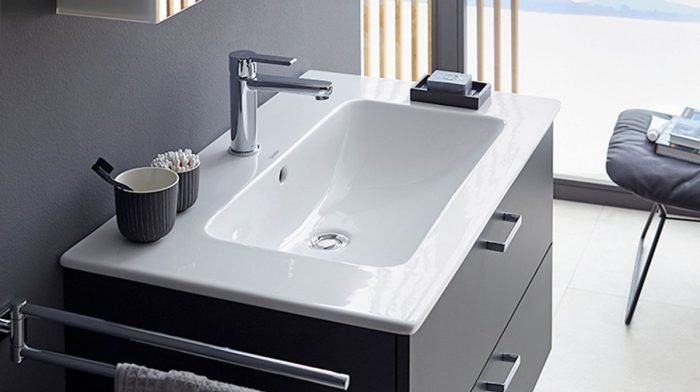
 Gone are the days of stepping out of the bathtub on to a cold, tiled floor: electric underfloor heating is fast becoming an essential part of any bathroom design.
There’s no need for bulky radiators taking up valuable wall and floor space – you can have design freedom and keep your toes toasty by enjoying the affordable luxury of electric underfloor heating.
Can you install it yourself? Yes. However, connecting the electrics and testing the supply must be done by a qualified electrician, so there are still some aspects of the job that may require calling in an expert.
Follow our guide to cut the labour costs and give the installation a go yourself.
Preparation
Clean your work space, ensuring that it’s free of clutter to allow yourself room to work. Carefully measure your room, making note of the specific dimensions for where you will install your system.
Take note of what impact the heating system will have on the room – for example, will the system raise the floors to an acceptable level? Some types of flooring must adhere to heat tolerances, so, bear in mind the thickness of your underlay.
The floor should be flat and even, so carry out a structural check and allow time to repair if needed. If your wooden floor needs to be primed, do this before you begin the installation, otherwise you risk the moisture from the tile adhesive being absorbed.
Materials
- Tape measure
- Sweeping brush
- Wood primer (optional)
- Screws and screwdriver (if required, to secure floorboards)
How long will the installation process take?
Depending on the system type, the size, and the amount of preparation work needed, installation could take from two to four days. However, the skills and knowledge of the labourer should also be considered.
1. Installing matting
Matting is simple to install: cut it to size, attach it to the insulation then lay the tiles or flooring on top.
2. Assess the room
Fit the system in areas that are used the most – i.e. in front of the toilet, basin and bathtub. Avoid installing in hidden areas such as behind cabinets etc.
3. Position the insulation
Make sure the insulations sits within the cables or mats to guarantee heat. Don’t forget to line the walls with edge insulation, too.
4. Laying flooring and tiles
Now the system is fully installed, lay the flooring or tiles on top.
5. Preparing the electrics
The final connections should be made by a fully qualified professional.
Electric underfloor heating systems can be installed by experienced DIY enthusiasts, with minimal help from a qualified tradesman. The key to success is to always do your preparation in advance.
Once installed, you can reap the rewards! Not only does electric underfloor heating give you unbeatable comfort, you could also save on your energy bills.
Because underfloor heating functions at a lower temperature than standard radiators, heating costs are reduced and energy usage savings of 10% can be achieved.
For families, underfloor heating also provides a safe environment – there are no low level hot surfaces, and there is no maintenance either. A worthwhile investment for many homeowners!

