
Whether it kicks off the start of your day, or helps you to unwind before bedtime, your shower is likely to be one of the most used features in your home. It is important to select a model that suits both your lifestyle and the look of your bathroom, and once you’ve found the perfect design, it’s time to start putting it to use!
If you have advanced DIY capabilities and the correct materials, our introductory guide will show you how to install a shower in your bathroom.
Preparation

Before installing your shower, there are many important factors to take into consideration. Make sure that the shower tray, plumbing valves, pipework and tiling are installed and complete beforehand.
Planning is essential. Shower cubicles come in a range of styles and sizes, and so positioning will vary depending on the model you have chosen. However, regardless of the shape, it is important to decide where you plan to place the different components of your shower, such as the doors, before you begin installing.
Once you have planned the location, use an inspection device to check the walls where you will be drilling for any hidden pipework or electrical cables. Turn off the mains water and make sure you have an extra pair of hands available for any lifting or steadying that you may need help with.
Note: Installation procedures will vary, depending on the model and style of your shower. Always refer to the manufacturer’s instructions alongside this guide.
Materials
- Drill and appropriate drill bits
- Screwdriver
- Hammer
- Caulking gun
- Silicone
- Measuring tape
- Spirit level
- Screwdriver
- Pencil
- Saw (depending on any adjustments that may need to be made)
Installing your shower
1. Set out the location for your cubicle rails
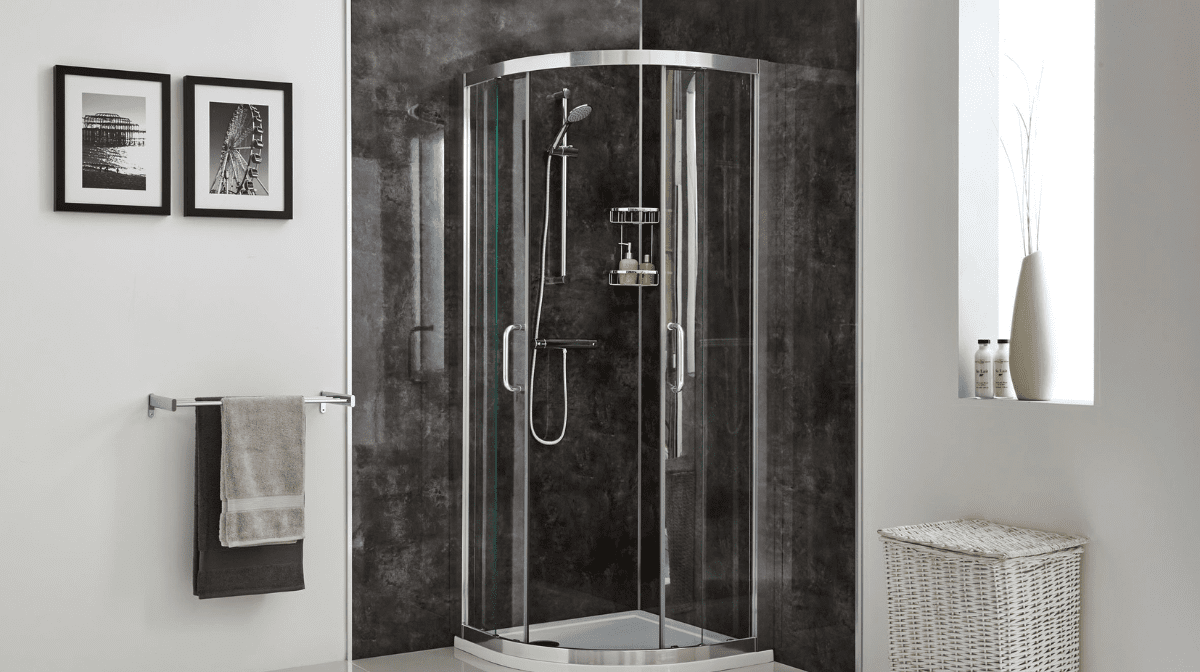
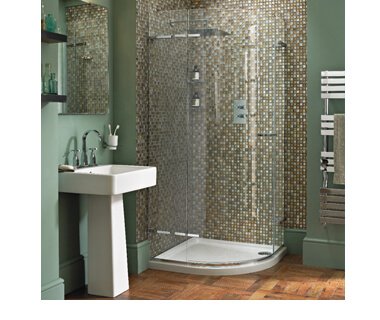
Depending on the size and layout of your shower, you will need to secure cubicle rails into the wall, in line with the shower tray. These can either fit onto two different walls in the case of a quadrant or D-shaped formation, or on a single wall for a walk-in shower.
Depending on the style of your shower, some manufacturers recommend assembling the shower before measuring and marking the place for the rails. In this case, you will need an extra pair of hands to help you lift and hold the cubicle in place while you measure and mark the correct place to secure the fittings to the wall.
When arranging the position of the cubicle rails, the most important factor is to ensure they are even, using your spirit level for reference. It is also key to use your tape measurer and make sure the rails are lined up with the shower tray at the correct point specified in the instruction manual.
Once you are confident that your rails are in the correct place and that they are level, use your pencil to mark the places where you will be drilling. Repeat this procedure as necessary.
2. Prepare the wall for the cubicle rails
Using the drill bit specified in your manual, drill holes in the areas you marked previously. Make sure to use an electronic detector to check beforehand for any piping or wiring. Insert the wall plugs, making sure they are flush with the wall – use a hammer if necessary.
3. Secure the cubicle rails

Again, this process will vary depending on the style of your shower. Most quadrant and D-shaped enclosures specify that the cubicle should be connected to the rails and then secured to the wall. In the case of a walk-in shower, the rails are often secured first, and the panel is fitted afterwards.
Some models require a watertight sealant between the rail and the wall. If this is the case, apply a thin bead of silicone to the rail using your caulking gun. Align your rails and secure them to the wall using the screws provided. Clear away any excess silicone.
4. Secure the panels
Depending on the style of your shower, some panels will slot into the cubicle rails while others will have to be secured with additional fittings. Consult the installation manual for instructions on how your panels should be fitted.
In the case of a walk-through shower, additional support is often required in the form of a bar above the shower which secures the panel to the opposite wall. Measure accordingly and use your saw to shorten the bar, if necessary. Drill the hole at the dimensions indicated in the manual and secure the wall plug and fitting. Slide the bar into place, clipping one end over the shower panel and tightening the other end into the fitting.
5. Secure additional fittings
This step will vary widely with different shower designs. Some enclosures will have sliding doors, and so rollers will need to be secured to the bottom of the panels and the doors clipped into place. Hinged showers will need to be fixed together at the edge with corresponding brackets.
6. Apply watertight sealant
Some showers have frames that drain internally, and so sealant only needs to be applied to the outside of the frame. Others, such as walk-through showers, will require a layer of sealant on both the inside and outside, and along the bottom edges of the shower tray. Use your caulking gun to trace a thin, even border in the correct places.
After fitting your shower enclosure, it’s time to connect the additional parts, such as the shower head. This is something you can do yourself, but if you’re unfamiliar with the plumbing in your home it is always recommended to consult a professional.
By referring carefully to the guidelines specified in the installation manual, alongside the step-by-step instructions in this guide, you can install a new shower in your bathroom. Make sure you prepare thoroughly and have the correct materials, as well as a pair of helping hands nearby.
It’ll take some careful planning and a few hours of hard work, but when you’re finished can relax with a refreshing shower!


