Whether you’re sprucing up your kitchen, renovating the bathroom or looking for new ways to add detail throughout your home with a mosaic wall, learning how to lay tiles is a simple but rewarding DIY project.
With various styles available and numerous patterns to try, wall and floor tiles can completely transform the feel of a room. With the help of our simple step by step guide, learn how to tile a wall and create a beautiful geometric pattern. Remember, it’s the small changes that can make the biggest difference!
What you’ll need:
MaterialsToolsHow to tile a wall
Step 1: Prepare the wall
Before you begin tile installation, you’ll need to take everything loose off the wall, sand and key it. Keying the wall creates grooves, which means that there’s something for the adhesive to hold on to.
Top tip: Fix any holes and uneven areas with our handy guide to repairing walls and ceilings.
Step 2: Find the middle
To make sure that your tile layout is uniform, it’s important to find the middle point of the wall. When it comes to how to tile a wall, you always start in the centre and work your way outwards.
Take a tape measure horizontally across the space, leaving a mark at the centre point. You now need to mark a vertical line that passes through this point so that you can line your tiles up neatly– a spirit level may come in handy here.
Step 3: Get your tile spacers ready
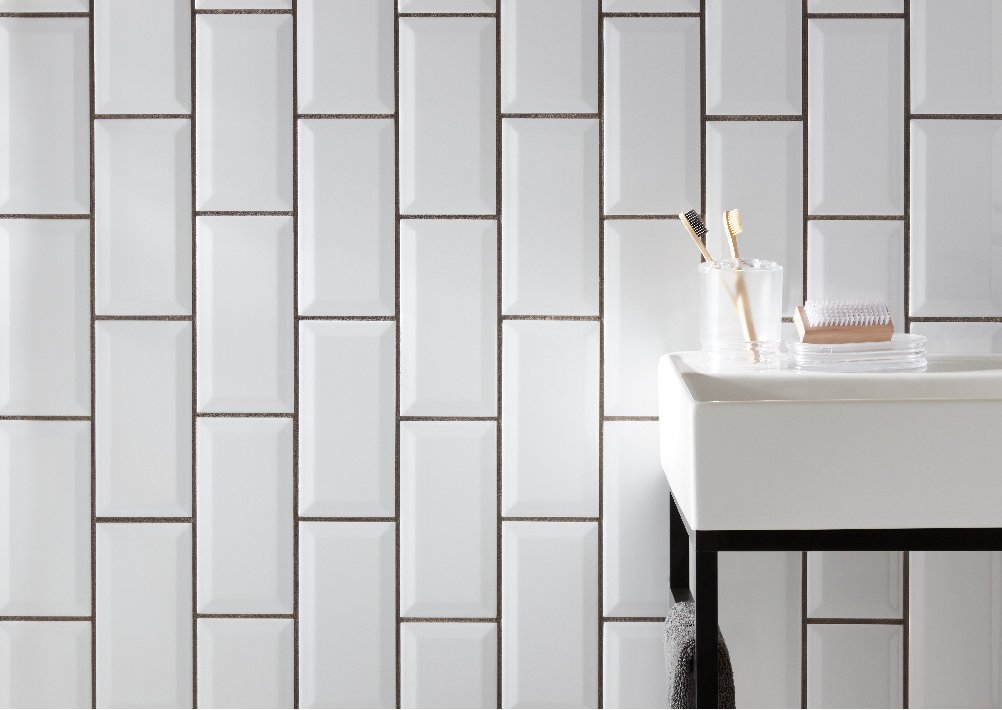
If you’re making a tiled feature wall, you’ll need small tile spacers, as the wall is all about the pattern and not the space in between the tiles. We went for 2mm tile spacers project, but it really depends on what tiles you’re using and your desired finish.
Step 4: Choose your tiles
The key to any tile feature wall is your choice of design. Make sure to explore the entire range that Homebase has on offer to find the perfect fit for your space.
Top tip: If you’re struggling to decide, our wall and floor tile buying guide is here to help.
Step 5: Apply adhesive
Working in an upwards motion, apply your tile adhesive to the wall with a trowel. Once you’ve coated the surface, use the ridged side of your adhesive trowel to create vertical lines running the entire way up your covered surface. This will give the tiles more surface area to stick to.
Top tip: The type of adhesive you use will depend on where the tiles are being laid. You’ll need a waterproof adhesive for bathrooms or flexible adhesive for surfaces that may move slightly.Step 6: Position your tiles
Take your first tile and position it against the bottom corner of your wall. Place two spacers beneath the tile, so that there’s a line of grout visible. Continue along the bottom of your wall, placing spacers between each tile and the bottom of your tiled wall.
With the first row completed, continue in the same way for the second row of tiling, and so on. Remember to place spacers in between all adjacent tiles for a neat and uniform finish.You'll probably find that the edge tiles on your wall or floor will need to be cut smaller to fit the gap. Use a tile cutter to do this. When cutting tiles, always protect your eyes from any loose sediment by wearing goggles.
Top tip: Take a look at our tile ideas for some DIY inspiration. If you want to try something a bit different, read our guide to laying a herringbone tile pattern.
Step 7: Grout
Once you have covered the desired area with tiles, you can remove your spacers.
Learning how to grout tile is far easier than you think! Take a little bit of grout at a time onto a clean trowel. Using the squeegee side of your trowel, push the grout into the gaps between your tiles. Dick’s top tip here would be to not worry about the finish at this stage – it's much more important to concentrate on getting the grout in the gaps! Repeat until all the tiles are surrounded with grout lines.
If you're fitting tiling around a bath or shower, apply a silicone sealant around the edges. This will ensure that the tiling is waterproof, as well as making it easier to clean.
Top tip: For more handy tips on how to lay tiles for a professional finish, read our guide on how to grout tiles.
Step 8: Clean with a damp sponge
Using a damp sponge, lightly clean away any excess grouting that has spread onto the surface of the tiles. This will create a smooth, professional finish. Once your grouting and adhesive is all dry, you can give your tiling a final buff.
If your grout residue is being stubborn, a grout cleaner or residue remover may come in handy.
Top tip: If you want to know how to tile floor, the process is the same! Just make sure that you’re using a waterproof adhesive if you’re trying out any bathroom tile ideas.
Adding a tiling feature to your home can transform a space that feels a little unloved into something that’s quite stunning! It’s a small change that doesn’t have to take long, but will make a big difference to the feel of your home. Whether you’re adding a kitchen splash back, tiling a bathroom or creating a beautiful tile feature wall, knowing how to tile a wall will open up a whole world of interior possibilities.
And that’s how to lay floor and wall tiles. From a tile window sill to geometric tile feature walls, there are countless projects to get stuck into. Don’t forget to share your transformations with us @Homebase_UK on Instagram, and discover our other tiling guides here.