

Buying and installing a whole new bath in your bathroom can be an expensive job, so it’s no surprise that people often choose to fit the panels around the bath themselves. One of the simplest and quickest DIY jobs around, with the right tools you can tackle it in an afternoon, and save yourself some money in the process. Just follow our step-by-step guide to find out how, and you’ll have your bath panels fitted in a flash.
What you’ll need:
- Drill or screwdriver
- Wood batten
- Wood Screws
- Saw
- Tape measure
- Pencil
- Gloves
- Spirit level
- Silicone
What is a bath panel?
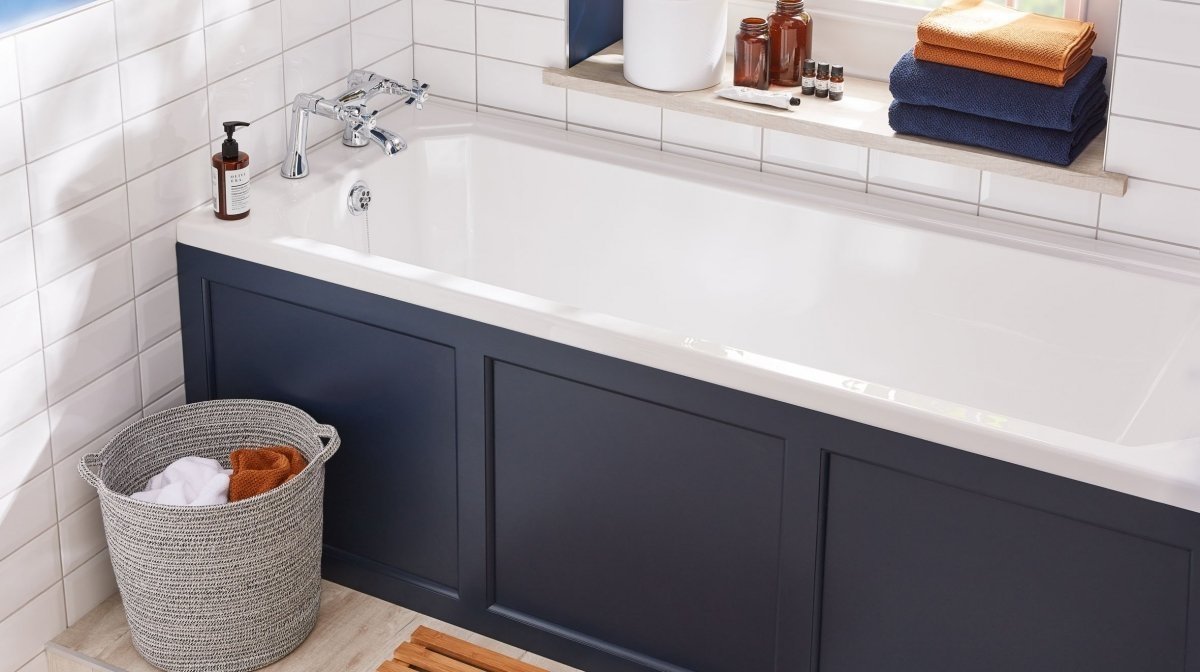
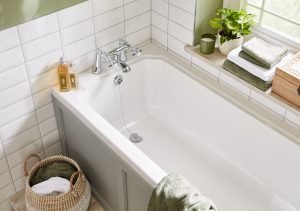
Used for almost any straight bath that isn’t free standing, bath panels are one of the most straightforward additions to any bathroom. Ideal for adding extra style or protection to your bathroom without spending a fortune on flooring or tiling, they encase the sides of your bath to cover up plumbing and protect against water splashes – usually mounted over a wooden frame.
What are bath panels made from?
Ranging from a minimum of one (if it’s between two walls) to a maximum of three, bath panels are typically made from two materials – wood and acrylic. As plastic wrapped fibreglass, acrylic panels are simple to cut to size and less expensive than wood – while MDF tends to last longer thanks to its added thickness and durability. But how do you go about fitting a panel to your bath once you’ve picked your material?
Measuring your bath panels
If you’re preparing to fit a bath panel, it’s best to know how much space you’re working with. The majority of straight baths in the UK are 1700mm long. To fit accurately, measure from the rim of your bath to the floor all the way round. Once that’s done, pick the panel that fits your bath’s measurements from the standard sizes:
Front panels (the long side)
- 1500mm
- 1600mm
- 1700mm
- 1800mm
End panels
- 700mm
- 750mm
- 800mm
How to fit a bath panel
Once you’ve measured your panel(s) and you’ve cut them down to size with a saw to fit under the lip of your bath if necessary, it’s time to construct your bath frame and panels.
Step 1:
Start by fixing your softwood battens to your floor, running the full length of your bath with a 20mm inset on each end. If you’re attaching end pieces as well as your front panel, screw side battens in parallel to your main set – creating a solid ‘L’ shape on either end if necessary.
Step 2:
If you’re only adding or replacing a front panel, it’s often easier just to use shallow floor battens and secure your panel between them and the top of your bath. But if you also have end pieces, you’ll need to evenly space four smaller battens upwards from your bottom piece, carefully secured to another longer piece at the top under your bath’s rim. Once screwed in, make sure it’s straight with your spirit level.
Step 3:
Place your front panel over the top of your frame, making sure it fits comfortably and securely under the rim of your bath. Then drill three neatly spaced holes along the base of your panel to hold it place – securing it to the batten with your wood screws.
Step 4:
Repeat the process with as many end panels as you have – making sure you stick to three screws for each side to balance out the weight. Once your bath panels are fully fitted – cap your screws with a similar colour as your panel to complete the look – and add a bead of silicone between your bath and the wall to show off that extra know-how.


