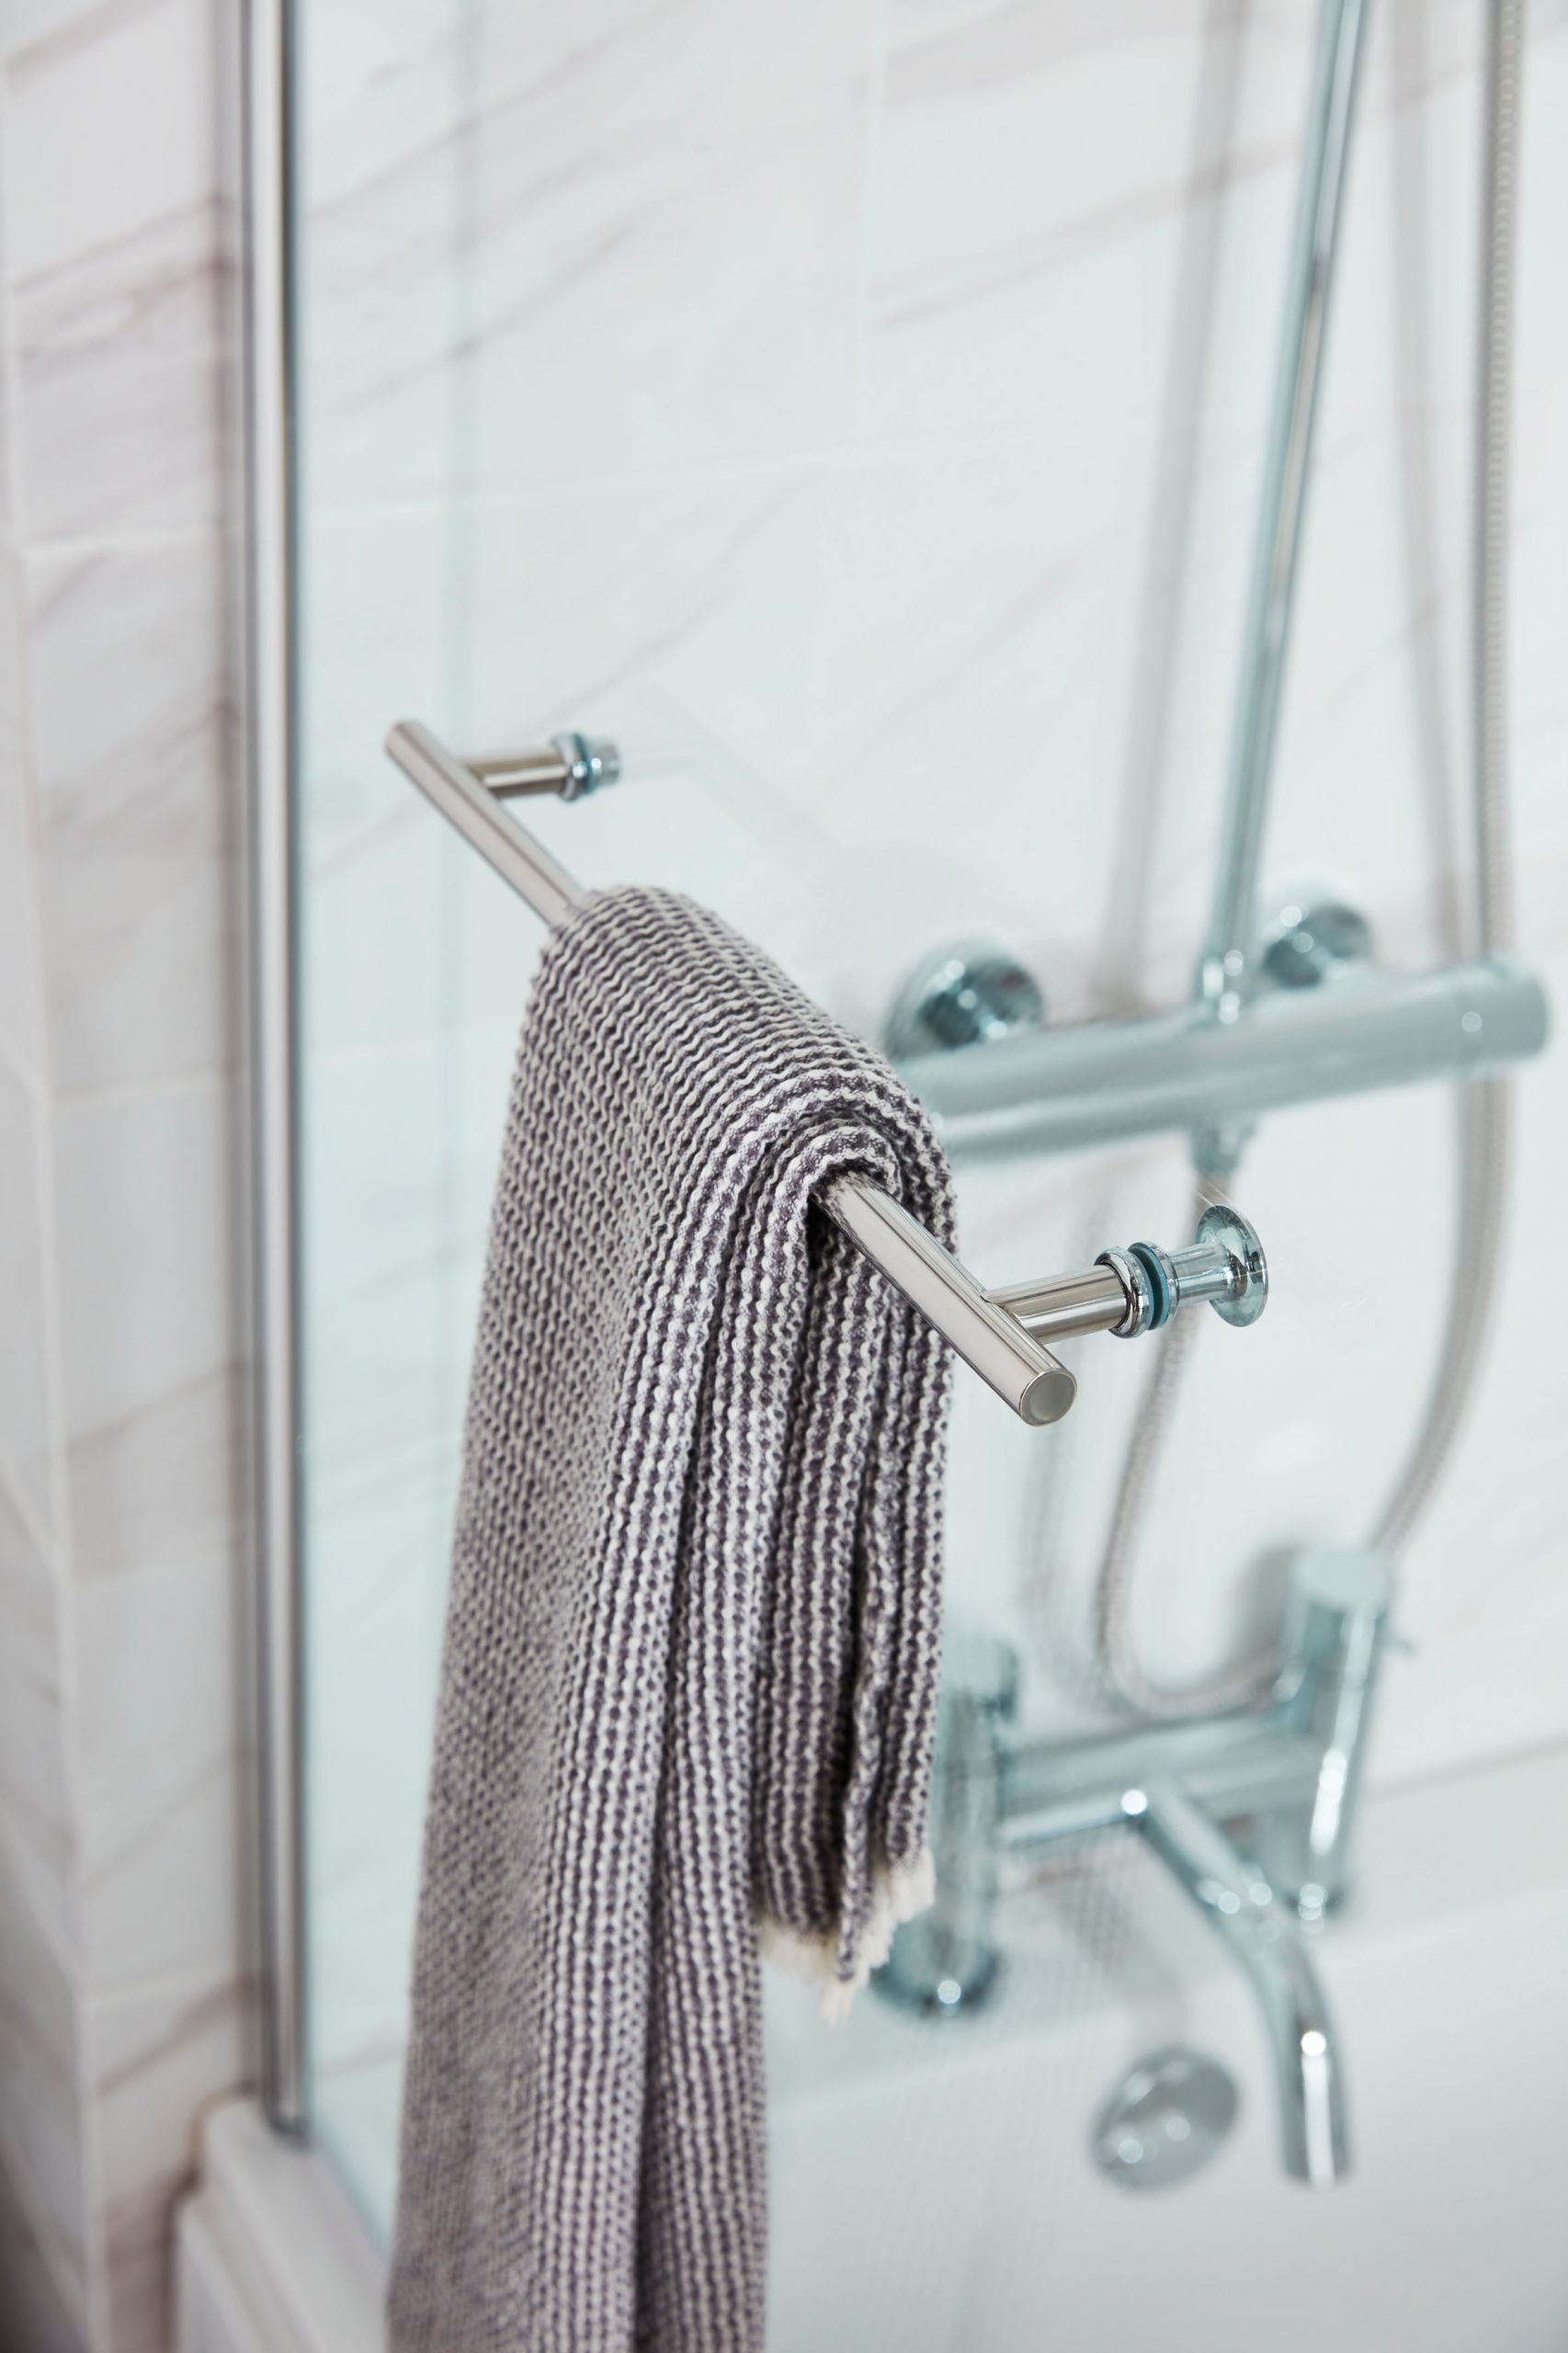

What is a mixer shower?
Just as the name sounds, a mixer shower is a shower that mixes your hot and cold water together in a valve to reach the right temperature before it comes out of your showerhead. Ideal for both low and high pressure water systems, from standard mains feeds and combination boilers to gravity and pump systems – the only thing a mixer shower won’t do is boost your water pressure.
Shower mixer types:
How your hot and cold water is combined in your mixer shower largely comes down to the type of mixer, and there are four main types to choose from:
Double handle mixer shower
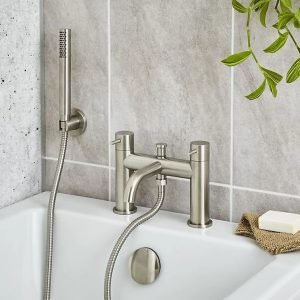
Much like a bath, a double handle shower mixer has two turn handles – one for hot, one for cold. Traditional looking, it also offers the classic precision of finding the perfect temperature by adjusting the handles
Mechanical mixer shower
A single knob or lever, a mechanical mixer controls both the water’s temperature and flow depending on how it’s twisted or pulled. These mixers tend to be shower-only, as they’re not suitable for bath faucets.
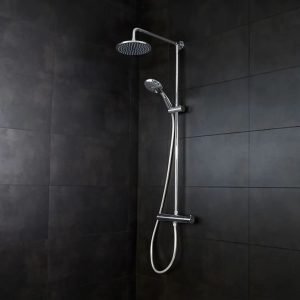
Thermostatic mixer shower
Just like mechanical mixers, a thermostatic mixer controls both the temperature and water flow of a shower – just from two controls rather than one. What’s more, most modern thermostatic shower mixers have a maximum temperature regulator to protect against accidental scalds and burns.
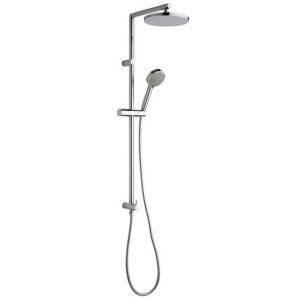
Bar mixer shower
Uniquely, bar mixer shower controls can be thermostatic, manual or double-handled – as long as they’re contained in a single, sleek, minimalist look. Choose from rounded or angular designs to suit your bathroom’s style.
How to fit a mixer shower
You will need:
Shower kit
Pipe cutter
Adjustable spanner
Pencil
Tape measure
Pipe & connectors (if needed)
Step 1: Which water supply?
Before fitting your mixer shower, you’ll need to make a decision about how your hot and cold water supplies will be used. If you’re installing it above your bath – it’s simply a case of looping in your tap’s water supplies. If, however, you’re putting in a separate shower enclosure instead, you’ll need to trace it back to your nearest hot and cold pipes, and plumb it in directly.
Step 2: Isolate the supply
No matter which method you end up using, you’ll need to isolate your water supply first. Find your main valve or stopcock, turn the water off and drain the pipes by running all the taps in the house until they empty – ready to safely add your outlet pipes.
Top tip: If you need to extend your pipework between your hot and cold pipes and the new shower, just remember – hot should be on the left and cold should be on the right.
Step 3: Check your outlets
If you’re replacing an old mixer shower with a new one, there’s a good chance you should be able to use the same pipes and connectors for your latest model. If not, or if you’re starting from scratch, now’s the time to place your new mixer shower against the wall and mark your outlet pipes where they need to be cut so it fits flush.
Step 4: Mark your drill points
With both outlet pipes trimmed, place your mixer shower back against the wall to mark where your valve will be going, then drill the holes. Before installing it, double check that your blue and red-capped filters are facing rounded side in.
Top tip: If you’re drilling into tiles, we recommend using a glass or diamond-tipped drill bit to avoid cracking them.
Step 5: Tighten your fittings
With your filters facing the right way, and each inlet is installed correctly, you’re free to tighten your mixer and retaining shower nuts with an adjustable spanner – making sure your valve and the pipes line up.
Step 6: Install the rest
With the mixer valve installed, it’s time to fit the rest of your shower kit – whether that’s a flexible hose or solid riser pipe. Riser pipes may need to be cut to length to suit your ceiling, while flexible hoses simply need the top bracket installing into the wall to attach to.
Step 7: Turn the water back on
Finally, it’s time to check for leaks. Screw your shower head on, make sure everything is attached and tightened, and turn your stopcock back on. If it works properly and the flow is even, you’re good to go!
Top tip: If you’re installing a thermostatic mixer shower, now’s the best time to test your water’s temperature and compare it to the shower’s temperature. If it doesn’t match up, it may need adjusting.


