
Treating your basin to new taps is one of the fastest, simplest and most effective ways to refresh your bathroom’s look. Whether you’re looking for designs to fit seamlessly into your current style or something to stand out as a talking point, Bathstore have a wide range to choose from. What’s more, basin taps are easy to fit on your own too, especially with our handy step-by-step guide to show you how.
What you’ll need
- Taps
- Tap spanner
Typically supplied with the tap
- Washers
- Nuts
- Flexible tap tails
- Fixing studs
- Deck plate
Before you begin
In this guide, we are assuming you’re installing new taps in a new basin – or at least a basin that has already had the taps removed. Removing basin taps can be a little trickier than installing them, especially if they’ve been in place for a while – so we recommend getting a professional to help with removal before using our guide to find out how to fit your new ones quickly and simply.
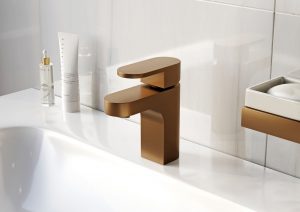
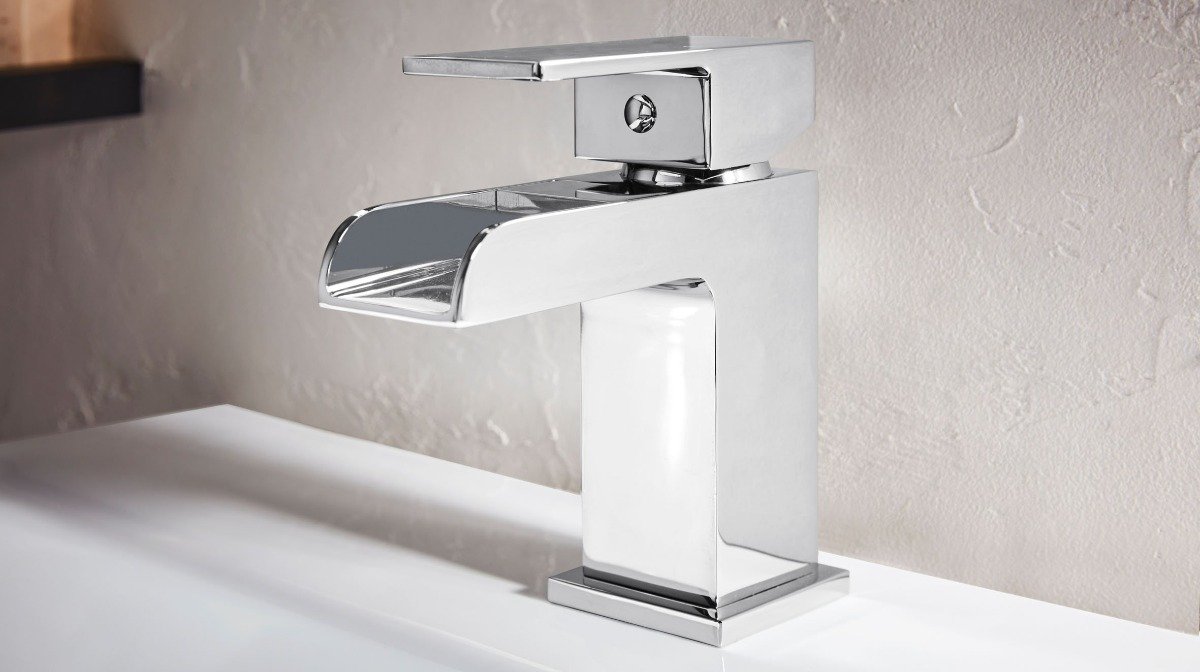
What basin taps should I choose?
Before you start installing, it’s a good idea to know what type of basin taps you’re going to be attaching to your sink – as the steps are a little different. Basin taps usually come in two specific styles:
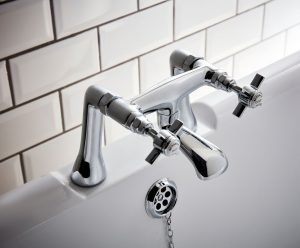
Basin pillar taps: 2 taps in total, one on either side for hot water and cold water.
Basin mixer taps: Just the single tap, combining hot and cold water in one spout with an adjustable handle.
How to fit basin pillar taps
Step 1: Check and double check
Without any taps in your sink already, your water should already be off at the mains – but it’s best to double check. Then give your taps a quick once over to make sure they weren’t damaged in transit.
Step 2: Lead with the left
Your hot tap should always be on the left as you look at your basin – so start by unscrewing the nut on the tap base, push the tap through the supplied plastic washer and thread the base through the left basin hole.
Step 3: Adjust the angle
Once you’ve got the tap neck facing you at a 90-degree angle, screw the nut back in place from below by hand – then tighten it fully with a tap spanner. Repeat with your cold tap on the right side.
Step 4: Watch your water
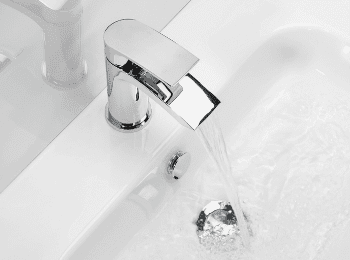
Once your basin taps are both fitted, check how to set the taps to their “open” position before you switch the water back on. If there’s any water leakage once you do, pinpoint where it’s coming from, and tighten your connectors as necessary.
How to fit basin mixer taps
Step 1: Check the mains
Just like the pillar taps, the best place to start is by checking your mains water is off and that your basin mixer taps are undamaged.
Step 2: Attach your tap tails
Once you’re happy with your setup, screw the supplied flexible tap tails into the bottom of your basin tap and tighten them by hand.
Step 3: Thread your tails through
Once your tails are tightened, screw the fixing studs onto your taps base to keep the tails secure at the other end too – then thread the tails and studs through your basin. Since the temperature taps are both combined into one mixer, you only need the one hole to feed everything through.
Step 4: Add your washers
Making sure your tap is facing forwards at a 90-degree angle from the basin’s rim, connect a washer and deck plate to keep your fixing studs in place. Once you’re happy with the basin tap’s position, top your studs off with nuts and tighten with your tap spanner until secure.
Step 5: Turn on and tighten
Finally, check your basin taps are set to “open” and turn the water back on. If you see any water around the bottom of the basin – use your hands to isolate the source and tighten any connectors as necessary.


