Filter

STANLEY FatMax Grinder Accessories

10 Results

From backing pads to cutting discs, our wide range of grinder accessories has everything you need to tackle your next project. The ultimate DIY hack, our accessories are adaptable and easy to attach – no matter what size angle grinder is required for the job. Looking to upgrade? Explore our full range of angle grinders here.

Products

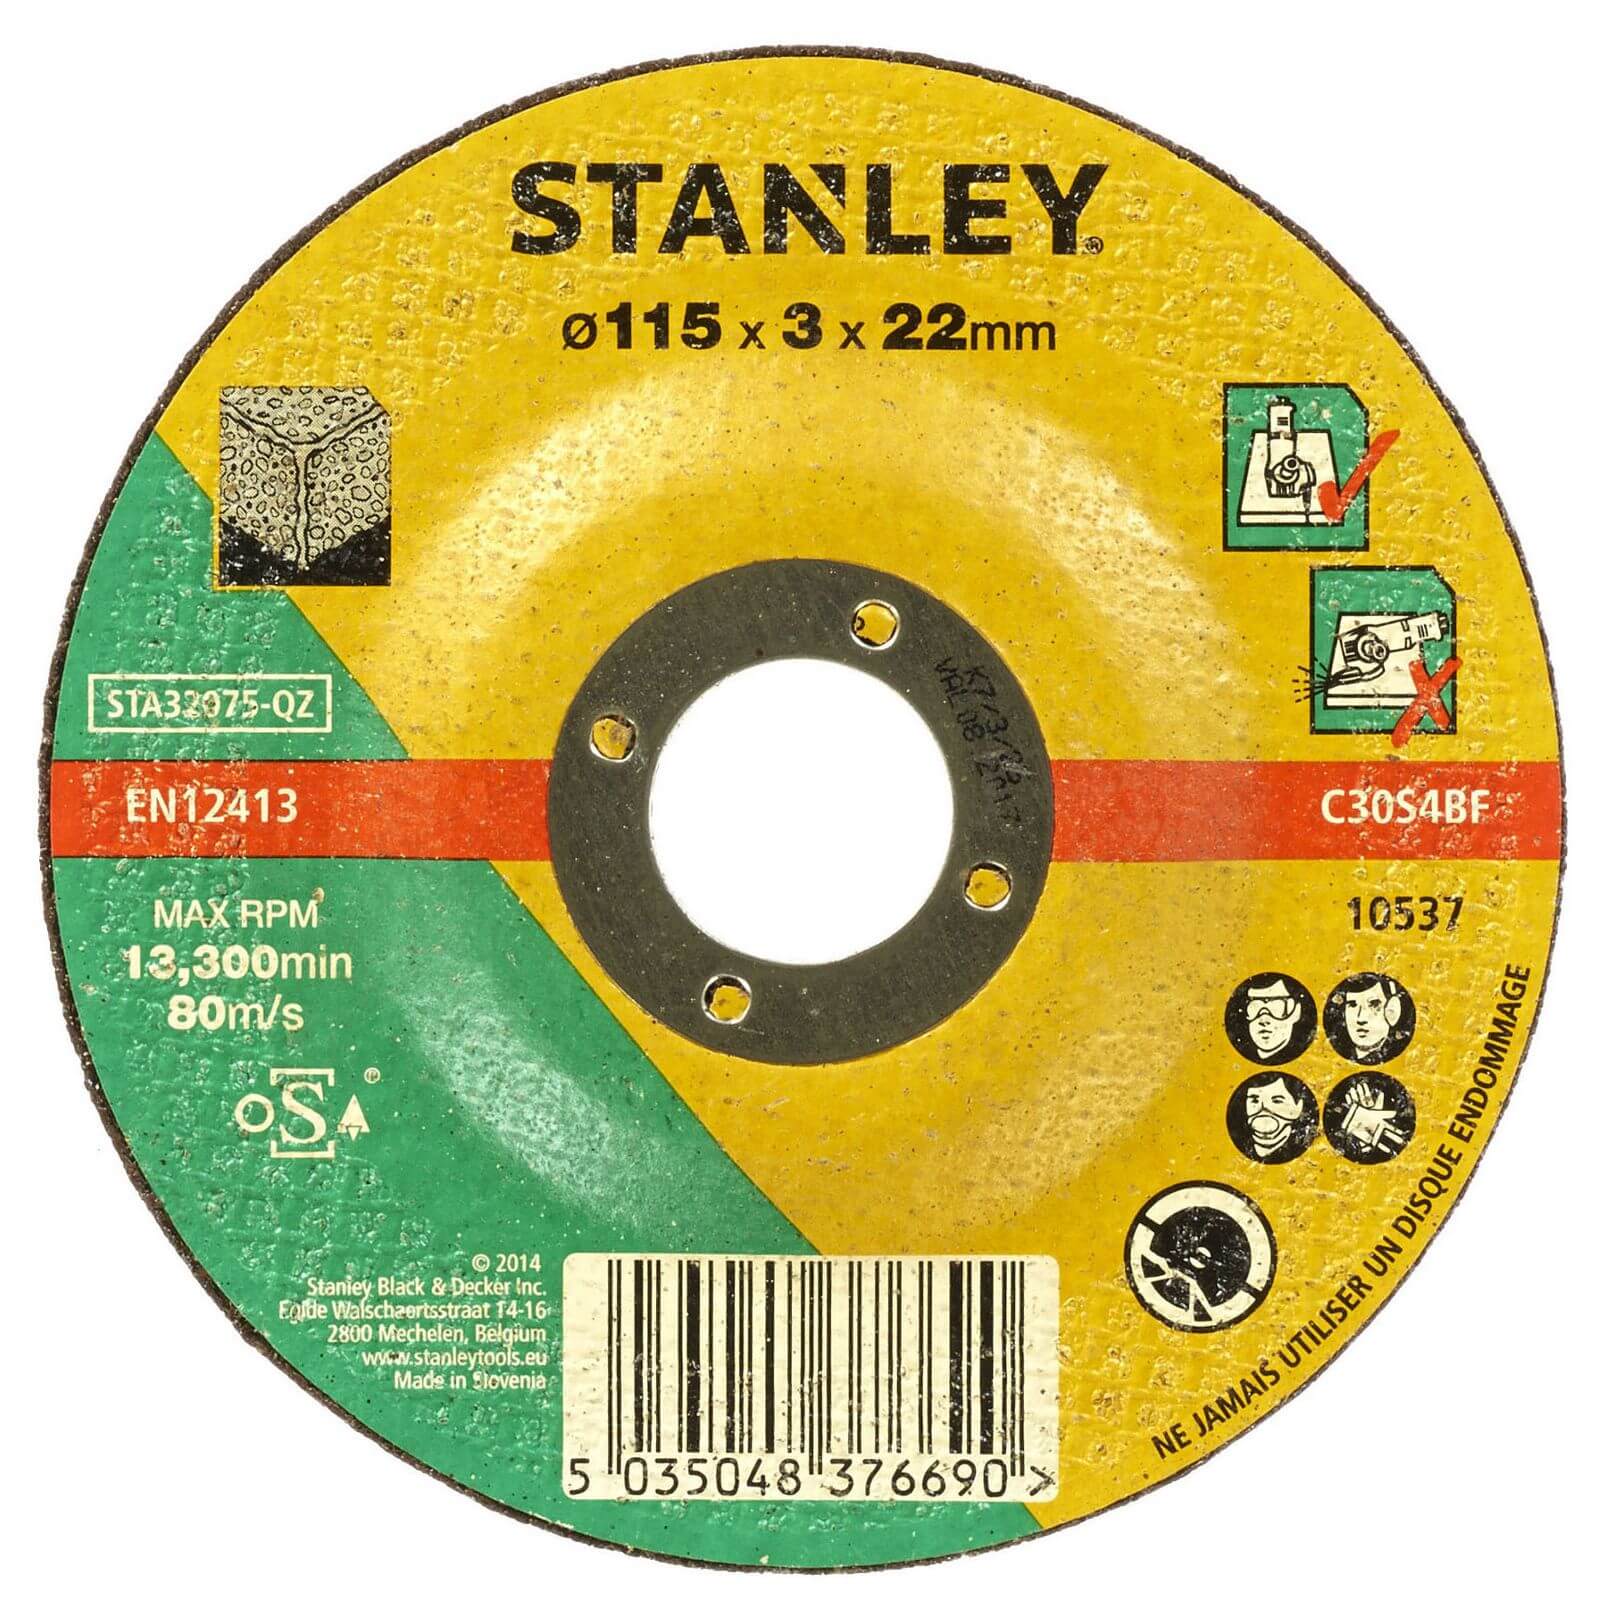
  • Stanley 115mm Stone Cutting Disc - STA32075-QZ

    Stanley 115mm Stone Cutting Disc - STA32075-QZ

    £4.00
  • Stanley 230mm Stone Cutting Disc - STA32090-QZ
    CLEARANCE

    Stanley 230mm Stone Cutting Disc - STA32090-QZ

    £2.00
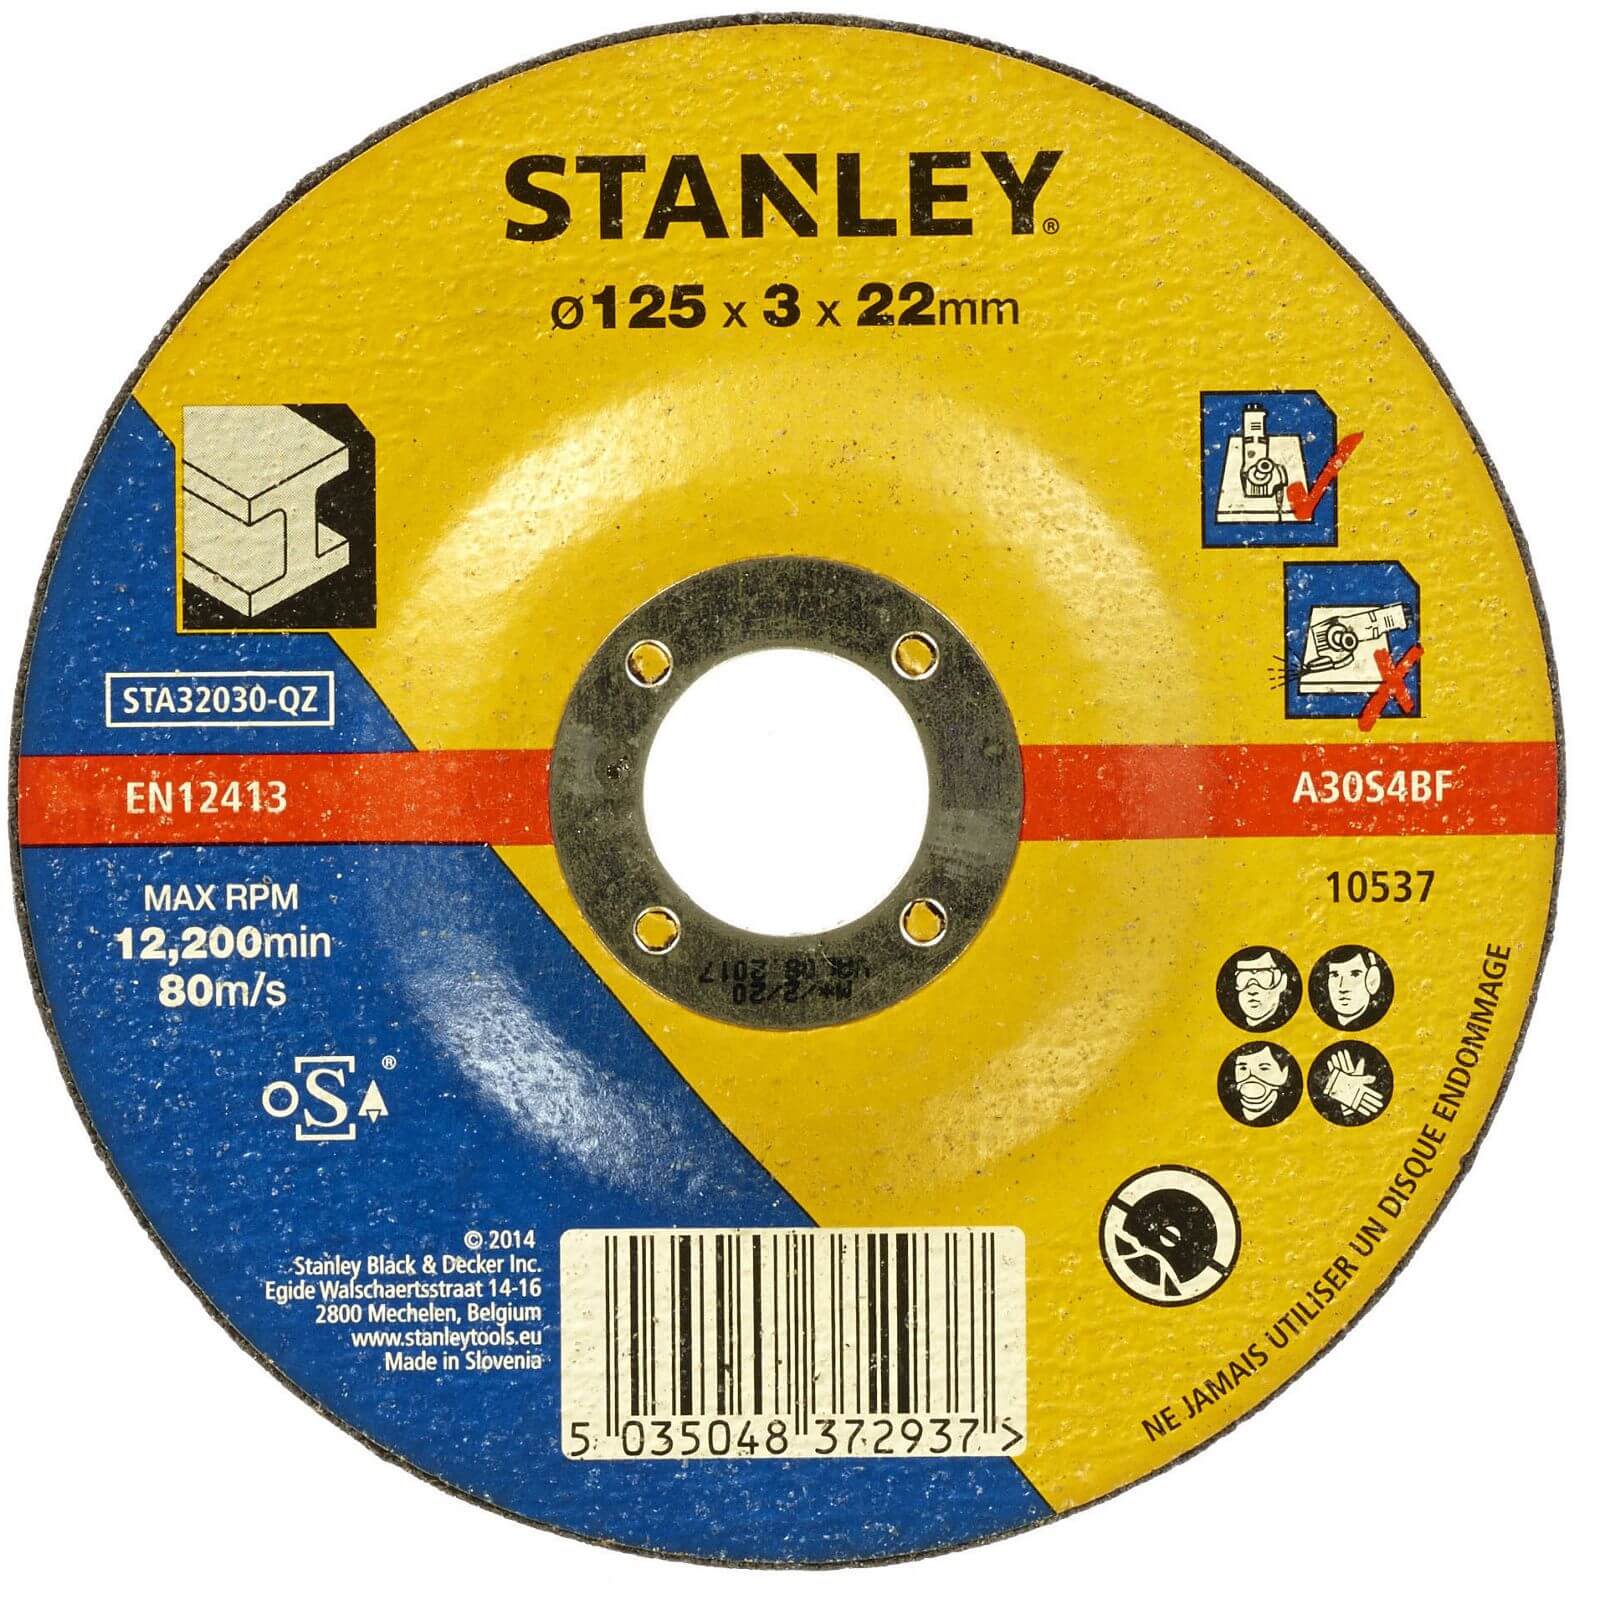
  • Stanley 125mm Metal Cuting Disc - STA32030-QZ

    Stanley 125mm Metal Cuting Disc - STA32030-QZ

    £5.00
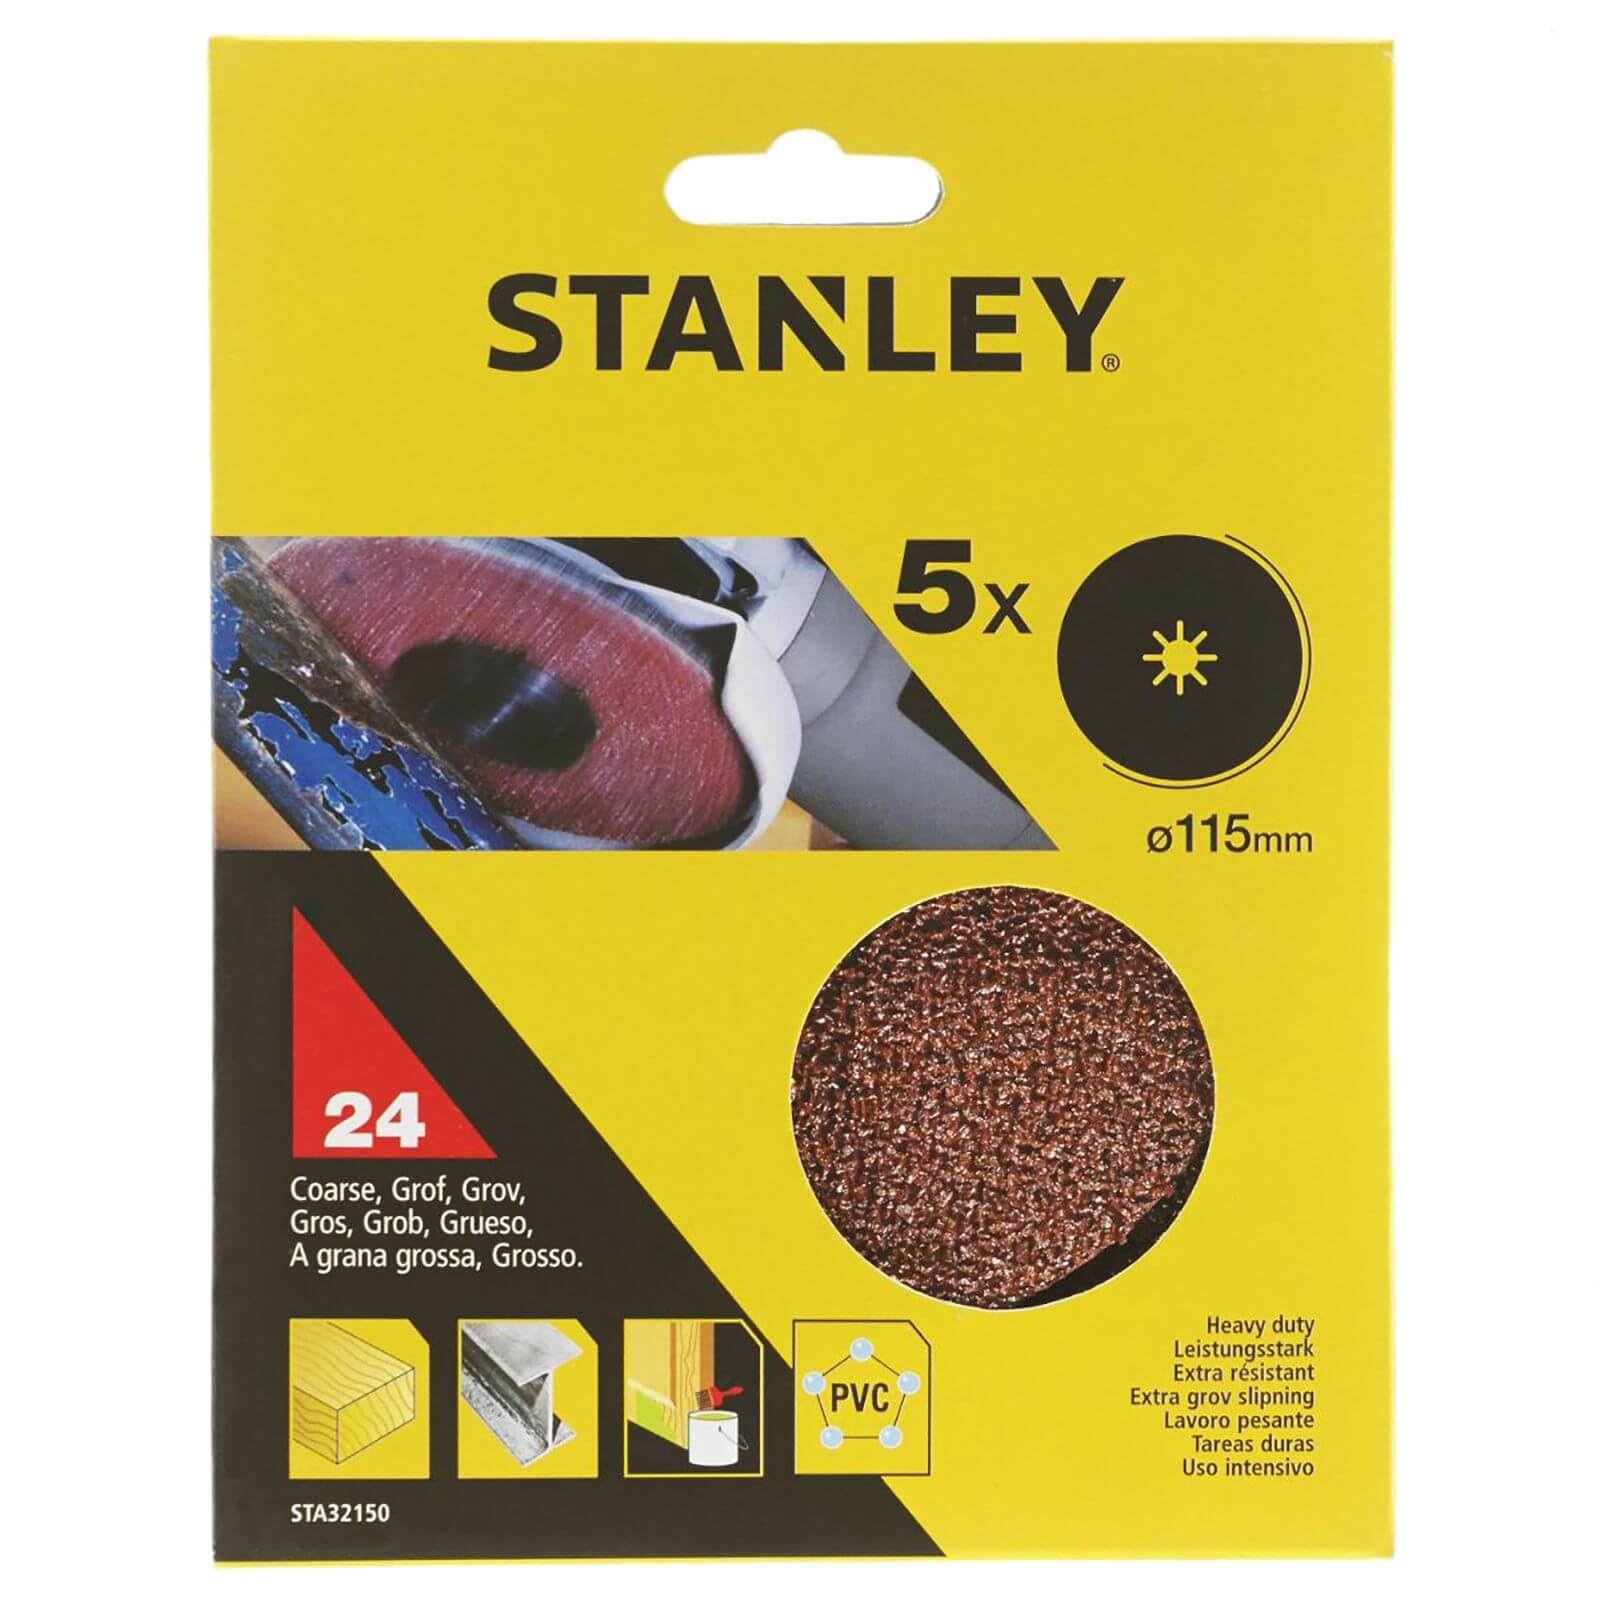
  • Stanley 115mm Grinding Pads 24G - STA32150-XJ
    CLEARANCE

    Stanley 115mm Grinding Pads 24G - STA32150-XJ

    Was
    £7.00
    £2.50
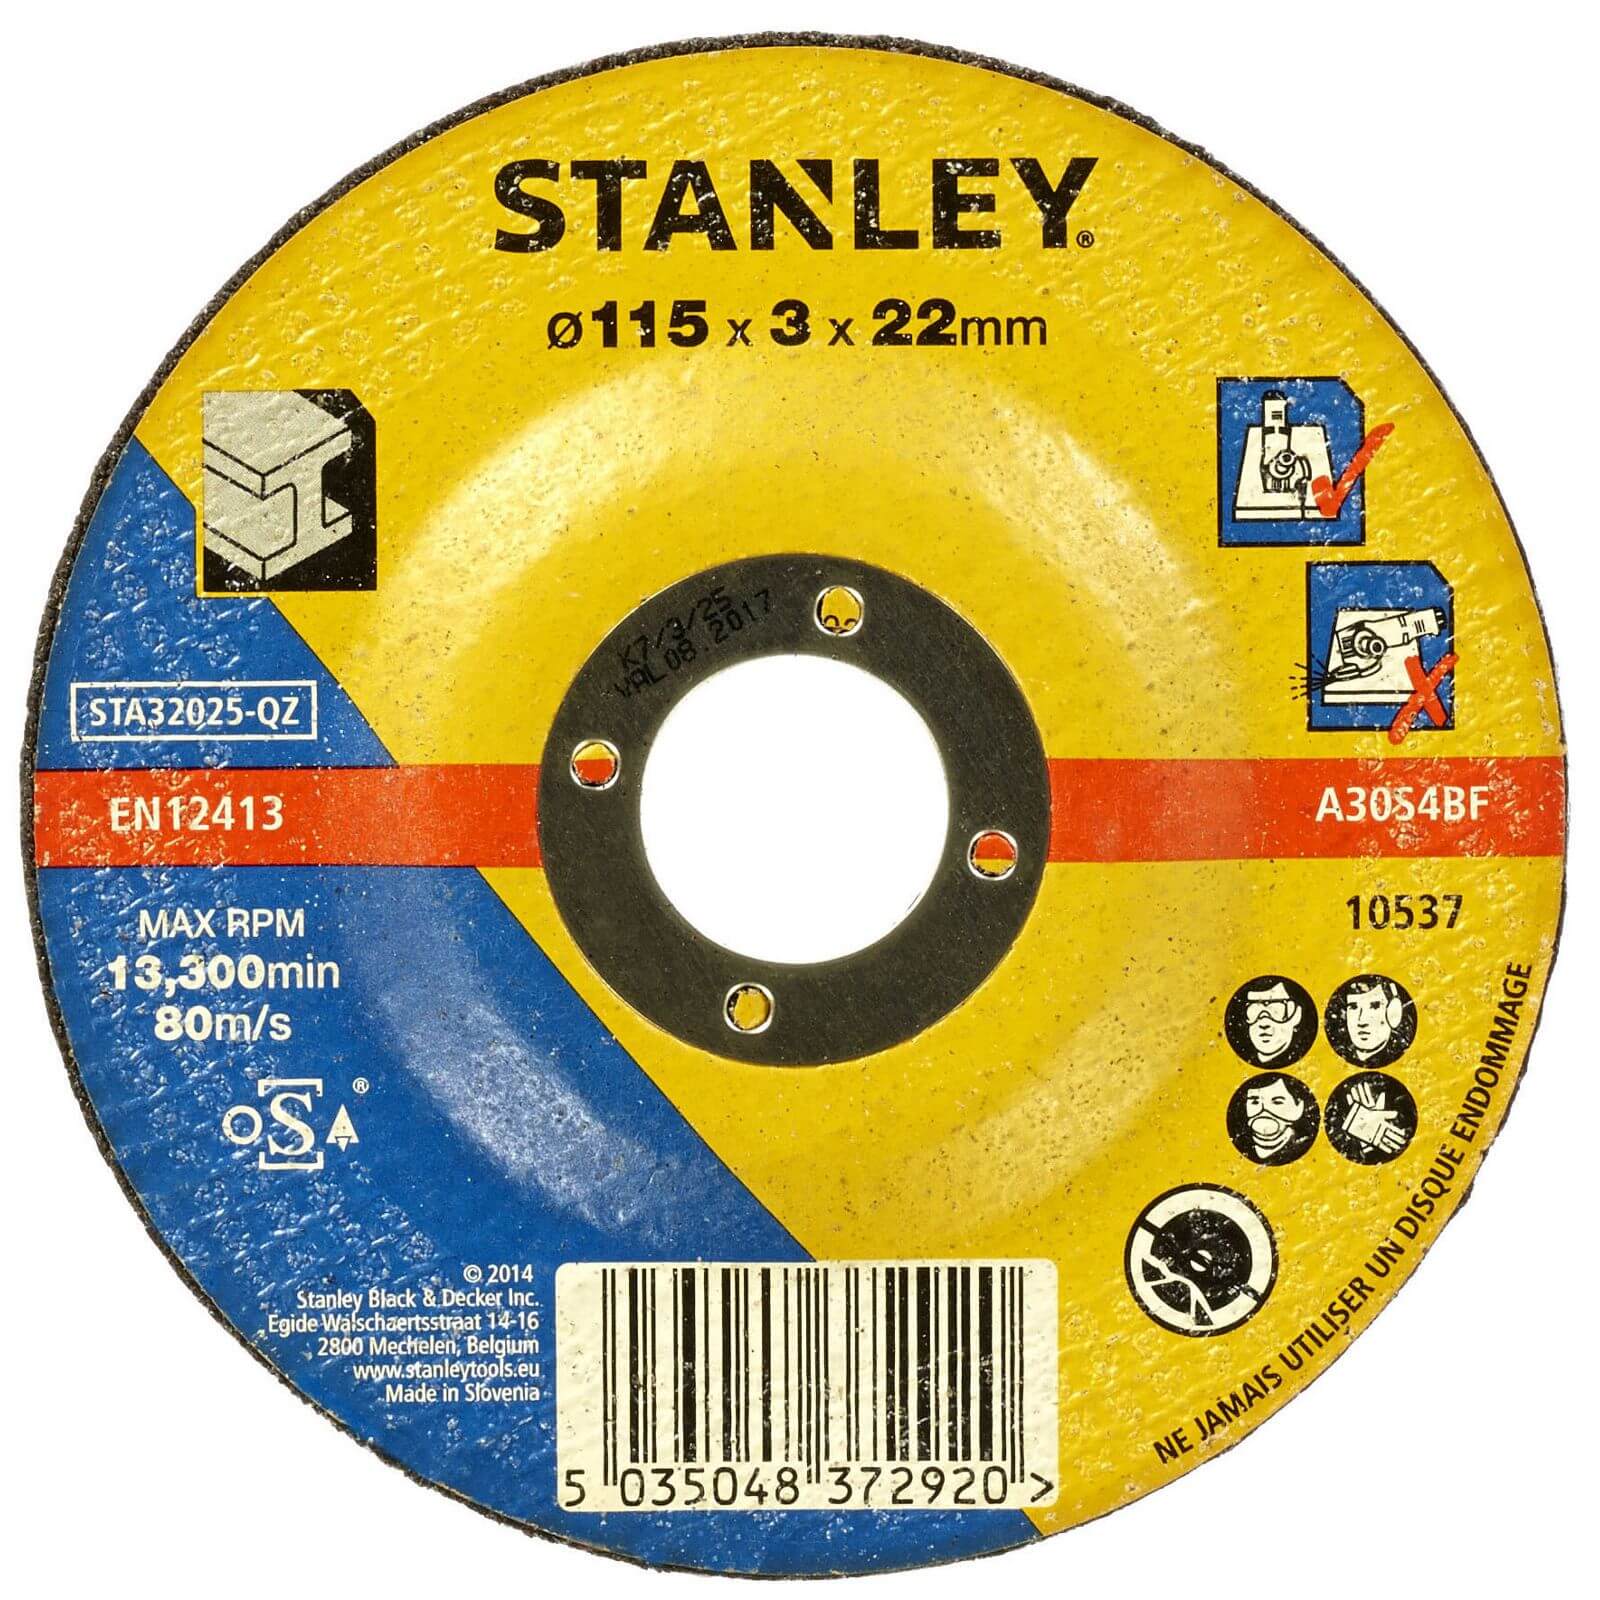
  • Stanley 115mm Metal Cutting Disc - STA32025-QZ

    Stanley 115mm Metal Cutting Disc - STA32025-QZ

    £5.00
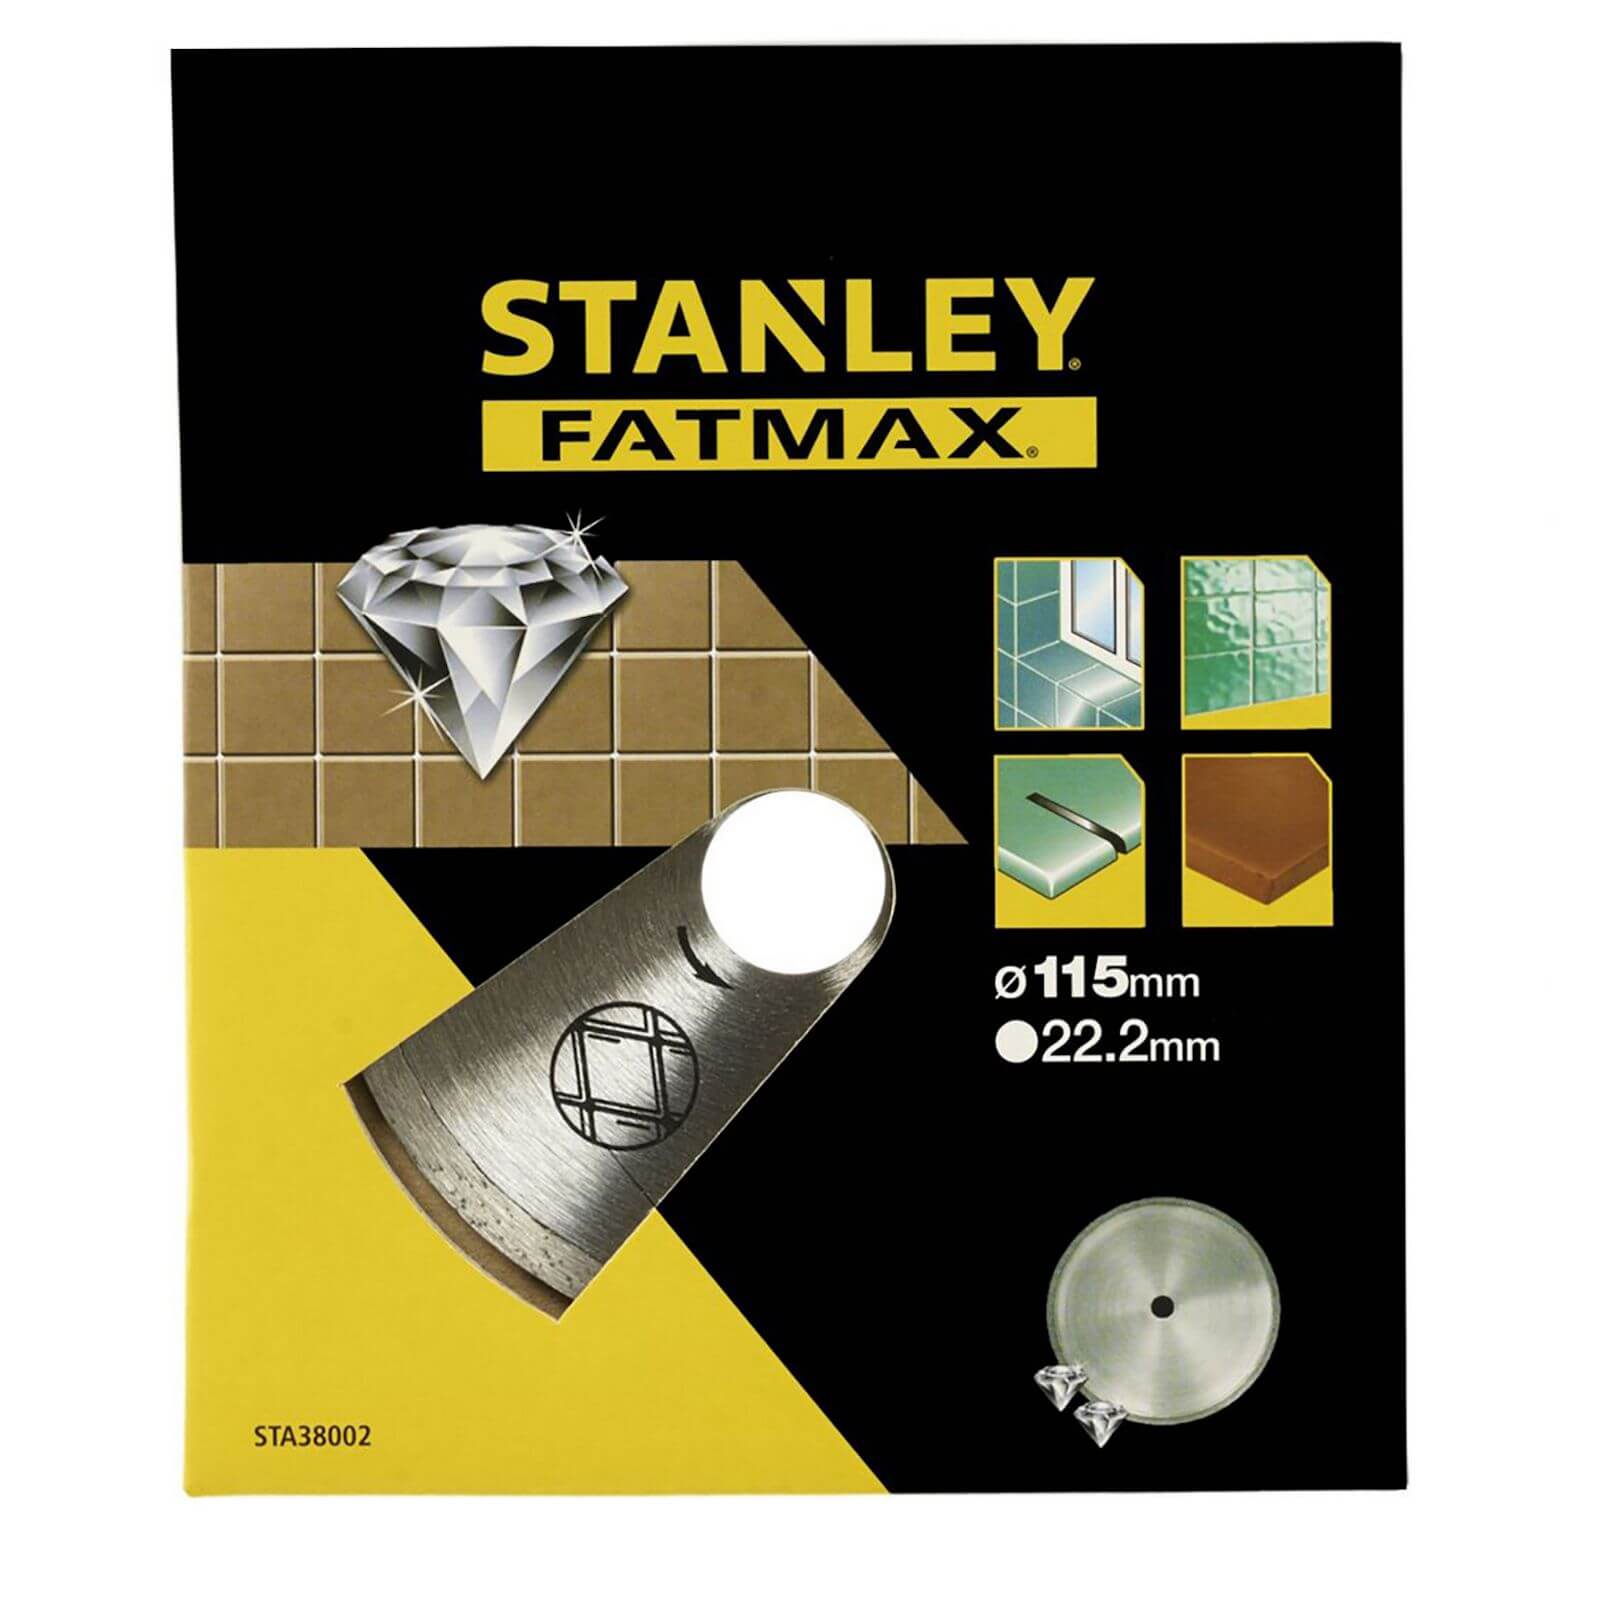
  • Stanley Fatmax Diamond Disc 115mm Cont Rim - STA38002-XJ

    Stanley Fatmax Diamond Disc 115mm Cont Rim - STA38002-XJ

    £15.00
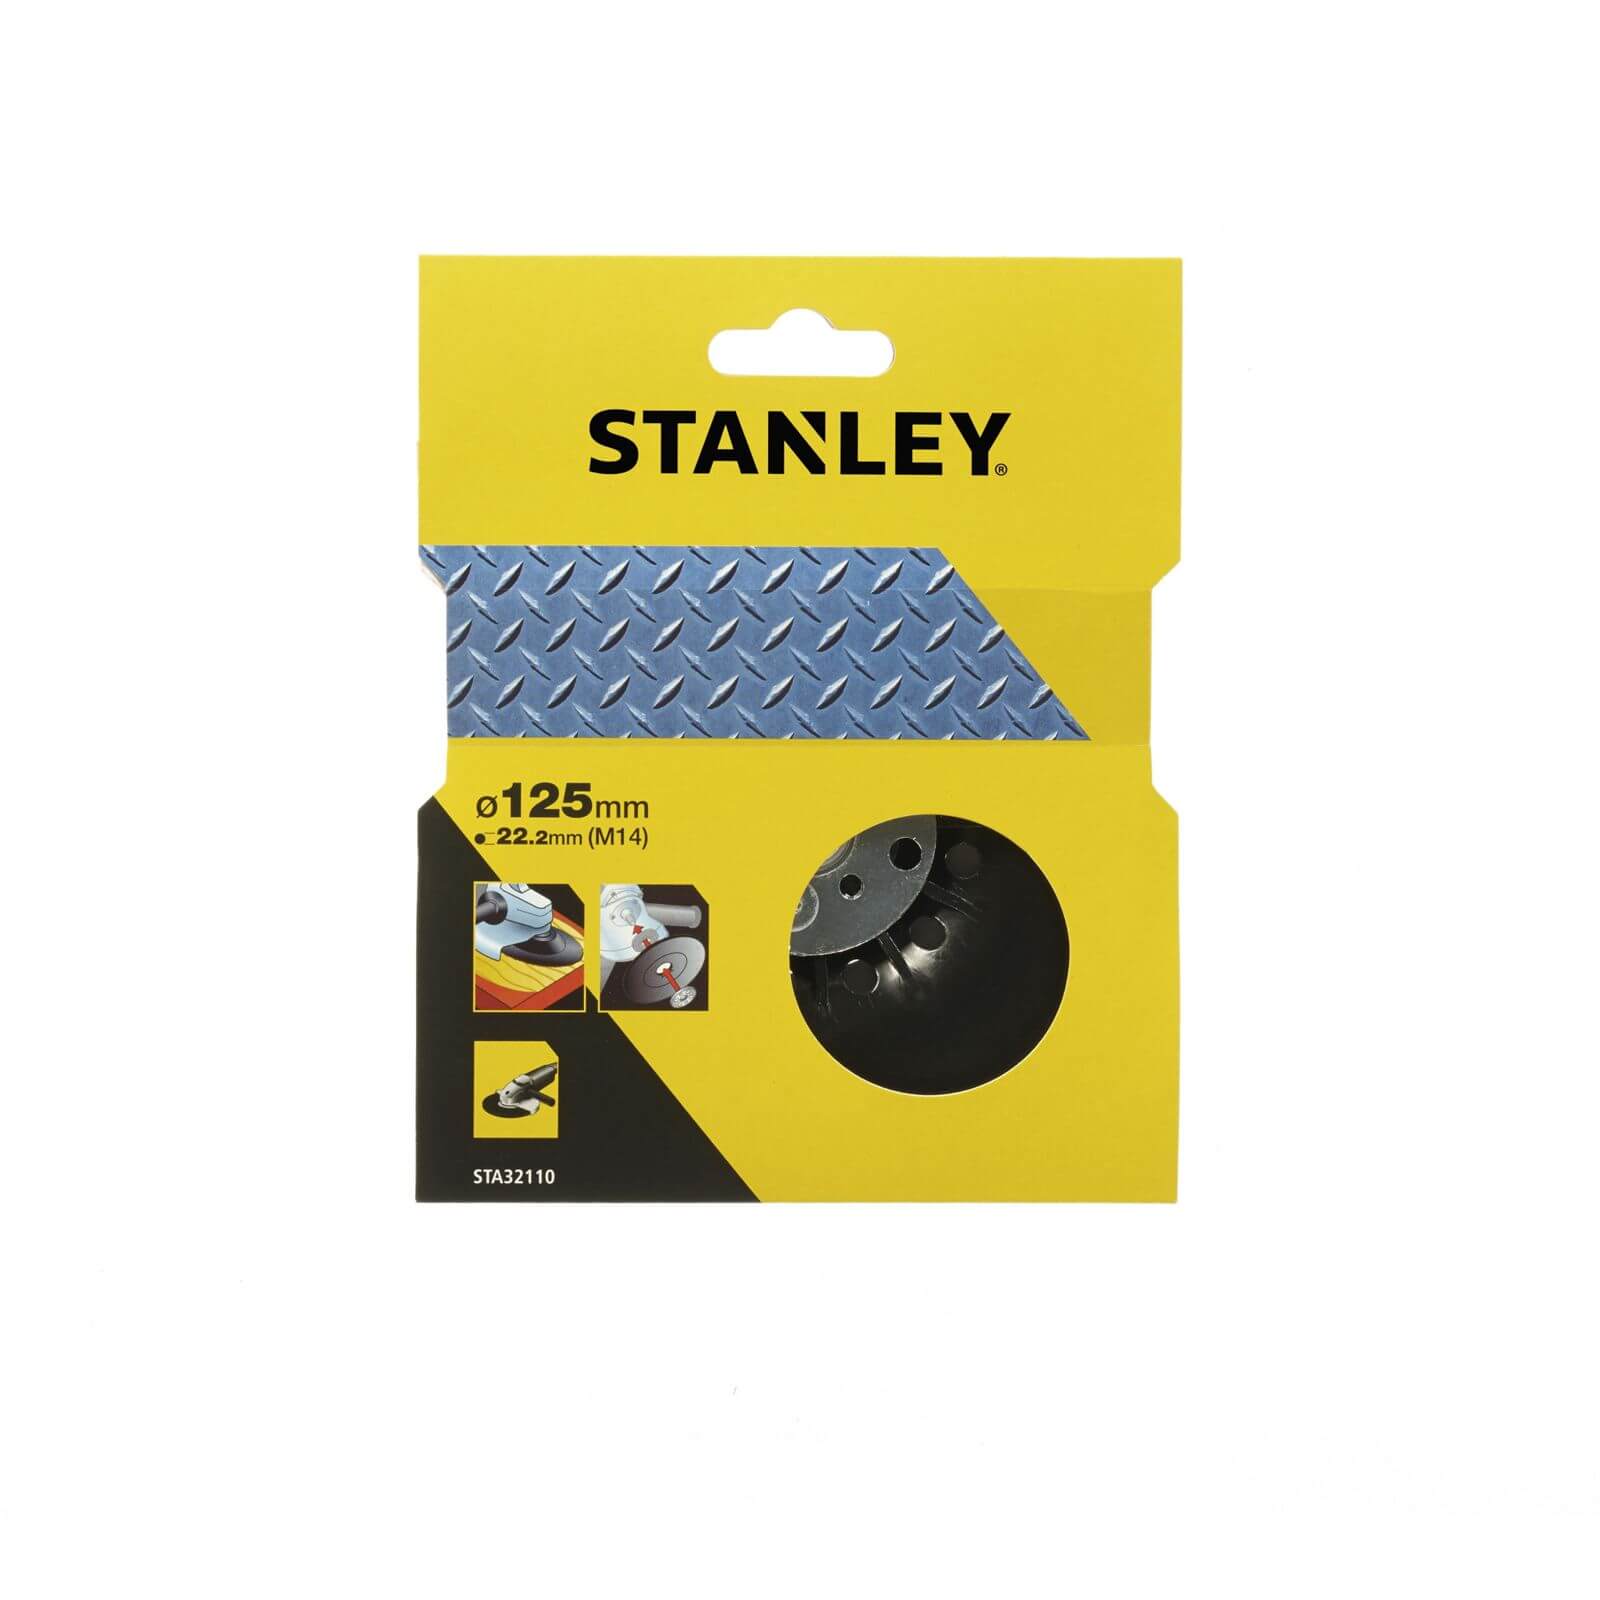
  • Angle Grinder Nylon Backing Pad - 125mm

    Angle Grinder Nylon Backing Pad - 125mm

    £7.00
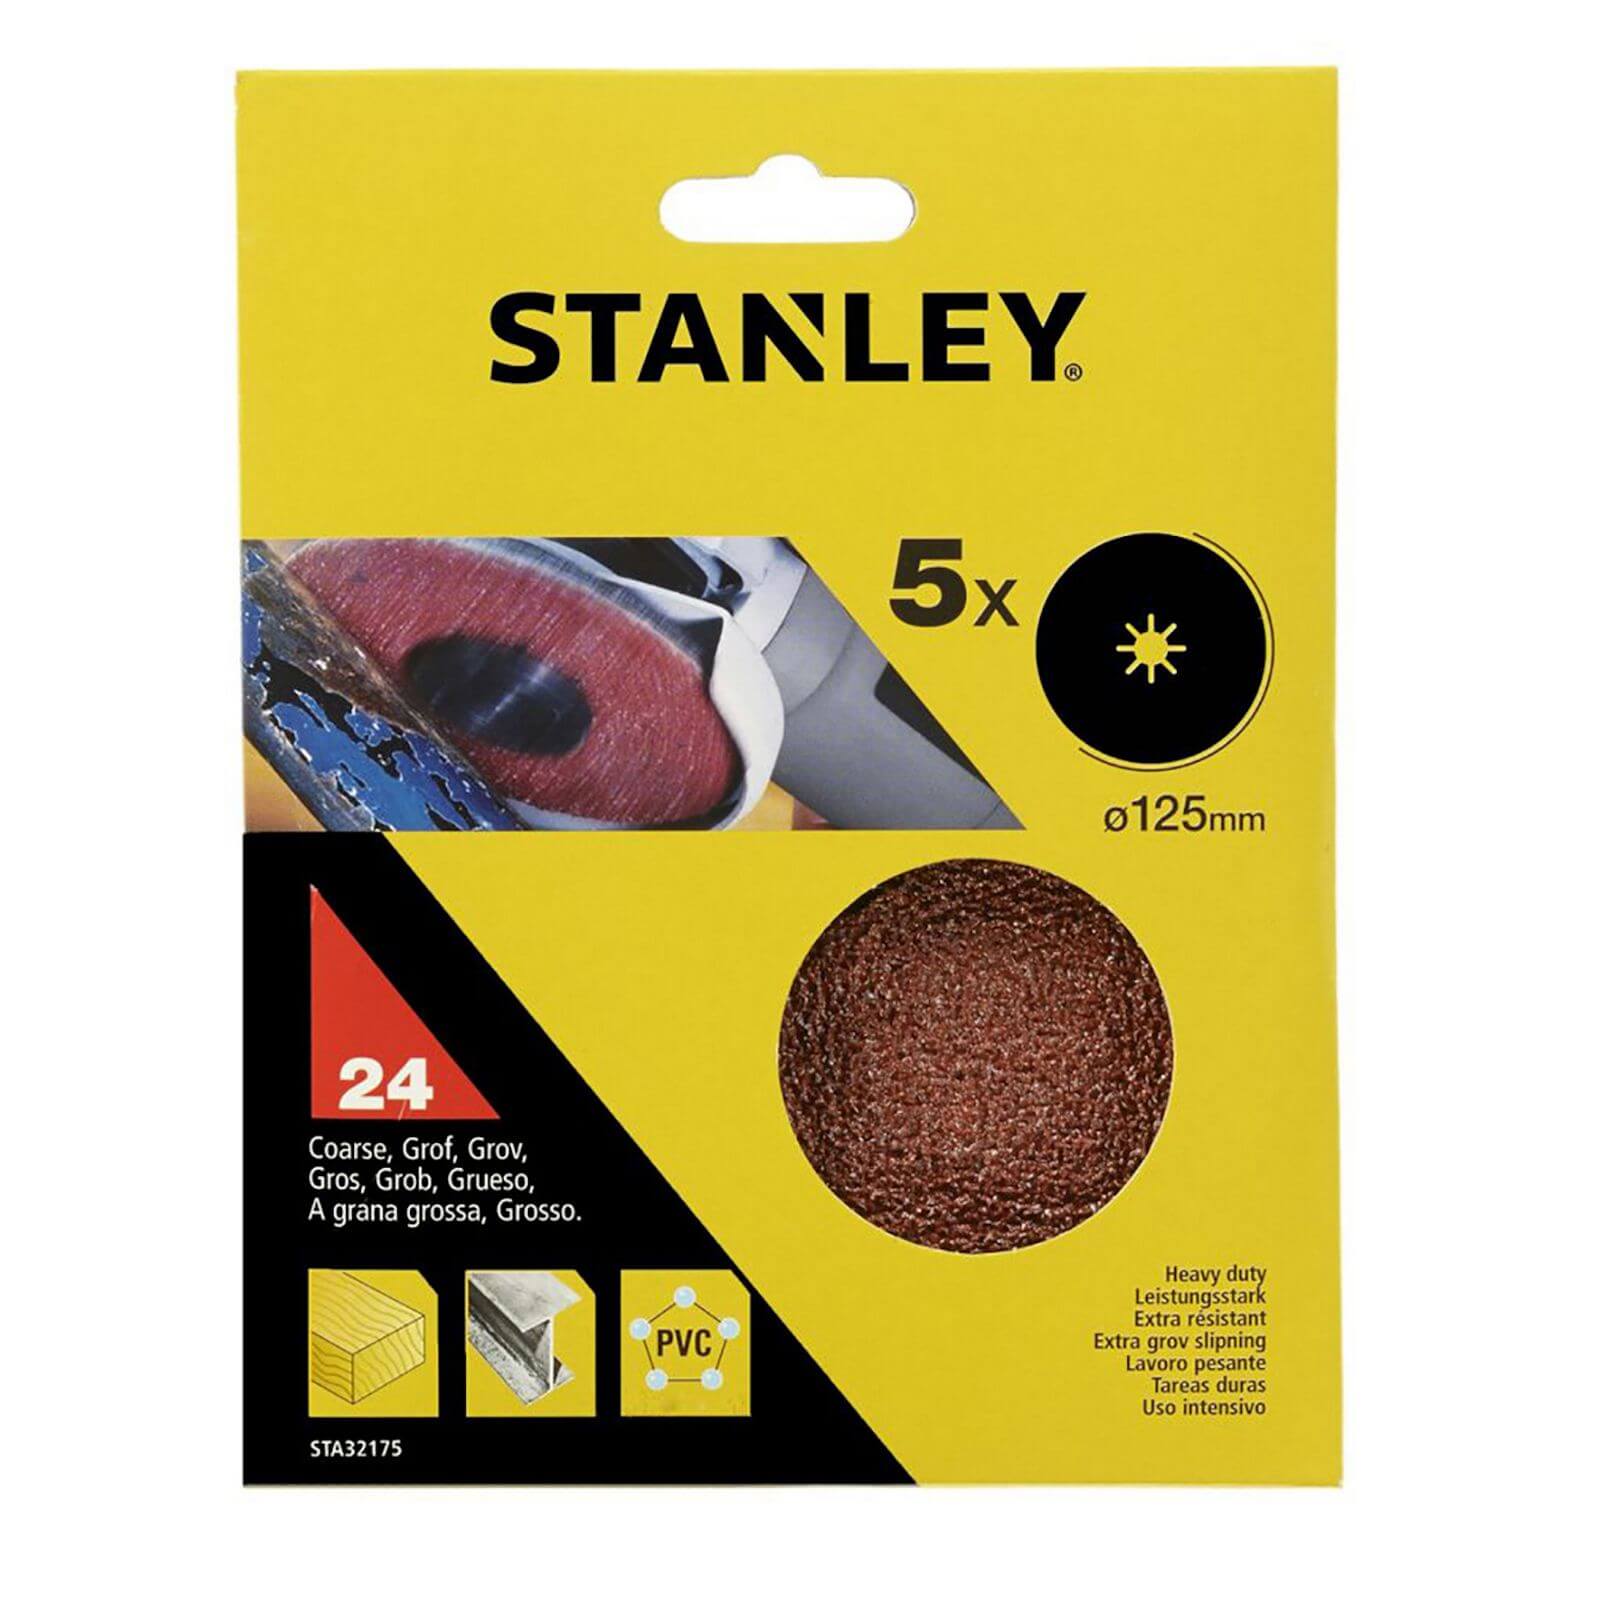
  • Stanley 125mm Grinding Pads 24G - STA32175-XJ

    Stanley 125mm Grinding Pads 24G - STA32175-XJ

    £8.00
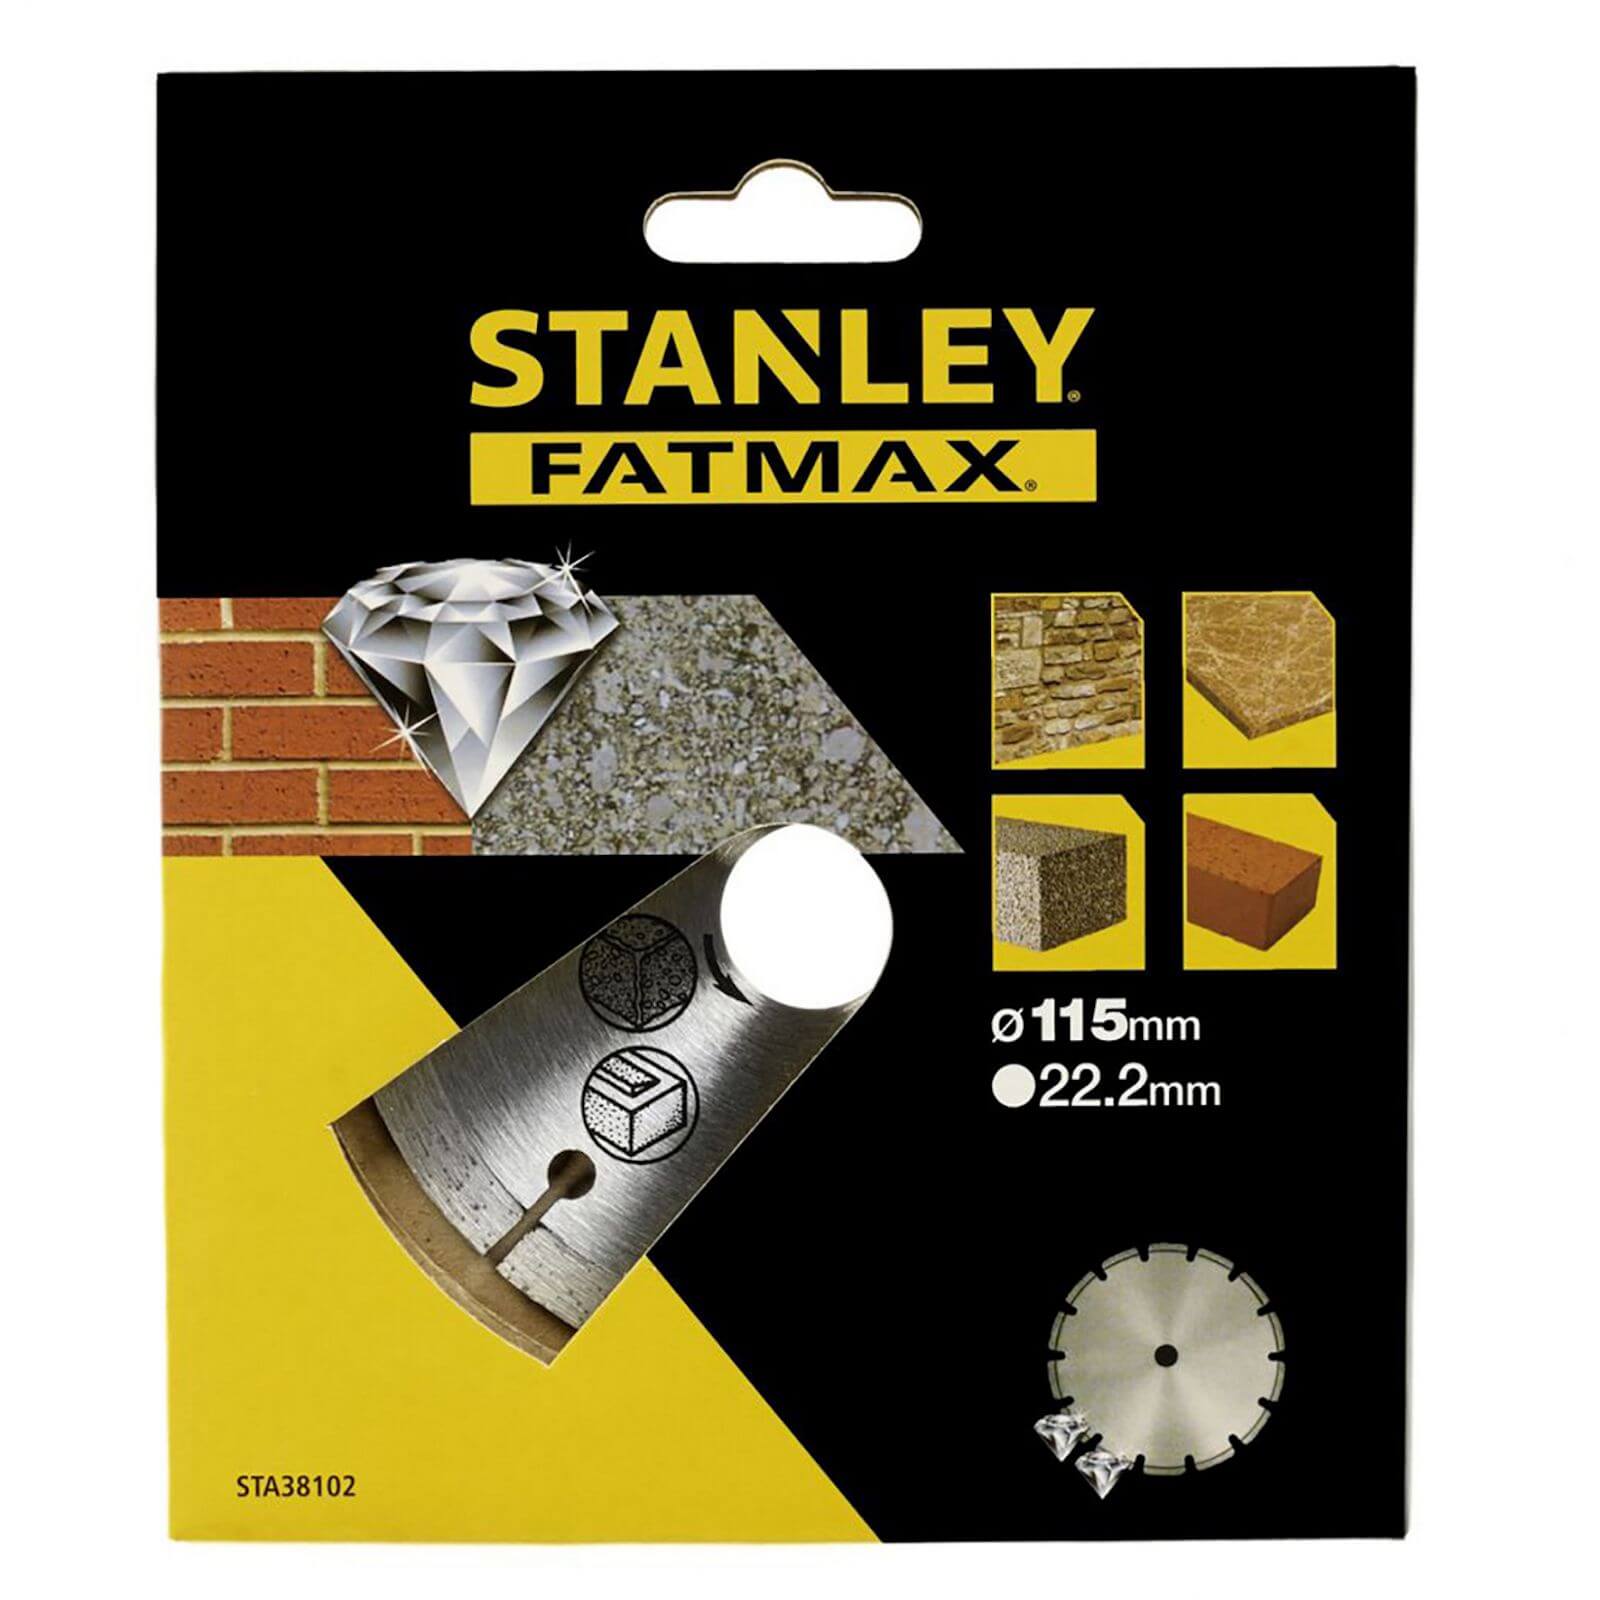
  • Stanley Fatmax Diamond Disc 115mm Seg Rim - STA38102-XJ

    Stanley Fatmax Diamond Disc 115mm Seg Rim - STA38102-XJ

    £25.00
  • Stanley 115mm Metal Grinding Disc - STA32050-QZ

    Stanley 115mm Metal Grinding Disc - STA32050-QZ

    £4.00

The Homebase range of angle grinder accessories should be your starting point if you’re looking to have a range of discs ready to go as you tackle your next grinding project.

How to change the disc or blade on an angle grinder

1. To change the disc on an angle grinder, you first need to ensure it’s turned off and disconnected from the power.

2. Next, hold down the spindle-lock button and gently turn the disc until it locks in place.

3. Now you can remove the clamping lock that holds the disc in place and take the disc off the angle grinder. At this point, it’s a good idea to wipe the grinder and remove any excess debris or dust that’s formed.

4. It’s time to put the new disc on, if you’re fitting a thicker disc, e.g. for cutting, place the raised side of the clamping lock on the disc. When the disc is in place, re-add the clamping lock and screw it into place while pressing and holding the spindle lock.

5. You’re now ready to use your angle grinder!
homebase