Are wet wall panels better than tile?
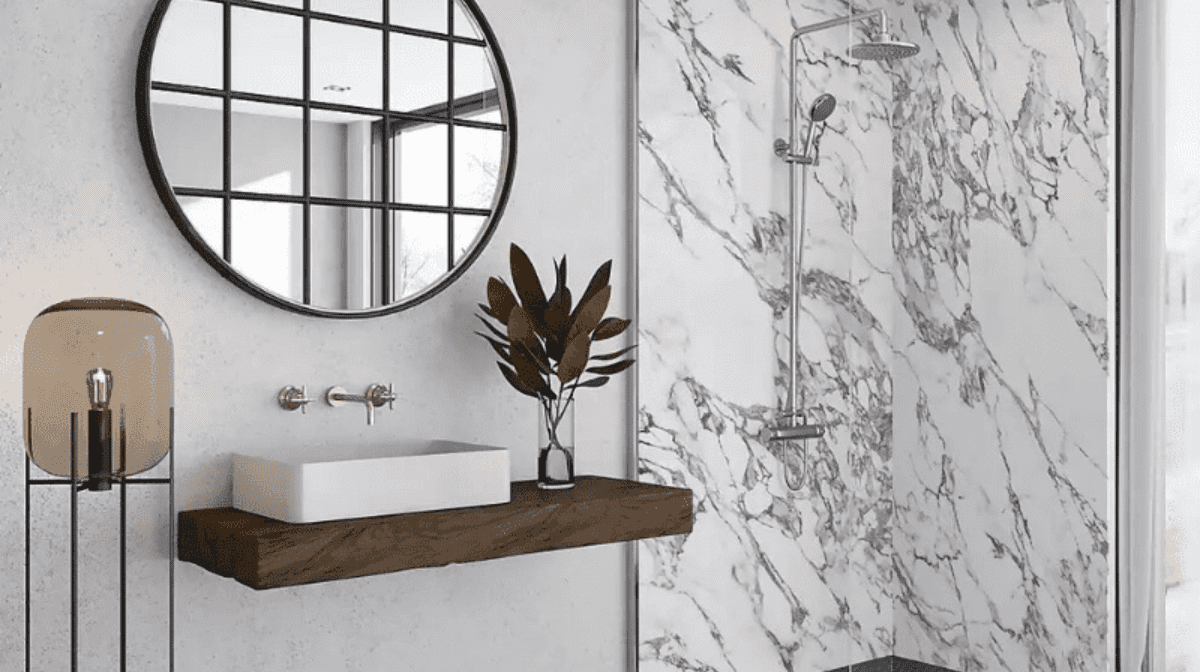
There are a lot of pros to installing wet wall panels in your bathroom. As already mentioned, they’re just as waterproof and resistant to colour distortion as tile.
Being resistant to bacteria and not relying on grout also means wet wall panels are also a lot easier to clean. Forget mould and mildew in between tiles, these panels wipe clean in one swoop of your cloth and spray.
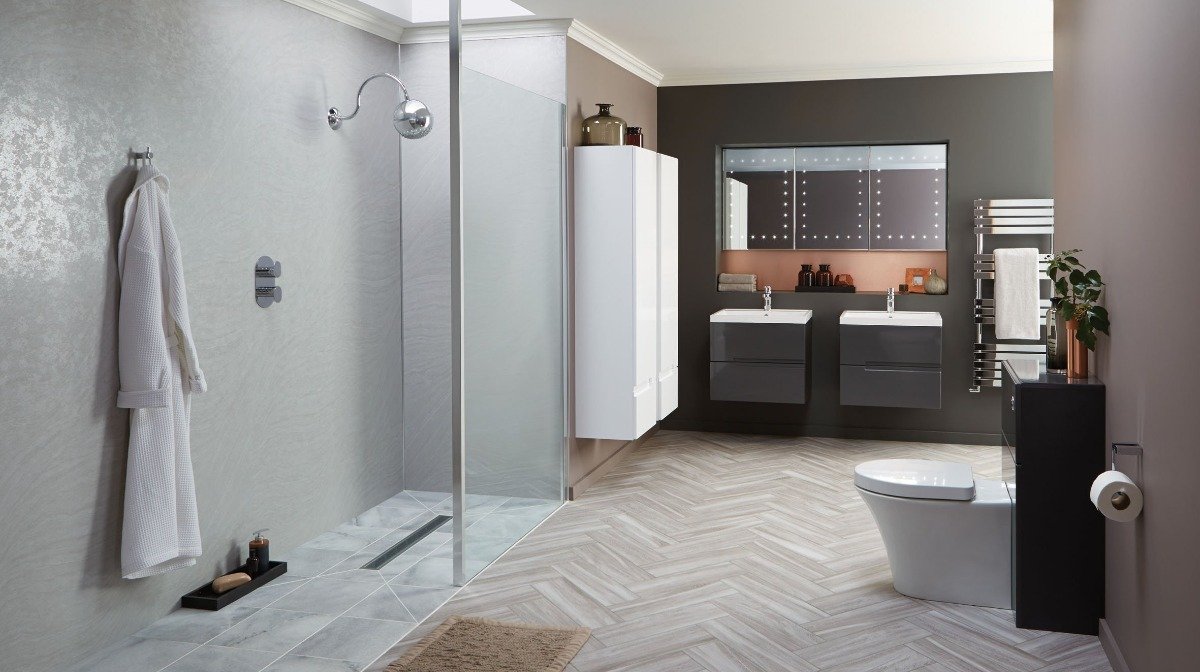
It’s also worth mentioning the cost difference. Wet wall panels are more cost effective than tiles most of the time. And, being made of MDF, they’re fairly cheap and easy to replace if they do get damaged, which is unlikely due to their incredible durability.
To top it all off, wet wall panels are very easy to install, meaning you’re unlikely to need to hire someone to place them in for you. You can even fit them over your existing tiles, so there’s no need to spend time and effort removing anything. Let’s look at how to fit them in more detail.
How to fit wet wall panels
If you’re up for fitting your wet wall panels yourself, we’re here to help. Here’s our easy guide to installing your own wet wall panels, including exactly what you’ll need to transform your bathroom:
What you’ll need:
- Caulking gun
- Safety goggles
- Electric or fine tooth saw
- Adhesive sealant
- Sandpaper
- Sealing kit
- Measuring tape
- Pencil
- Anti-bacterial spray and cloth
- Your wet wall panels and trim.